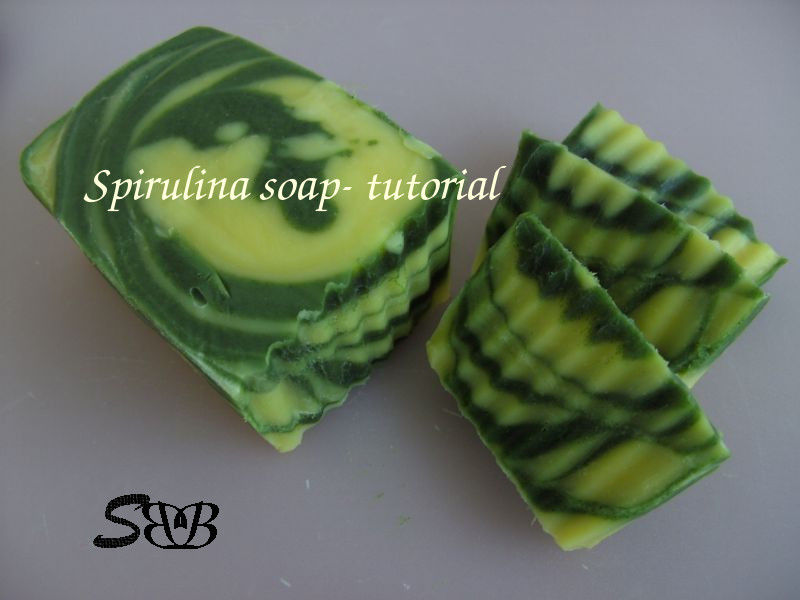
Shamefully, I realized that I wrote the German tutorial exactly one month ago and neglected the English one. I hope you'll excuse me for this delay :-)
Spirulina is one of the most precious algae in nutrition and skin care. This green colored alga which actually belongs to the blue algae is rich in minerals and trace elements, has moisturizing effects and improves skin texture. We've applied it in our Algen-Amethyst facial mask with great success.
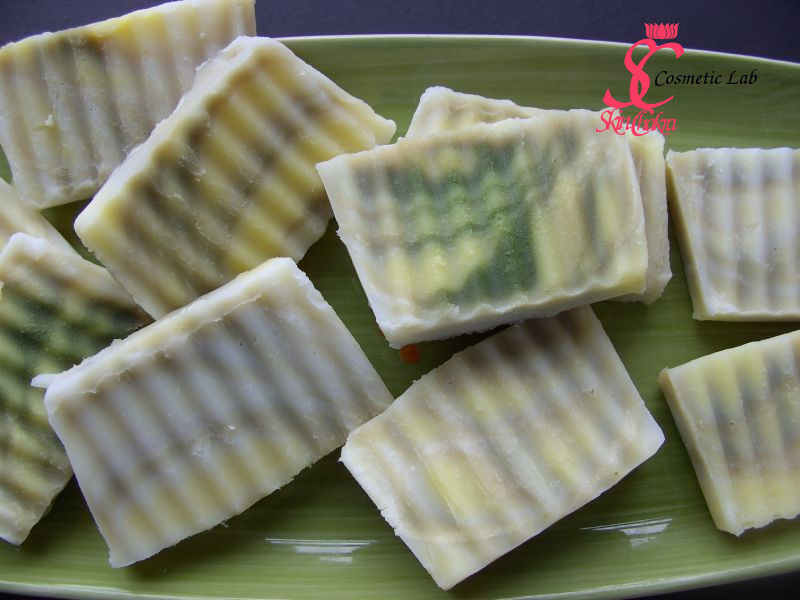
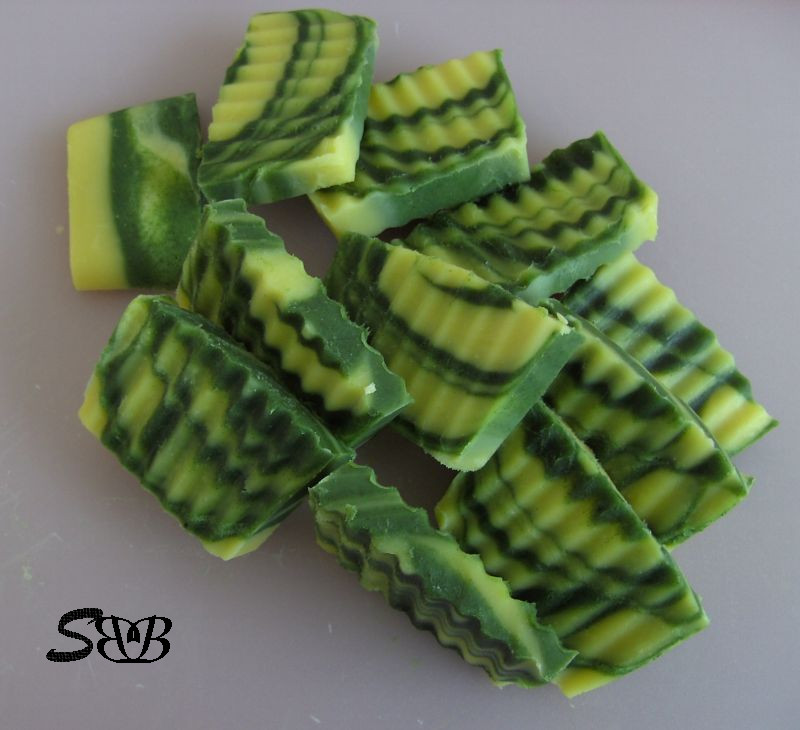
Besides physiological benefits, spirulina is a natural colorant for soap. Unfortunately the original bright and vivid green color fades by light. In this picture you can compare the color with the original color of the first picture.
This happened during 8 weeks of curing despite the fact that we really didn't have many sunny days during that period. So make sure to store the soap in a really dark room during curing and storage and pack it in opaque boxes if you want to save the color to the last minute when the customer unpacks the soap.
First things first before we begin:
For general information regarding hygienic manufacturing practice in cosmetic lab please click here.
For an introduction to Basic equipment and utensil for a cosmetic lab click here.
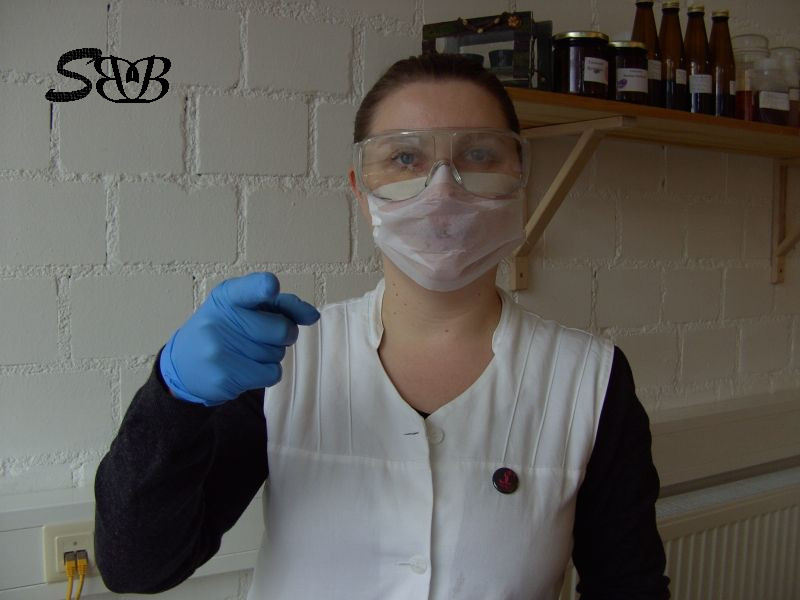
If you're new to soap making please do read this post about safe handling of Sodium hydroxide, even if you're an experienced soap maker and have hundreds of batches under your belt, do read the post and send me your comments and your own experiences or additional advices which I might have neglected.
We prepared the soap in our mini silicon molds because it has the exact capacity for a small trial batch and you don't need to waste time lining the mold. However, you're free to apply any mold (wooden, plastic, HDPE etc.).
AS fragrance, we have selected Patchouli and Eucalyptus essential oils. Patchouli for it's excellent skin care benefits and eucalyptus for the uplifting green scent. If you're going to apply other fragrance oils or essential oils, it's better to try a small batch to check whether your fragrance oils accelerate the trace.
Now let's start
For this project (250 gr oil) you'll need:
12,5 gr Soybean oil (5,0%) for superfat
2,5 gr Spirulina (1,0%) (you may simply increase Spirulina to 5,0 gr for a more intensive color)
for the lye:
85,0 gr distilled water
35,54 gr NaOH
5,0 gr Eucalyptus essential oil (2,0%)
1,25 gr Patchouli essential oil (0,5%)
And you'll need:
(optional) disposable pipettes
a water bath
A Thermometer
A stainless steel pot or Pyrex jar (to melt the fats in the water bath)
A stick blender (try to find some with plastic stab)
Glass beaker for essential oils and superfat
A plastic beaker or bowl for NaOH
A plastic jar for lye
A sprayer bottle with alcohol
Safety goggles, gloves and mask
old blankets and towels to cover the soap
patience and high spirits
Instructions:
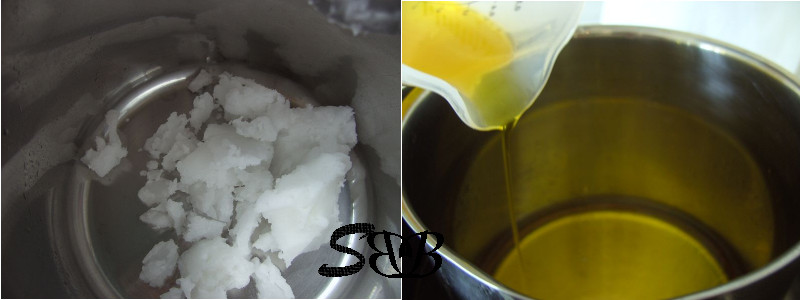
One: In a suitable pot weigh Coconut oil and babassu oil. Put the pot or jar in a water bath @ 40-50 degrees Celsius. Both oils have a titer point less than 35.
Two: After the fats are melted, slow or stop heating (the oil temperature should be between 38-45 as you add lye, in summer you don't need to heat up anymore, in winter and in a cold lab you may need to heat further, anyway the temperature should not be higher than 45) and add all other oils (except the 12,5 gr superfat Soybean oil).
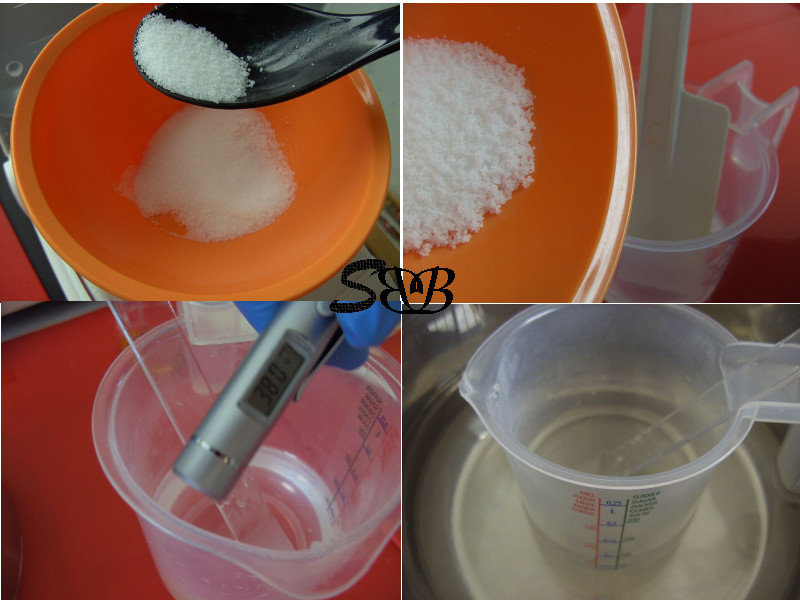
Three: As the fats are being melted, weigh Sodium Hydroxide in a plastic beaker or bowl (Do not forget safety goggles, mask and gloves). Weigh water in a plastic jar.
Four: Slooooowly and under stirring, add Sodium hydroxide to water. NEVER POUR WATER OVER NaOH. Adding NaOH to water is an exothermic reaction, producing heat. To control the temperature and avoid coming water to boiling, you may put the water jar in a pot with cold water (DO IT anyway in SUMMER)
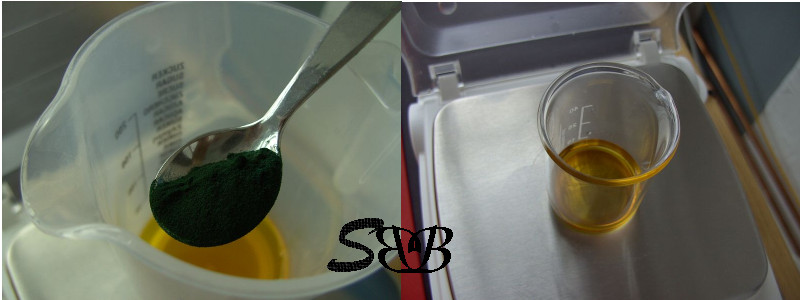
Five: Meanwhile and as you're waiting for the temperature to adjust, weigh the essential oils in a small glass beaker.
Six: Add Spirulina to the super fat (12.5 gr Soybean oil) and stirr. Spirulina does not dissolve it is only dispersed in oil.
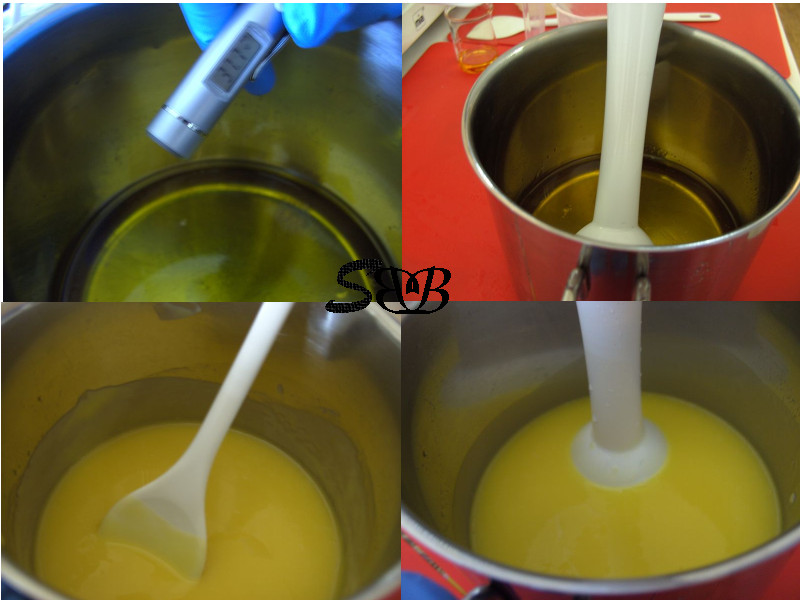
Seven: This step is fundamental to a complete saponification and to achieve an acceptable soap (optic and sensory)
Control the temperature of the lye and the oil mixture. They should be between 38-45 with a max. difference of 10 degrees between oil and lye. If any phase has a higher temperature, cool it down in a water bath to the desired temperature while keeping the other phase in a constant temperature. We have cooled both phases to 38 degrees in this project.
Eight: Immerse the blender slowly in the oil phase. Tap it gently a few times at the bottom to get rid of big air bobbles. (it is not yet on)
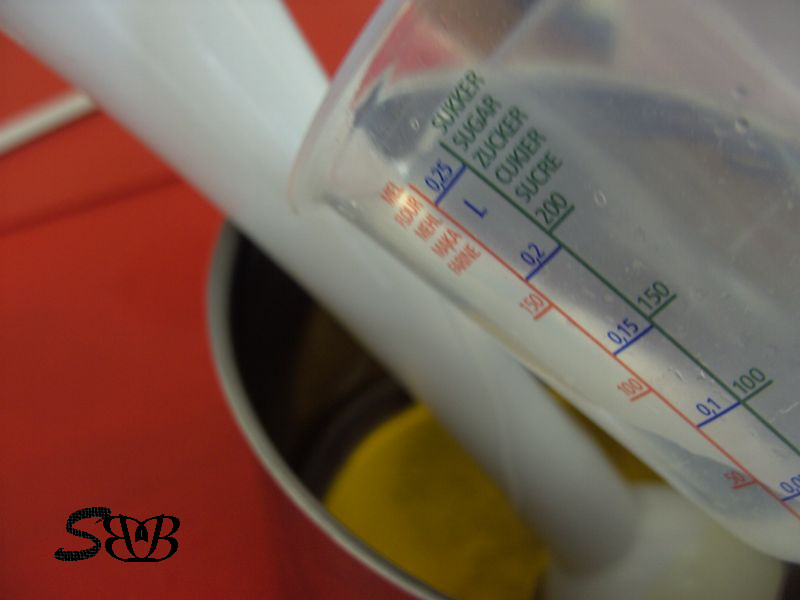
Nine: Keep the blender in an angled position in the oil (it's still off) and add sloooooowly the lye over the stab, try to avoid air bubbles. Here we have a better picture for you
Ten: After the whole lye is added, turn the blender on. Blend in short intervals and then turn off and repeat this step for a few minutes. Immediately after turning the blender on, the mixture turns opaque and the viscosity increases. Be aware that this soap never comes to a real trace, it's good if you reach the viscosity of a shampoo or dishwashing liquid. Avoid over stirring.
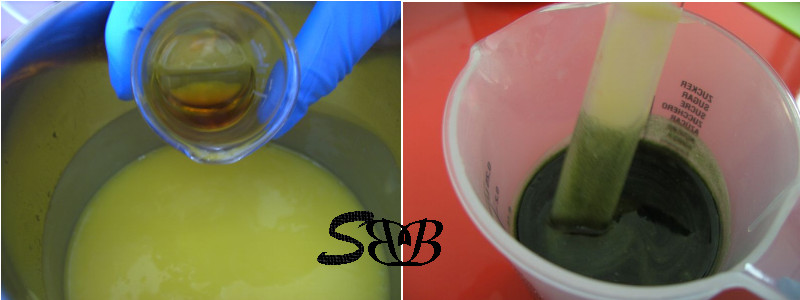
Eleven: From now on, blend with a plastic spatula.
Slowly add the essential oils to the soap mixture and blend.
Twelve: Divide the soap. You don't need to be exact. Trust your eyes. Add approximately half of the soap to the jar with Spirulina and Soybean oil. Now you should have two soaps one in a golden to yellow and one in bright green color.
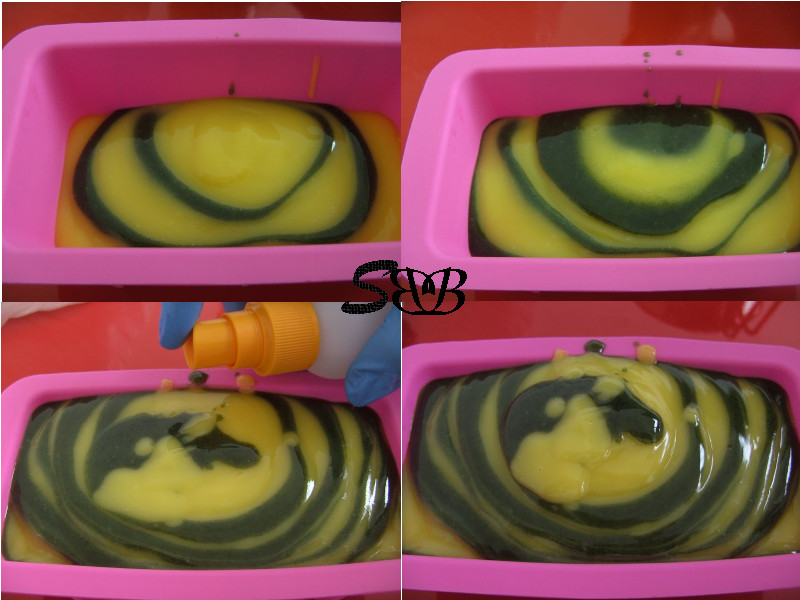
Thirteen: Now you're free to let your creativity fly. Add the two different colored soaps alternatively and as you like. In this specific case and as you may observe in the pictures, we've added the soap in the middle of the mold near to one wall. The soap spreads in a circle over the mold and you have alternative rings of green and yellow. The higher you keep your hand during pouring, the more the colors blend.
Fourteen: After adding the whole soap, spray the surface with alcohol to avoid the white ash over the surface (sodium carbonate).
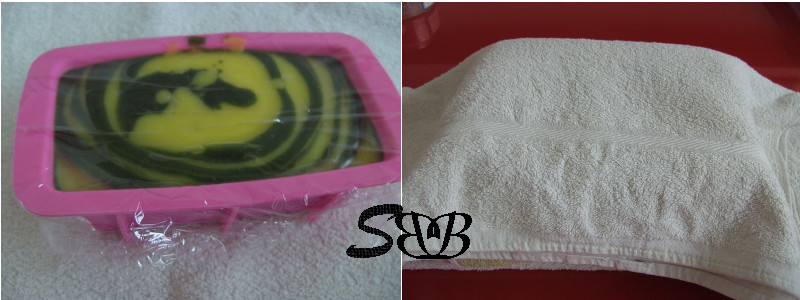
Fifteen: Cover the soap with a foil and wrap the mold in towels or blankets. Store the soap for 48 hours in a warm place.
Now it's time for a short rest and tea break before you clean up everything.
Sixteen: After about 48 hours get the soap out of mold, please consider that this recipe is palm free and that soap is relatively soft at this stage. You may want to wait for 1-2 additional day before you cut and stamp the soap.
Keep the soap during curing in a dark room.
You can buy all the ingredients in SkinChakra® Online Shop.
BeHappy and have fun.
