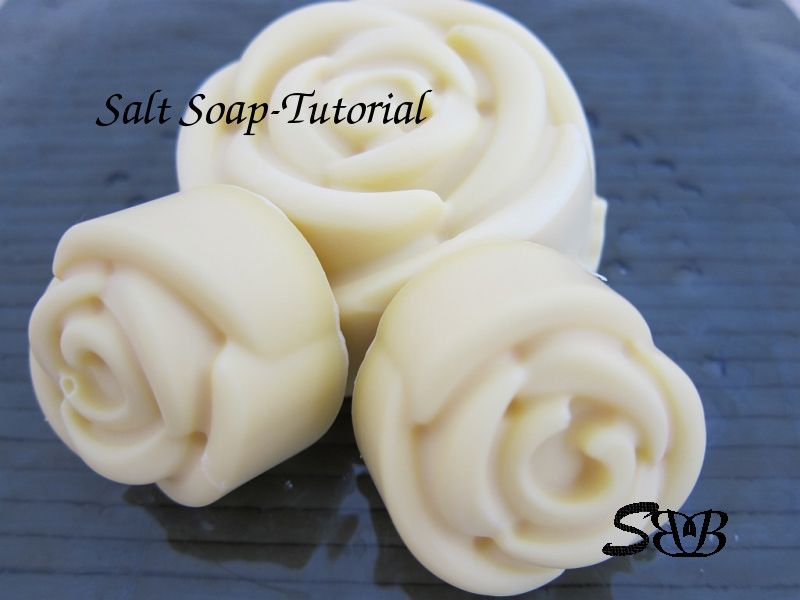
When it comes to sea salt, there are added values of other minerals and trace elements (from both a nutritional and cosmetic point of view).
Sea slat is applied since thousands of years as a skin care ingredient, Bathing in sea salt cures different skin disorders (as well as certain muscle and joints problems). This is a good reason to apply sea salt into soap making.
There are at least two different ways to apply salt (and specifically sea salt) into soap. The most widely applied procedure is adding fine salt after trace. In this way the major part of the salt remains in its solid form and acts mainly as an exfoliating agent.
There is however a much more interesting way to apply salt into the soap. This method is best known in Germany and almost unknown to other soap makers around the world. In this procedure you prepare the lye water with a saturated salt solution so that the salt is applied in its ionic and not crystalline form in the soap. This soap is called "Soleseife" in German, translated to English it would be "brine soap" or "salt water soap". Call it whatever you like or please let me know if there is a special name for it in your language and in your region.
The Brine soap has interesting properties which are:
1- The soap would be very hard.
Even if you prepare a palm-free soap, the soap would harden fast. Actually you should take care to apply a fragrance or an essential oil that would not accelerate the trace and do not let the soap reach a trace at all. I often recommend this soap to soap makers who have enough soap making experience but have never tried a palm-free recipe and are not quite confident trying a palm-free recipe.
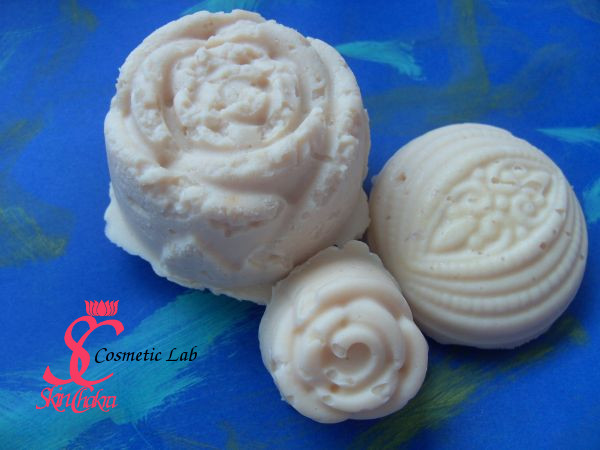
In the following picture you see the soaps which I deliberately let through trace. As I poured the soap into molds, it had a cream-caramel consistency. The soap is not quite smooth but has a rustic appearance which is not quite bad (at least from my point of view)
2- The color of the soap
Even if you apply native and intensive colored plant oils (wheat germ, Soja, rose hip), the resulted soap has a very luxurious white to beige color. There is no need to apply any Titanium dioxide to prepare a white soap.
3- The soap doesn't go through a gel phase
There is no need to isolate the soap and no need to keep the soap warm and covered in towels. This means that you can even pour the soap into single, small forms exactly the way you do with M&P soap. This is, in my opinion one of the most fascinating properties of the brine soap.
You can apply all kinds of moulds, from HD to kudos to milkyway to flexible small silicone molds. Each form has its own beauty and individual appearance.
So if you're ready to prepare an attractive brine soap, follow me through this tutorial but before we start I want to recommend you to read our older posts about general information regarding hygienic manufacturing practice in cosmetic lab, introduction to Basic equipment and utensil for a cosmetic lab and the safe handling of Sodium hydroxide.
Make the first soap as little as possible. I have written the procedure here for 500 gr but if you have the possibility to prepare even smaller quantities, then try it at least for the first time.
If you're applying a fragrance or essential oil other than the one recommended here then make sure that it doesn't accelerate trace before you try a 5 kg batch.
Prepare all your molds. You should pour the soap as fast as possible after adding the super fat oil and the fragrance.
Here we go
for this project (500 gr oil) you'll need:
100,0 gr Soybean oil, partially hydrogenated (20,0%)
25,0 gr Rose hip oil (5,0%) (for the super fat)
15,0 gr oriental musk fragrance oil (3,0%)
for the lye:
210,0 gr distilled water
40,0 gr sea salt or table salt
70,16 gr NaOH
different soap molds (calculate the volume and have a small loaf mold at hand in case you have still more soap and no free small molds)
a water bath
A Thermometer
A stainless steel pot or Pyrex jar (to melt the fats in the water bath)
A stick blender (try to find some with plastic stab)
Glass beaker for fragrance oil and superfat
A plastic beaker or bowl for NaOH
A plastic jar for lye
A sprayer bottle with alcohol
Safety goggles, gloves and mask
patience and high spirits
Instruction:
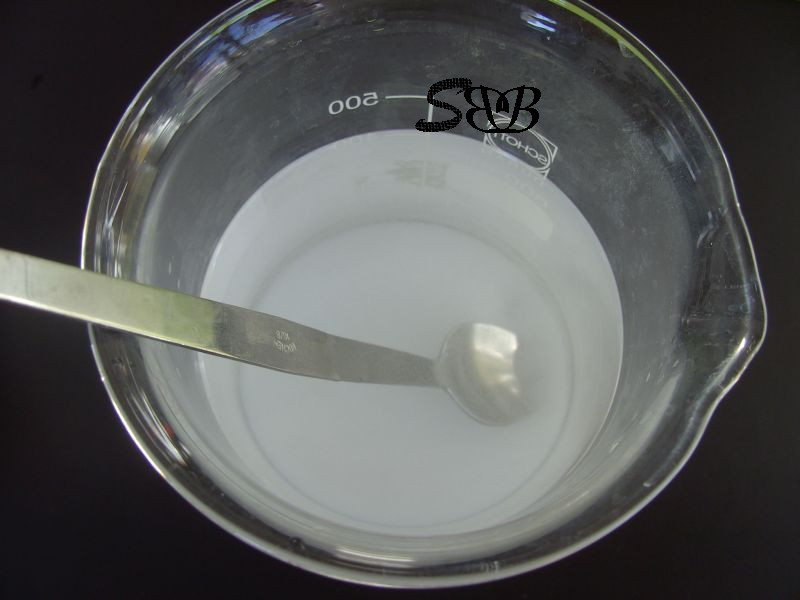
One: dissolve the salt at room temperature in distilled water (40 gr salt in 210 gr water). This would be a saturated brine. Let it stand for almost half an hour and filter it if necessary before adding the sodium hydroxide.
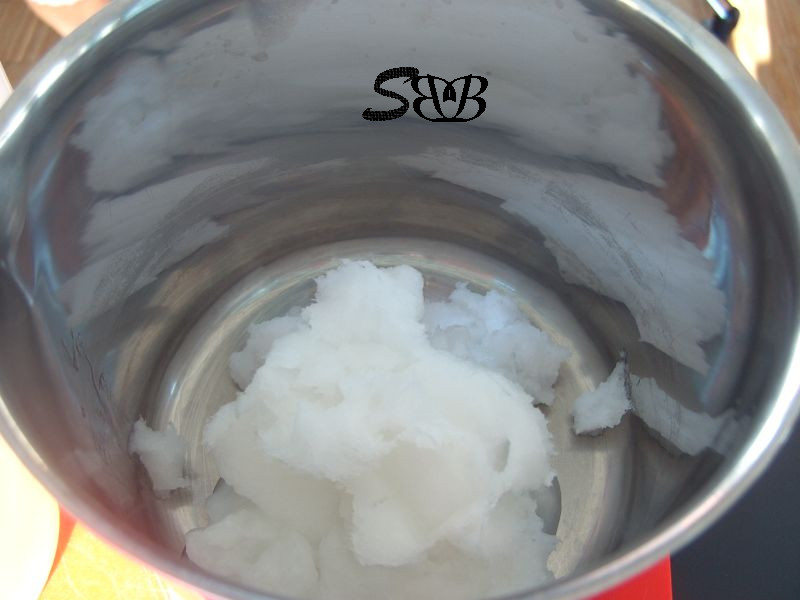
Two: In a suitable pot weigh Coconut oil, hydrogenated soybean oil and babassu oil. Put the pot or jar in a water bath @ 40-50 degrees Celsius.
(In this hot summer, our coconut and babassu oil were almost liquid at room temperature)
Three: After the fats are melted, slow or stop heating (the oil temperature should be between 38-45 as you add lye, in summer you don't need to heat up anymore, in winter and in a cold lab you may need to heat further, anyway the temperature should not be higher than 45) and add all other oils (except the 25,0 gr superfat Rose hip oil).
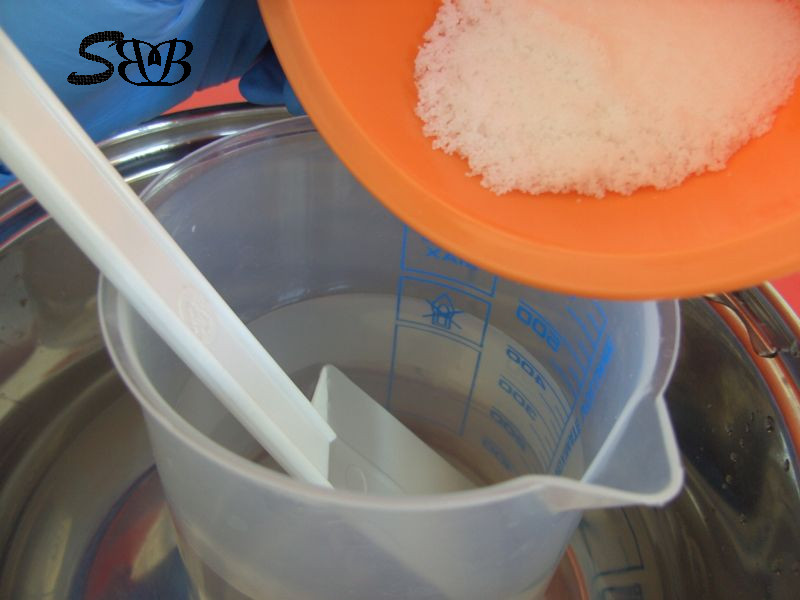
Four: As the fats are being melted, weigh Sodium Hydroxide in a plastic beaker or bowl (Do not forget safety goggles, mask and gloves). Slooooowly and under stirring, add Sodium hydroxide to the brine. NEVER POUR WATER OVER NaOH. Adding NaOH to water is an exothermic reaction, producing heat. To control the temperature and avoid coming water to boiling, you may put the water jar in a pot with cold or ice water (DO IT anyway in SUMMER)
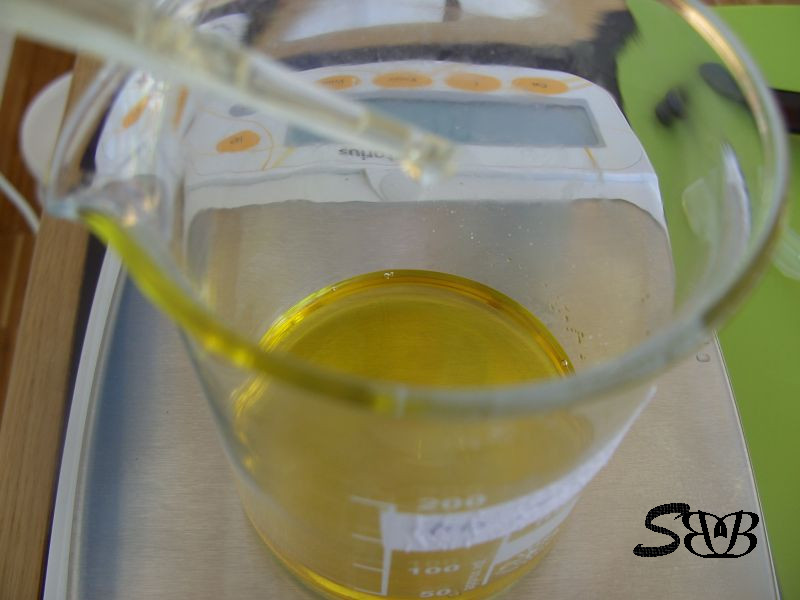
Five: Meanwhile and as you're waiting for the temperature to adjust, weigh the fragrance oil and the rose hip oil in a small glass beaker.
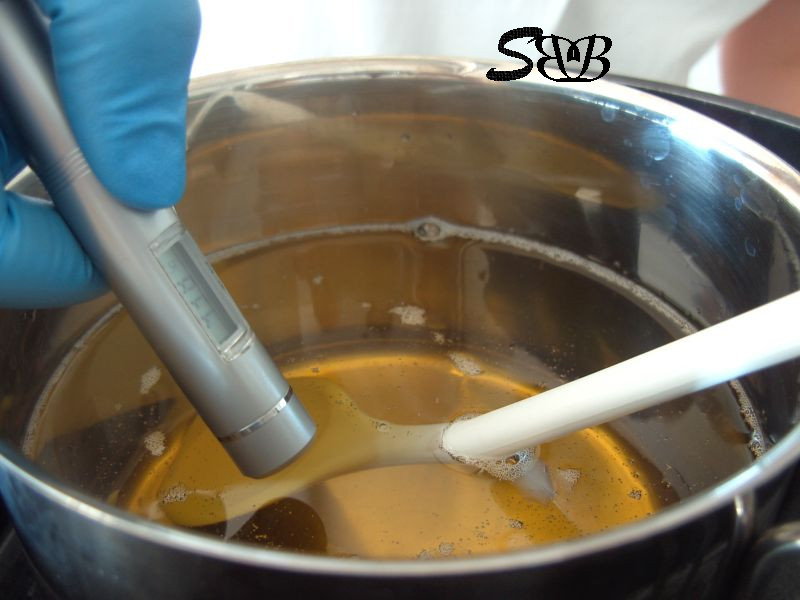
Six: Control the temperature of the lye and the oil mixture. They should be between 38-45 with a max. difference of 10 degrees between oil and lye. If any phase has a higher temperature, cool it down in a water bath to the desired temperature while keeping the other phase in a constant temperature. We have cooled both phases to 38 degrees in this project.
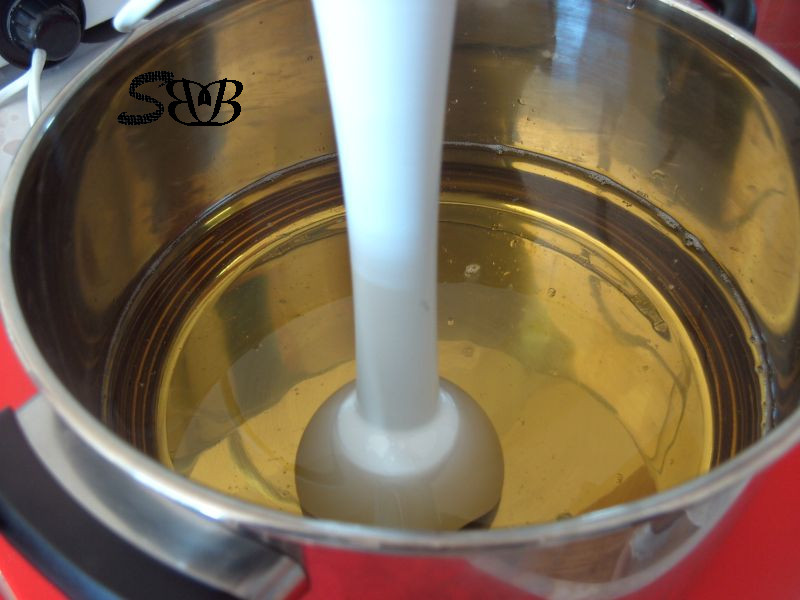
Seven: Before adding lye to oils immerse the blender slowly in the oil phase. Tap it gently a few times at the bottom to get rid of big air bobbles. (it is not on yet)
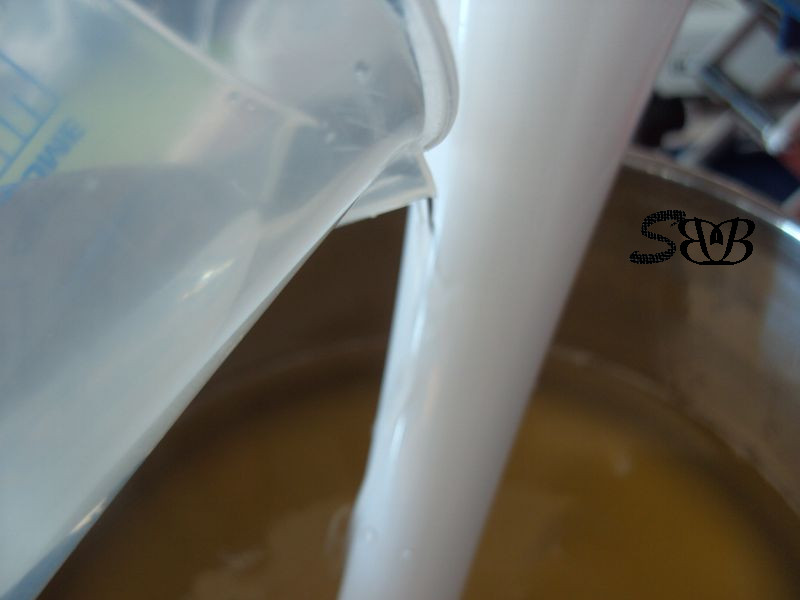
Eight: Keep the blender in an angled position in the oil (it's still off) and add sloooooowly the lye over the stab, try to avoid air bubbles.

Nine: After the whole lye is added, turn the blender on. Blend in short intervals and then turn off and repeat this step for a few minutes. Immediately after turning the blender on, the mixture turns opaque and the viscosity increases. Do not let the soap reach a trace. Avoid over stirring.
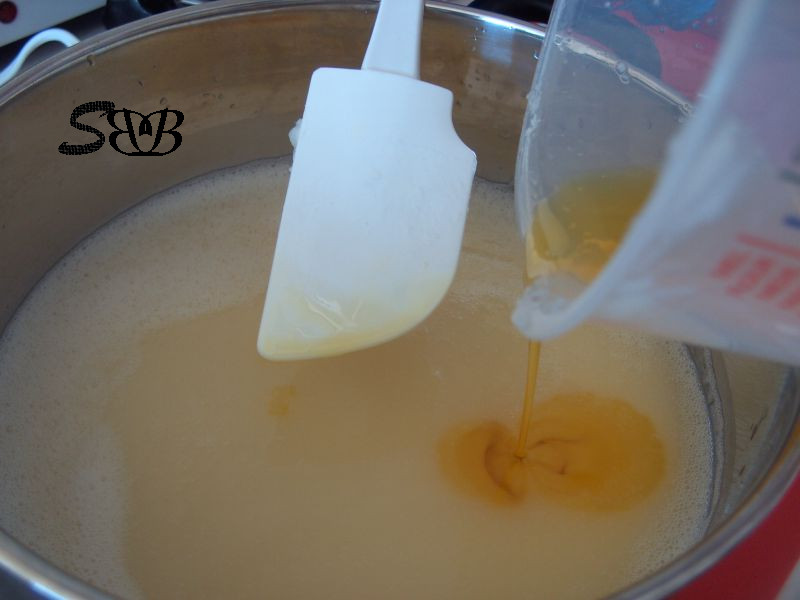
Ten: From now on, blend with a plastic spatula.
Slowly add the fragrance oil and the super fat oil which you have previously mixed to the soap mixture and stir shortly.
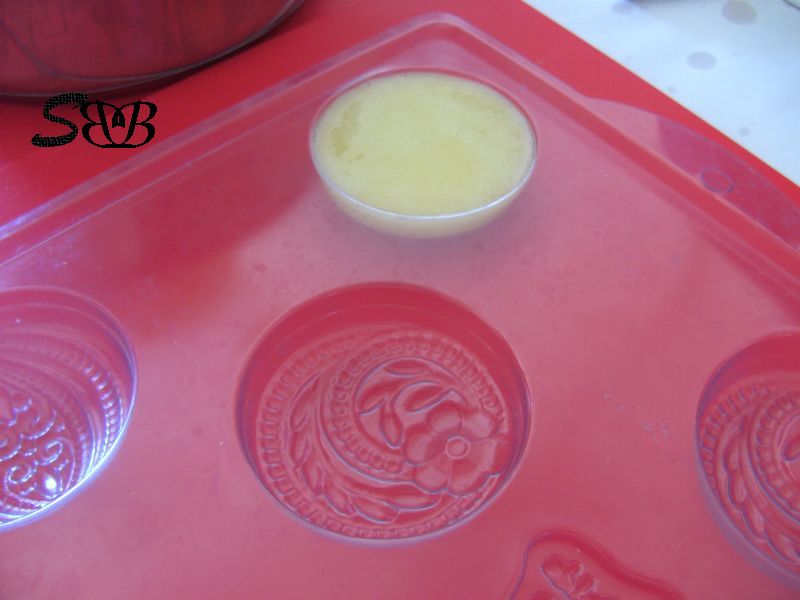
Eleven: Immediately after adding the fragrance pour the soap into molds. Be as fast as possible yet avoid creating air bubbles.
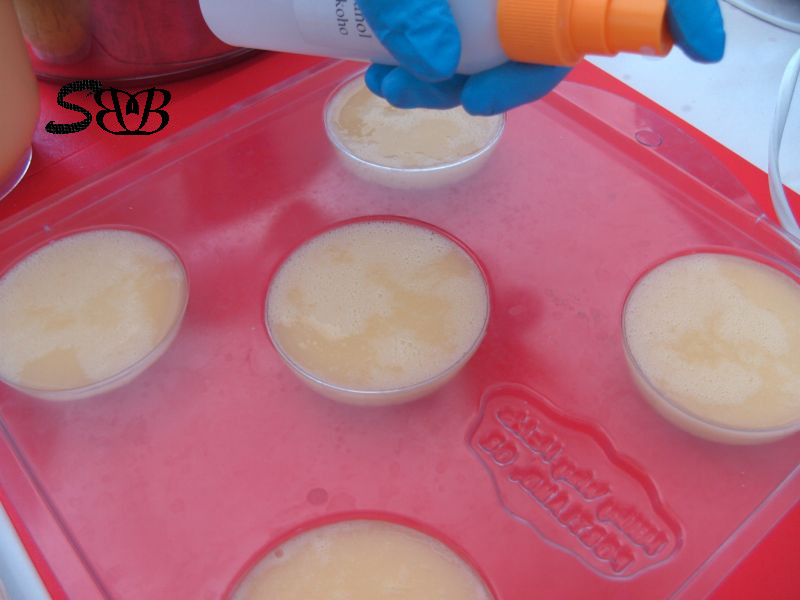
Twelve: After adding the whole soap, spray the surface with alcohol to avoid the white ash over the surface (sodium carbonate).
You don't need to isolate or cover the molds with towels and blankets, however it's better to cover the surface with cling film to avoid dust and unwanted particles.
Enjoy a short break and a cup of tea or ice tea before cleaning up.
After 24 hrs you can push the soap pieces out of molds and arrange them over the racks to cure.
You can buy all the ingredients for this project in SkinChakra® Online Shop.
BeHappy and have fun.
