It's time to apply our little heart soaps from the previous project into bigger soaps.
Besides the M&P base, small hearts, Fragrance (I've applied our British Rose here) and colorant (D&C Red dispersed in glycerin), Panthenol and vitamin E and moisturizers and skin conditioners you'll need grated soap particles to be applied in the soap.
To prepare grated soap gather the rests of the soap which you've cut with the cookie cutter or prepare a small white soap by melting the base, adding a few drops of titanium dioxide into the base till it has a white, opaque color and pouring the soap into a small mold. No difference which mold, you can even use a small tetrapack (from yogurt or cheese package) which you've already rinsed and let dry.
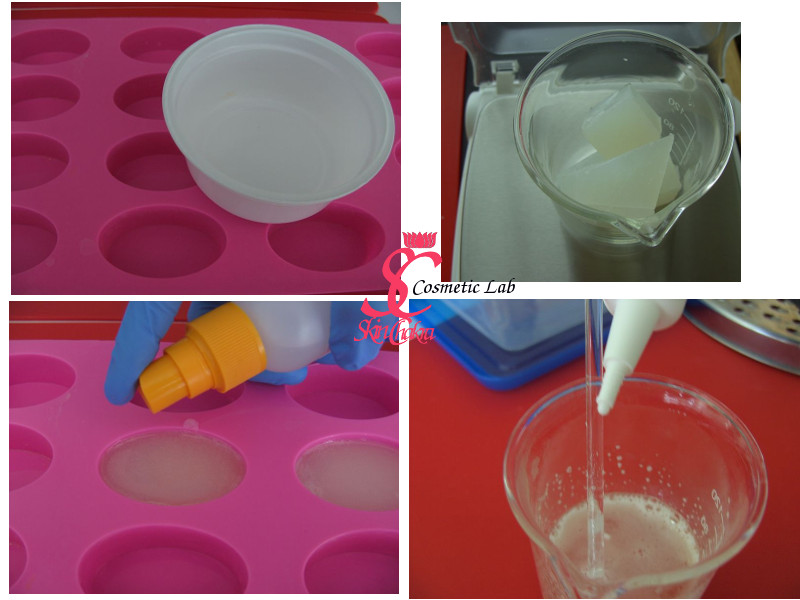
After the soap is hardened, take the soap out of mold and then grate it with a kitchen grater or an old grinder which you only apply in your cosmetic lab and not any more in the kitchen or cut the soap into small cubes.
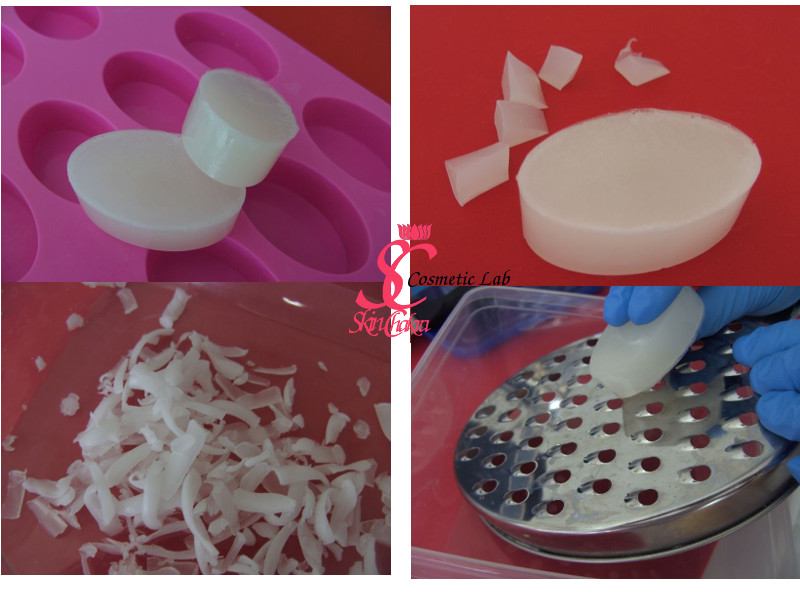
Another way of preparing beautiful parts to be embedded is to peel small rolls of soap with a peeler (which you obviously do not use anymore in the kitchen). You can store the grated soap and the rolls in closed containers to have them available for your future projects and you can prepare them in all possible colors.
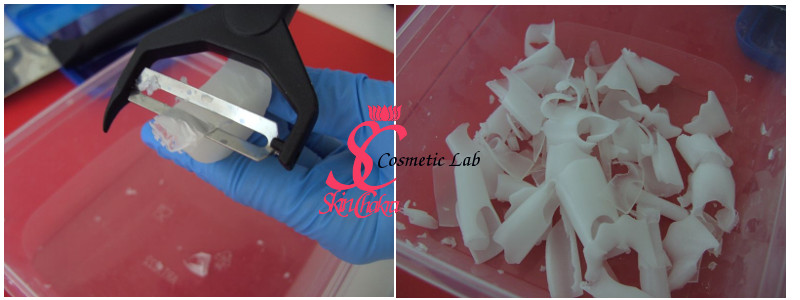
Now that you've prepared your noodles and rolls let's start with the soap.
Before we start I want to recommend you to read our older posts: hygienic manufacturing practice in cosmetic lab and introduction to Basic equipments and utensils for a cosmetic lab.
I've applied our mini-oval mold for this project. This mold yield 16 pieces of ca. 25 gr soap. You're free to apply any other mold. I suggest applying molds with small cavities (20-50 gr), the shape could be rectangular, oval, round or any other shape. Make a measurement of your cavities to calculate the amount of soap and other ingredients you're going to need for each individual mold.
For this project (400 gr soap base) you'll need:
a few drops of D&C Red#30 dispersed in glycerin (or any other red color)
The heart soaps we made in the previous projects (since the bulk soap is going to be red you'll need the white soaps)
30-60 gr white grated soap, soap rolls or small soap cubes
a bottle of spray alcohol (to get rid of the air bubbles)
a microwave to melt the soap
mini-oval soap mold or any other mold of your choice
Food saver wrap or any other shrink wrap
Here we go:
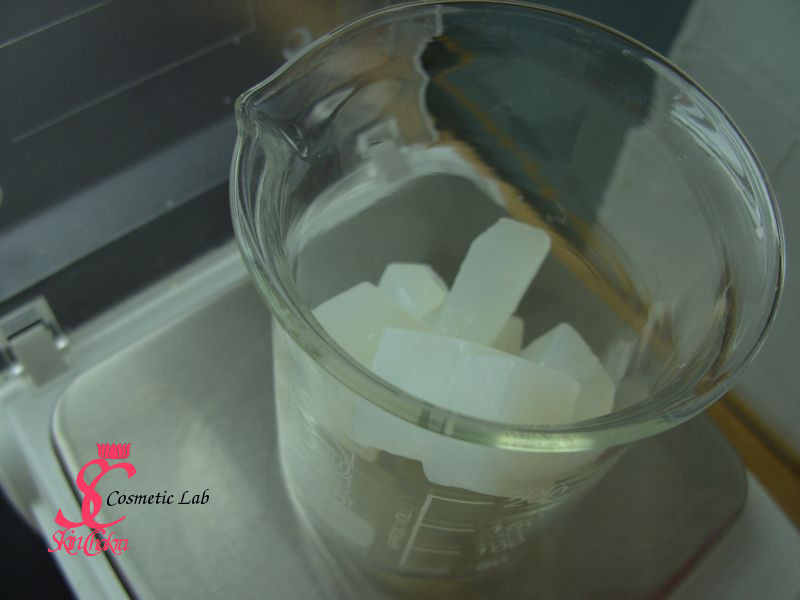
One: Weight the soap in a beaker or any other microwave suitable container. If the soap pieces are big, cut them in small cubes (about 2-3 cm) to accelerate melting and provide a uniform heat transfer. Melt the soap in 30 second intervals in the microwave, and gently stir the soap with a spatula or glass rod between intervals for a more uniform thermal distribution.
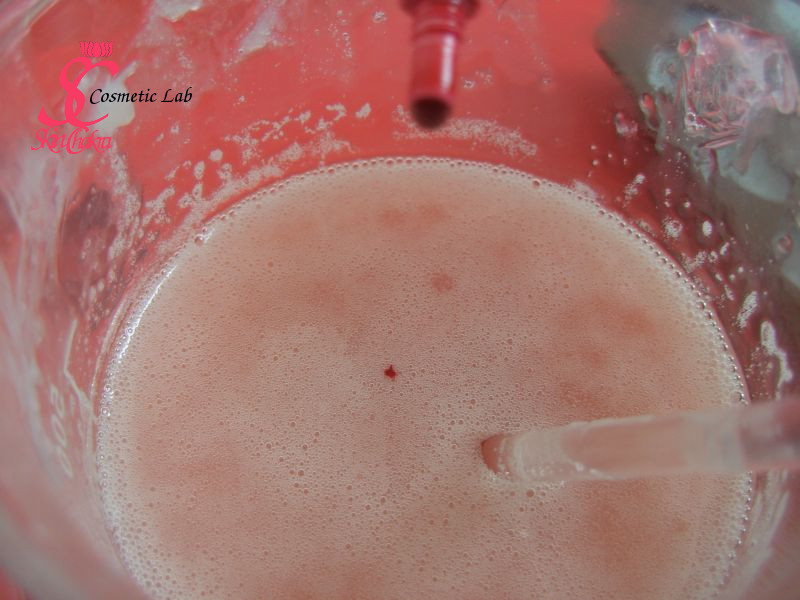
Two: After the soap is melted, add panthenol, vitamin E and the color. Here you only need a transparent color and no Titanium dioxide. Gently stir and avoid creating foam or bubbles. Now add the fragrance oil and stir gently.
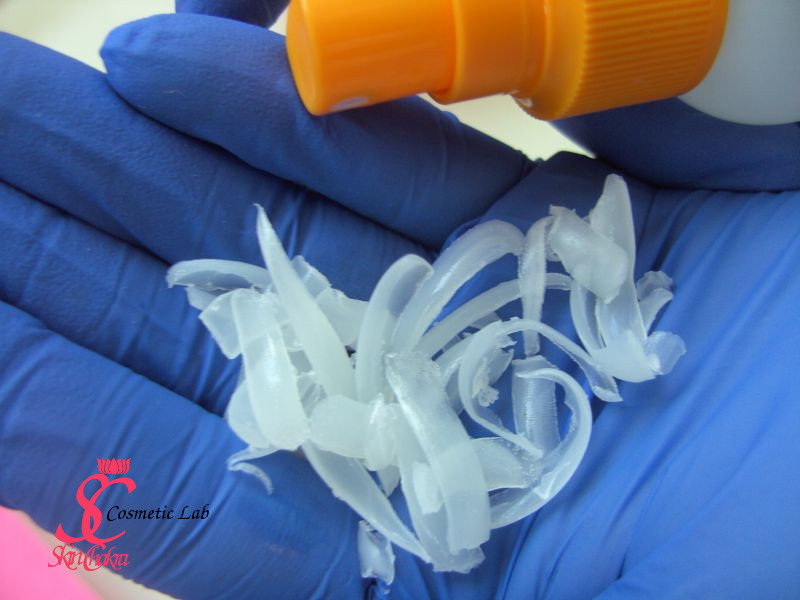
Three: Spray all soap noodles and hearts which you're going to put into the soap mold with spraying alcohol. This avoids creation of air bubbles around the embedded pieces which might cause breaking the soap after it is out of the mold.
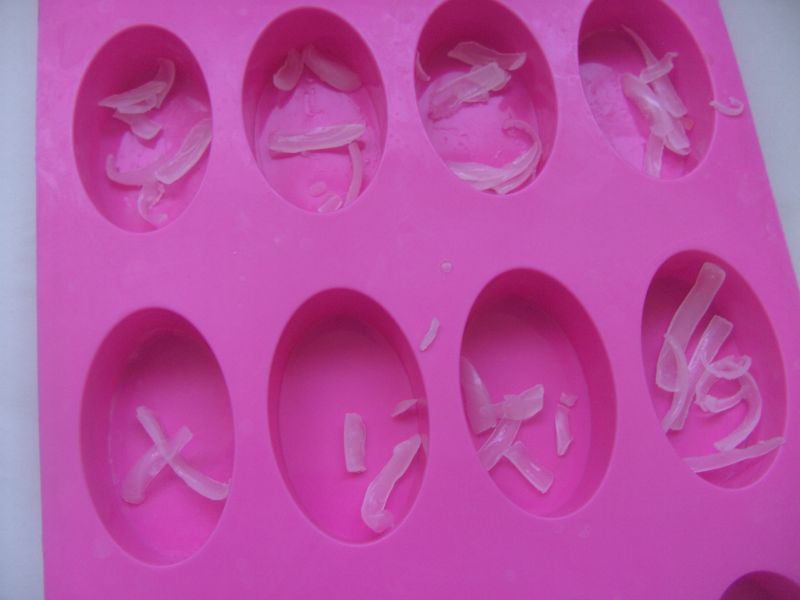
Four: Now it's totally up to you how you're going to arrange the molds. There is no limitation. We have put a few grams (1-3 gr) of grated soap and noodles into each cavity and then set 1-2 hearts per cavity. We tried to put the hearts in an angled position. You may even first add the melted soap and then set the hearts into each cavity. Do not forget to spritz the hearts before setting them in the cavity.
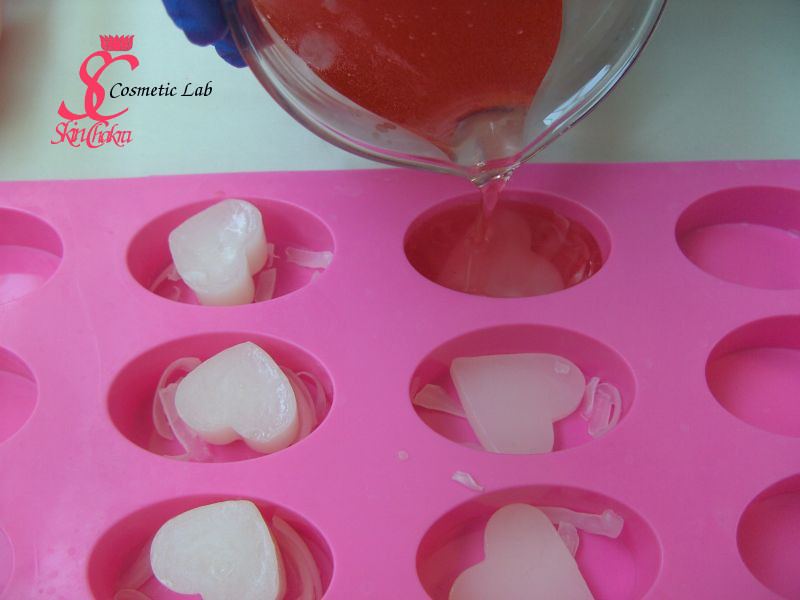
Five: Very gently and trying to avoid air bubbles, pour the melted soap into each cavity. Spray immediately over the surface to get rid of air bubbles. Let the soap cool down and harden at room temperature. It may take about 30-50 minutes depending on the ambient temperature.
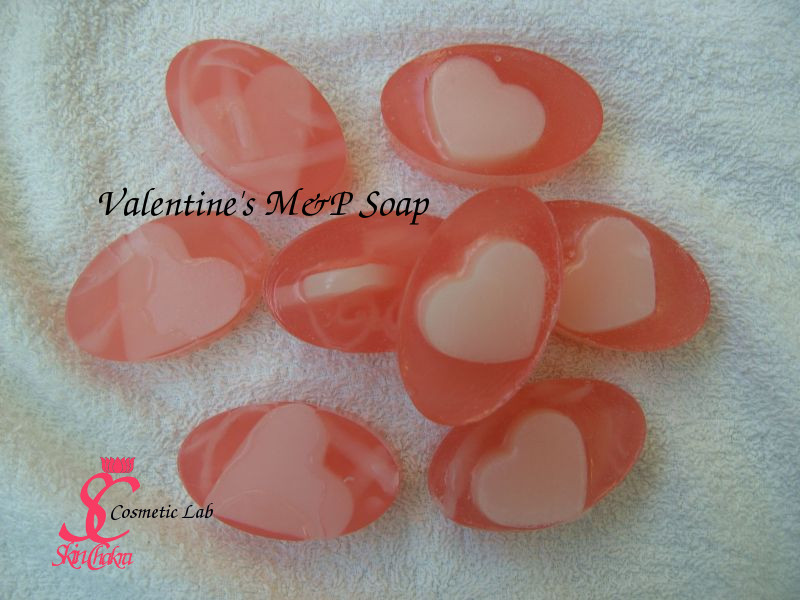
and voila, the soaps are finished
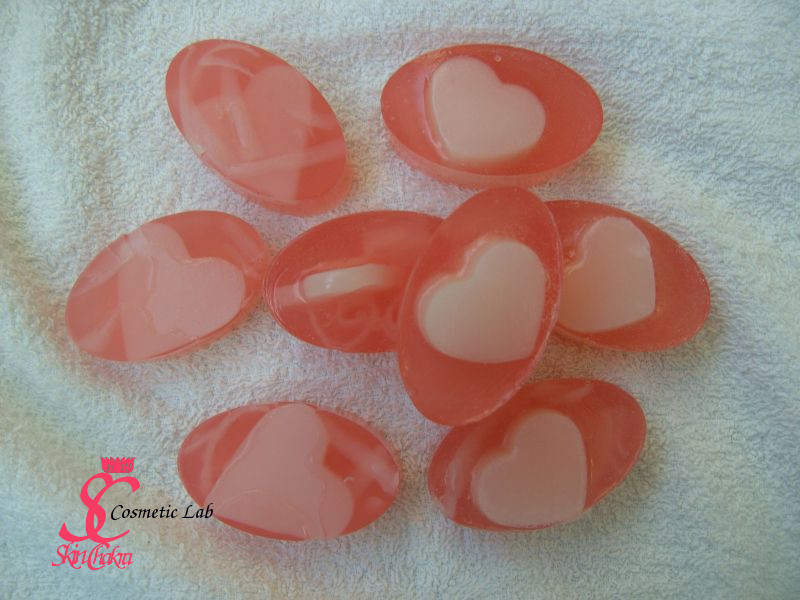
Glycerin soap is very susceptible to moisture and should be immediately shrink wrapped. To wrap the soap
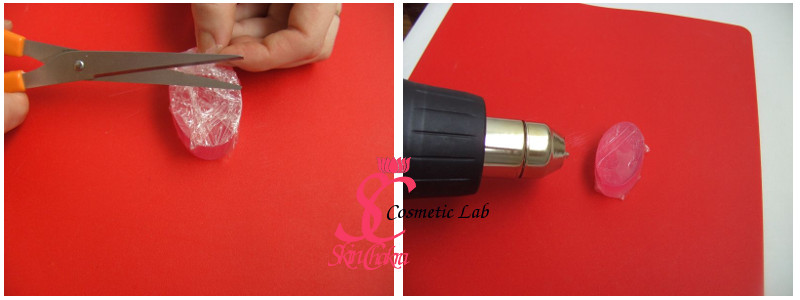
Wrap the soap in your normal food saver wrap ot a thicker kind of shrink wrap. (The ordinary kitchen foil is quite alright). Cut the surplus with a pair of scissors. Then apply a heat gun (a hair dryer would not work, you can purchase a heat gun from your local craft store at a reasonable price). Try the medium scale and avoid over heating the soap. Remember you want to shrink the film and not remelting the soap. Start from the bottom side and keep the gun about 20-25 cms from the soap. Move the gun or the soap to avoid constant heating of a small surface which causes melting or deformation of the soap. After being finished with the bottom (you need only a few seconds) move to the sides and then to the top of the soap. And YES, you're done.
Purchase all ingredients and supplies you need from SkinChakra® online shop.
BeHappy and have fun
Swettis Beauty Blog am : Valentine's soap- Heart in Heart
Swettis Beauty Blog am : Valentine's Day soap project: tilted heart soap
Swettis Beauty Blog am : Dino the new soap