Donnerstag, 23. Januar 2014
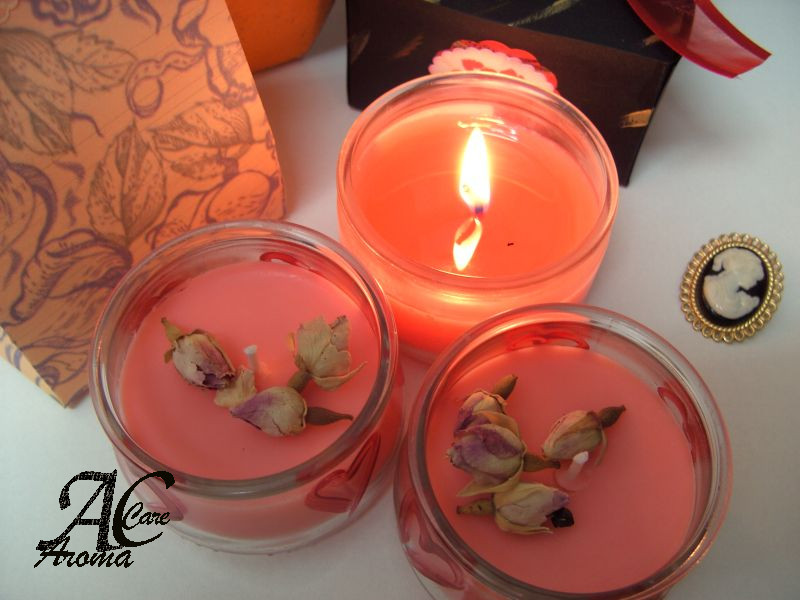
Valentine's Day Candle project

Candle making was never so easy with low melting point waxes and so many beautiful and affordable glasses and jars.
In this project we have an easy to make candle project which is suitable for Valentine's day or mother's day but you can adapt the project to any other theme changing the color and the scent of the candle.
Basically for a candle you'll need a burning wax. Paraffin is of course the most widely applied wax and the cheapest but since it is a derivative of mineral oil, it is not the best choice from an environmental and ecological point of view. Soybean wax is another choice, however be aware that soja wax chokes the fragrance. Scented candles based on soybean wax loose the fragrance with time. Stearin is another wax of choice. We mainly recommend it for scented tarts and for standalone candles. However you can apply it for jar candles as well.
Our best choice and most recommended wax for jar candles is a low melting point wax (52-56 degrees Celsius) based on Rapeseed. Rapeseed is logically plant derived and sustainable. It is available in great volumes because Rapeseed is widely cultivated as an edible plant and as a sustainable source for bio-fuel.
The next thing you need is a wick. Now the wick choice could be quite complicated. The material, the shape and thickness all should be chosen for each individual wax. As a simple example: if the wick is too thin for a given candle, only the inside would burn and the main part of the candle remains unburned and should be discarded or recycled at the end. On the other hand if the wick is too thick, the wax would soot during burning.
For our candle projects, we offer a suitable glass with a built in wick which works best for our low melting point rapeseedwax. The wick is made from cotton and is lead free. Basically it works with all other waxes but you'll have the best result with the rapeseed wax. Wick choice is basically a trial and error process. You've to fing out what works best for your specific jar and your specific wax.
It is up to you (and depends as well to your jar) whether you apply wax color or not. Wax pigments and colorants are very concentrated and a little goes long. Start with tiny little amounts. Its always possible to add more but once you've applied too much colorant, you can not reduce the shade unless you dilute the wax with more wax and make 3 candles out of 1 originally planned candle. For this project logically we have applied our Xmas red pigment.
The fragrance is very important. Make sure that your fragrance or essential oil is safe for burning with candle and does not produce dangerous vapors and fumes during burning. Here we have our "English British" Fragrance oil which is a very safe cosmetic fragrance and has proved to work excellent in candles and scented tarts.
So now that we discussed the basic, we can proceed to the practical part.
The glasses we deliver are 85 ml (about 80 gr) glasses. If you're going to apply another jar you've to calculate the recipe for your individual glass or jar.
For this project (80 gr wax) you'll need:
80,0 gr low melting point rapeseed wax
10,0% (8,0 gr) fragrance oil "British English Rose"
a tiny little piece of wax pigment Xmas Red, this is less than 0,05 gr for 80 gr wax and it should be about the head of a small pin or nail
a glass jar with mounted suitable wick
a suitable pot to melt the wax
A water bath to melt the wax
an spatula or wooden stick to stir the wax
(optional) a disposable pipette for fragrance oil
(optional) a thermometer to check the temperature
a pair of pencils or pens or similar object to fix the wick
Here we go:
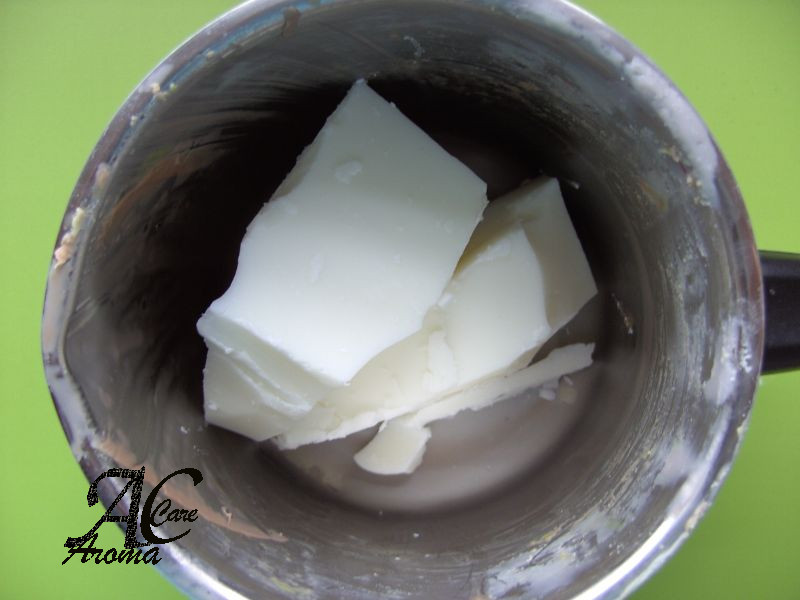
One: Rapeseed wax comes in big blocks. You may first want to cut the block into small pieces to accelerate melting and heat transfer. Cut the wax and weight it in a suitable pot to be heated in water bath.
Never heat the wax over a flame or in a microwave. For small amounts of wax, a water bath is the most suitable and safest way to melt the wax.
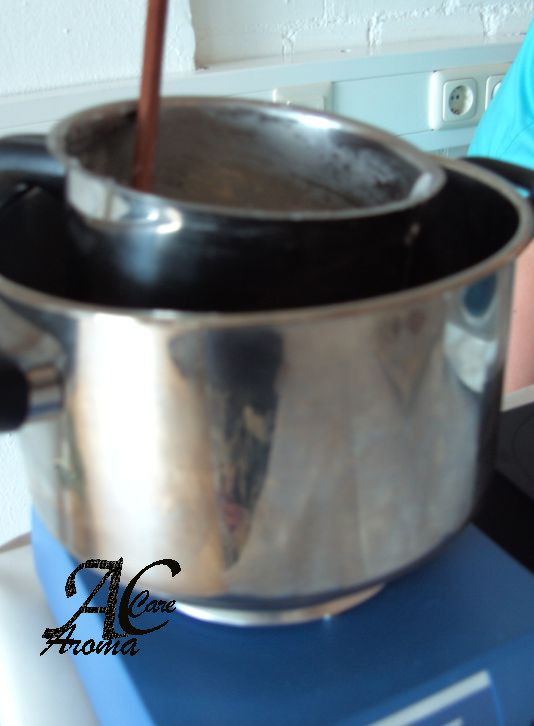
Two: put the wax pot in a water bath. The water should be around 70-80 degrees centigrade. Stir the wax to accelerate heat transfer and melting.
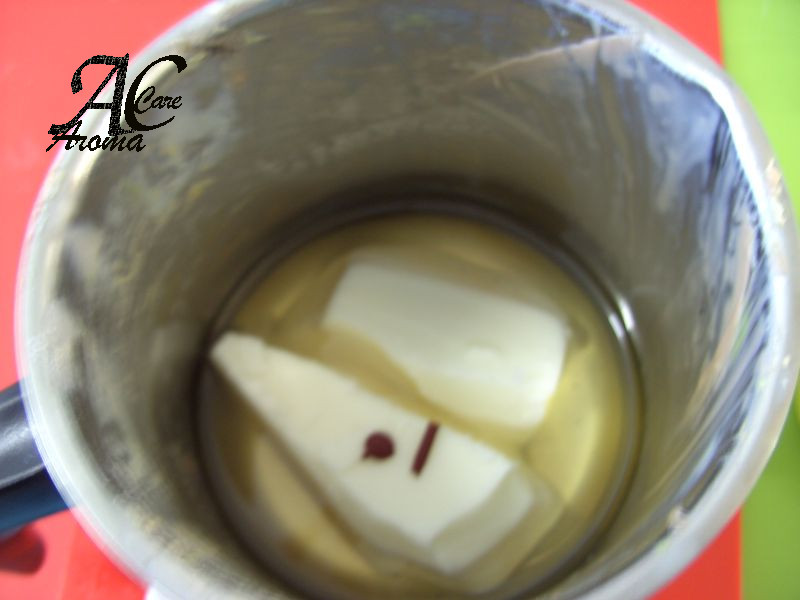
Three: You may add your pigment from the beginning or as the wax is melted. The pigment should be stirred continuously for a uniform distribution.
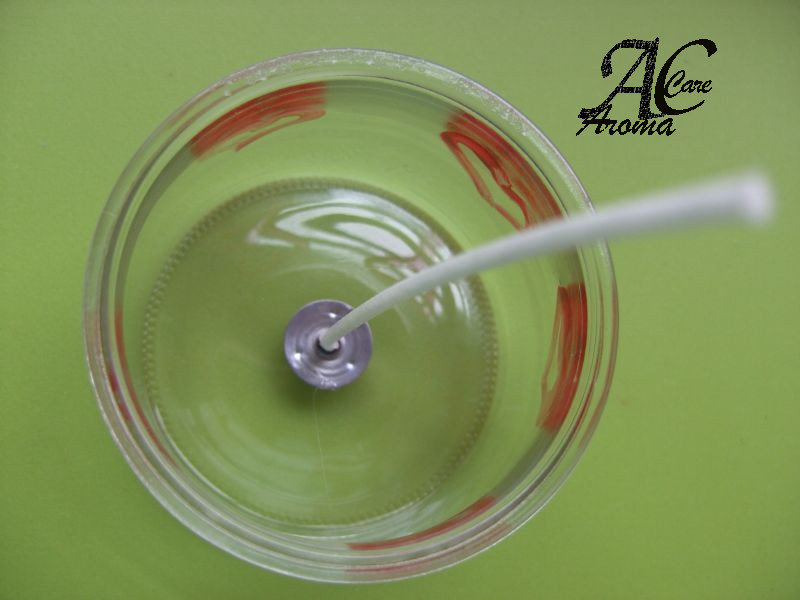
Four: AromaCare® Candle jar is delivered with a built in wick (which should be cut to the suitable length after the wax is hard). If you're working with another jar you may want to prepare your jar as the wax is melting.
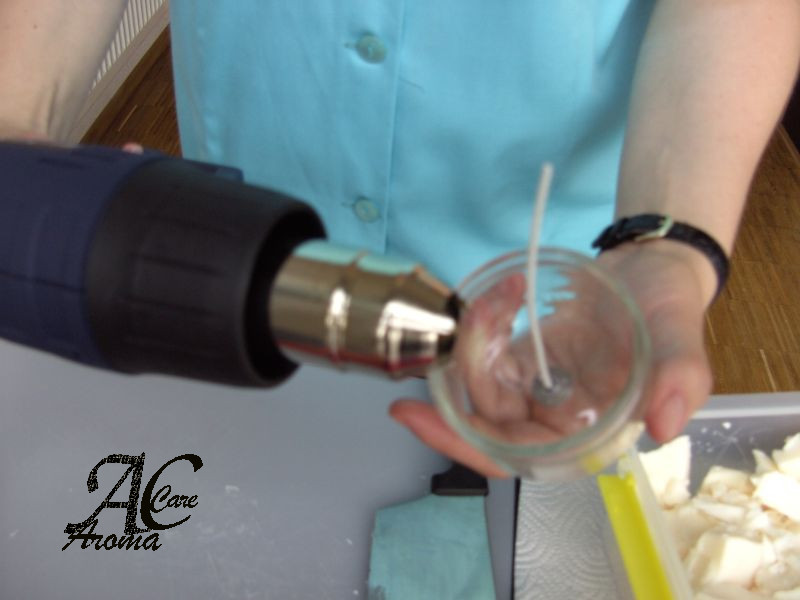
Five: If you're working in a cold lab you may want to heat the jar with a heat gun before pouring the wax to provide a uniform cooling and hardening of the wax. A sudden cooling caused a shock and probable cracks in the wax.
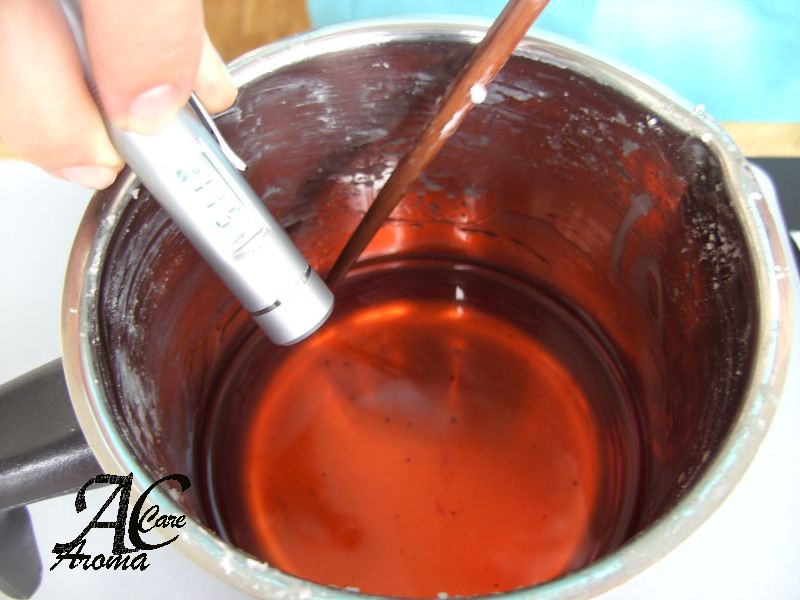
Six: After the wax is melted to a uniform liquid and the pigment is uniformly dispersed turn the heat off and measure the temperature.
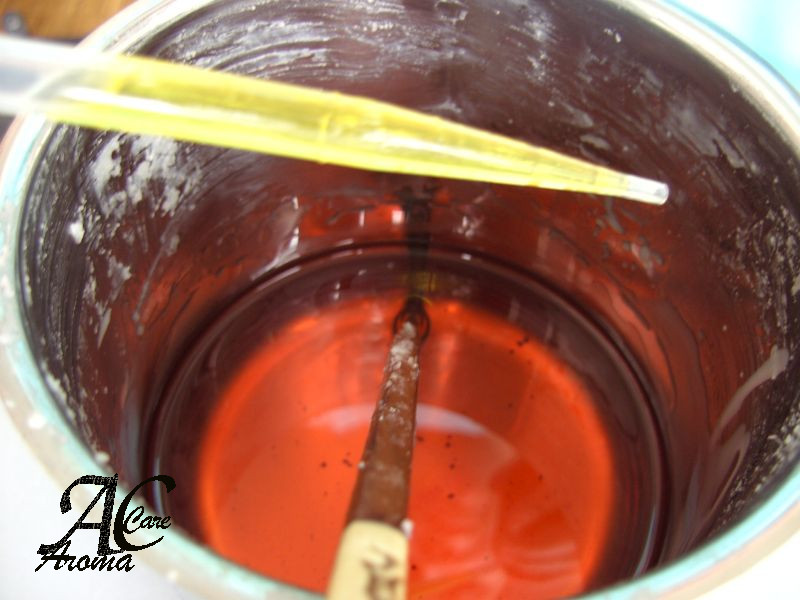
Seven: Add the fragrance oil as the wax temperature is about 60-65 degrees (short before the wax starts to harden) and stir slowly.
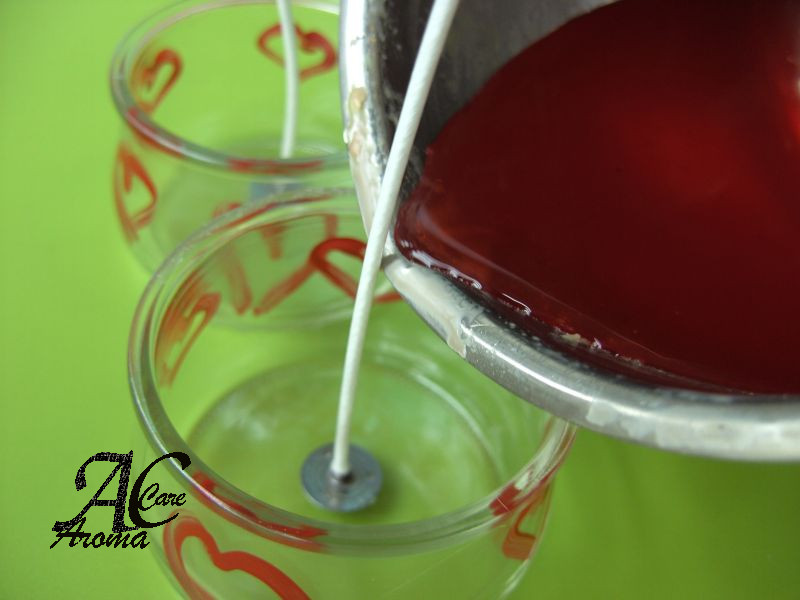
Eight: Slowly pour the melted wax into the jar. A vigorous pouring may detach the wick from the glass.
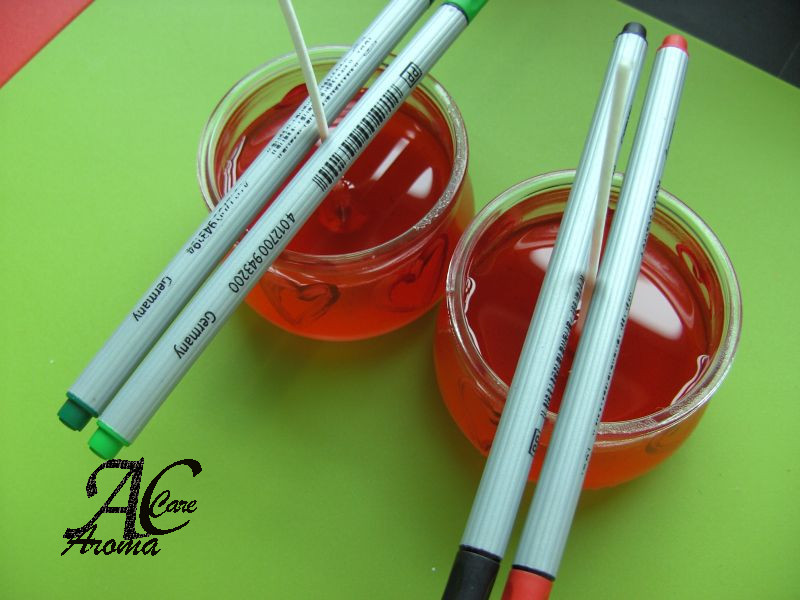
Nine: Fix the wick with a pair of pens, pencils or sticks as the wax is solidifying. Let the wax solidify at ambient temperature. This may take a few hrs (to a few years ![]() ) depending on the jar and the ambient temperature.
) depending on the jar and the ambient temperature.
After the wax is really hard (have patience), cut the wick so that about 0,5 cm free wick is left above the wax surface.
And wait about 48 hrs for the fragrance to be stabilized in wax-matrix before you light the candle.
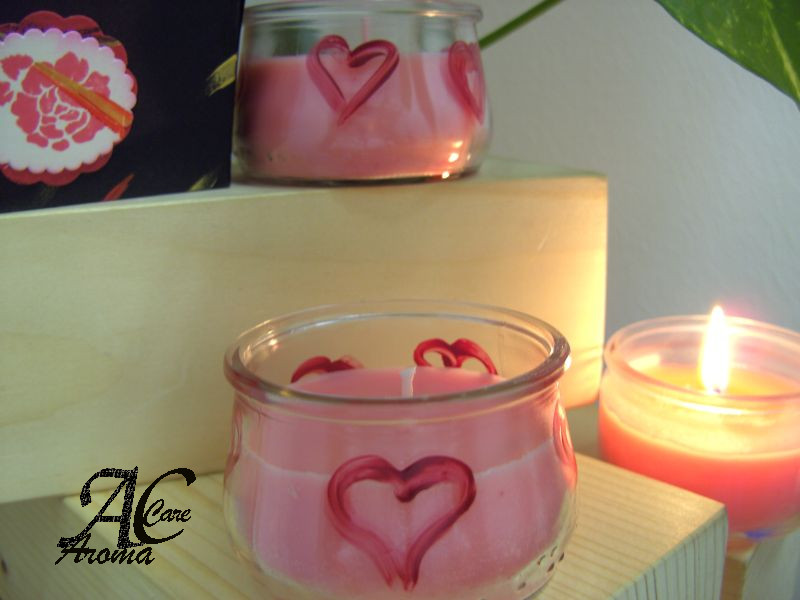
Wrap and pack the candle as you wish. You may decorate the surface with some rose petals or rose buds but I recommend to remove them before burning the candle. We do wrap the candles in shrink wraps before packing them in boxes and gift bags. This helps candle keep the fragrance for a longer period.
You can purchase all the ingredients for this project from SkinChakra® online shop.
BeHappy and have fun.

