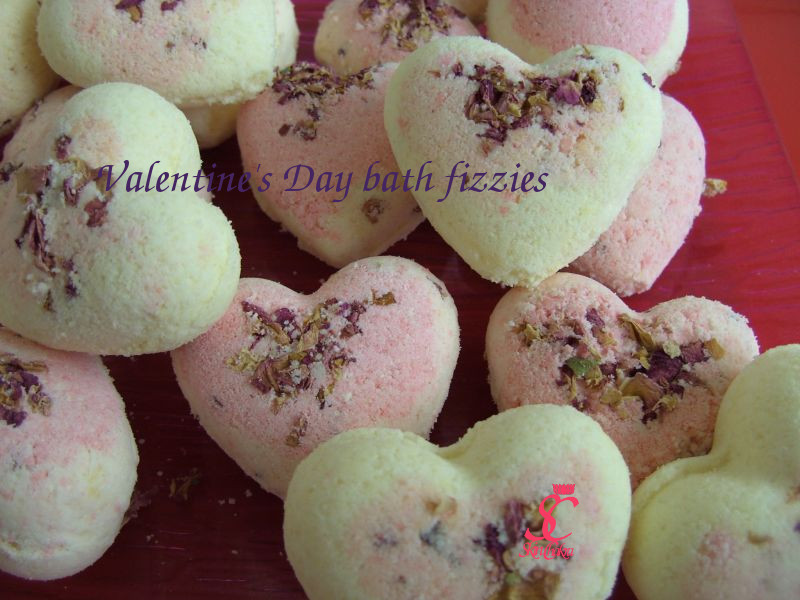
This is probably the latest project for Valentine's day in this year. Beautiful bath fizzies shaped as heart and with rose fragrance.
This is a very easy and forgiving formulation and there is nothing you can make wrong. The basic key to making bath fizzies is the baking soda to citric acid ratio which should be 2:1. In that case as the mixture comes in contact to water CO2 or carbon dioxide is liberated which causes the effervescence. Other additives are emollients, oils or butters, fragrance oil or essential oil, colorant and a binding ingredient which holds all of the ingredients together. Here we apply the multi-functional ingredient lysolecithin which is a hydrophilic emollient and an emulsifier for oils in bath and shower products. This ingredient is free of water and could be simply mixed into bath fizzies, compressed tabs and foam baths as an emollient, an oil emulsifier and as a binder.
For this recipe, the ingredient blend is presses into a two part heart mold, the harder you press the compacter the bath fizzy and the more stable. We usually wait a few hours to get the heart out of the mold but if you have not too many molds available, then you may want to demold the heart a few minutes after the powder is presses. After demolding the heart let it rest over the counter for at least 24 hrs before wrapping them. If your lab is located in a humid area, keep the fizzies as dry as possible (in a box with silica gel which absorbs humidity or keep them at least in a closed container).
Before we start I want to recommend you to read our older posts about hygienic manufacturing practice in cosmetic lab, and an introduction to Basic equipment and utensils for a cosmetic lab.
For this project (5-6 hearts) you'll need:
400,0 gr baking soda (sodium bicarbonate)
38,0 gr lysolecithin
a few drops of D&C red #30 dispersed in Glycerin (1,0%)
You'll need as well
a suitable bowl to mix the ingredients
spatula or suitable spoons to mix the ingredients
Patience
Here we go:
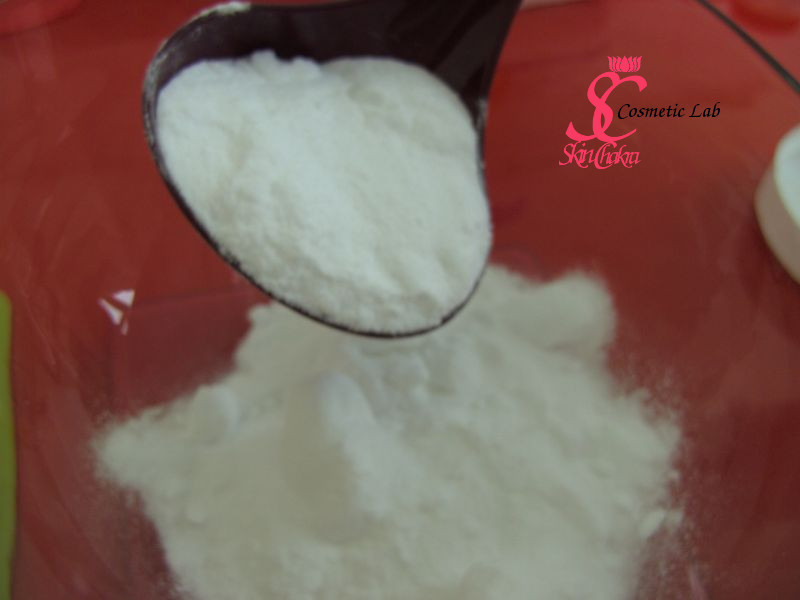
One: in a suitable bowl mix baking soda and citric acid and mix them with a spoon and then with your hands. (wear gloves to protect your nails and nail varnish) . Try to break any possible clumps. If the mixture is not very fine, you may want to pass it through a sieve to get rid of big clumps.
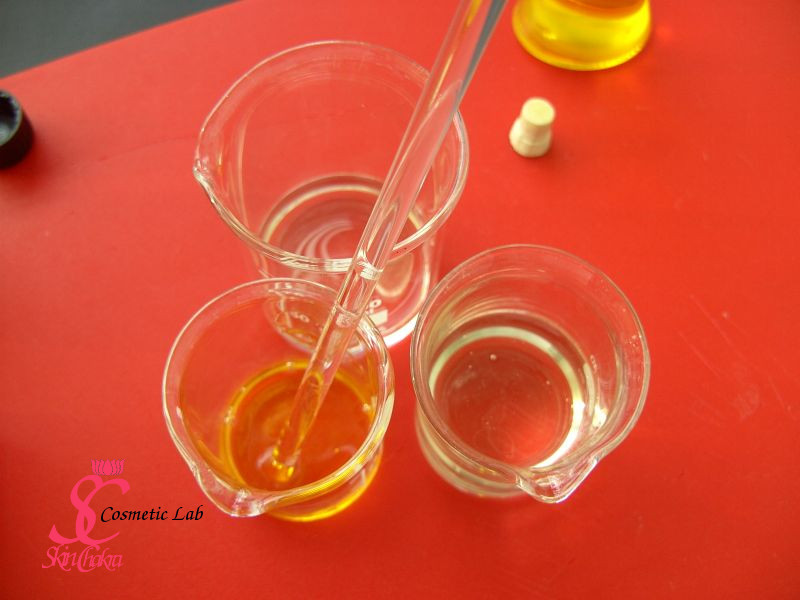
Two: in suitable glass beakers, weight your liquid ingredients (Vitamin E, macadamia nut oil, lysolecithin, fragrance oil)
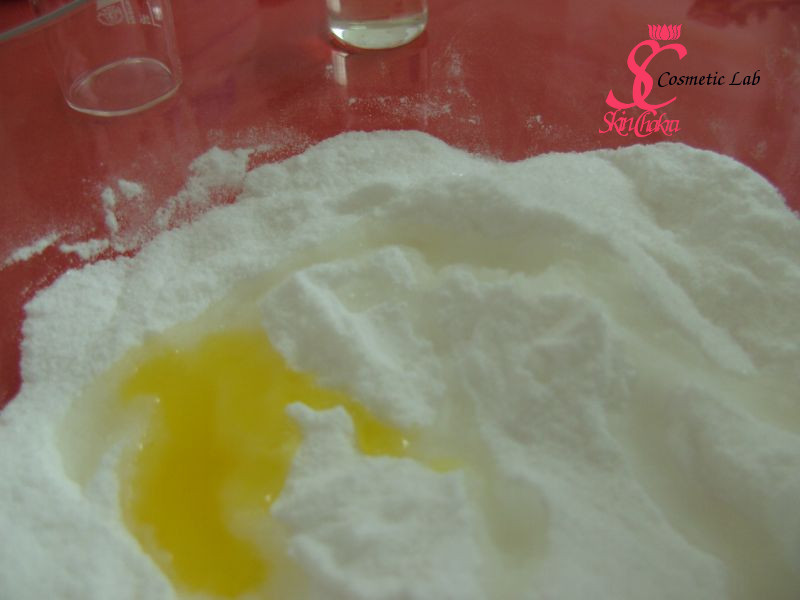
Three: Step by step and with mixing after each addition add the liquid ingredients to the powder.
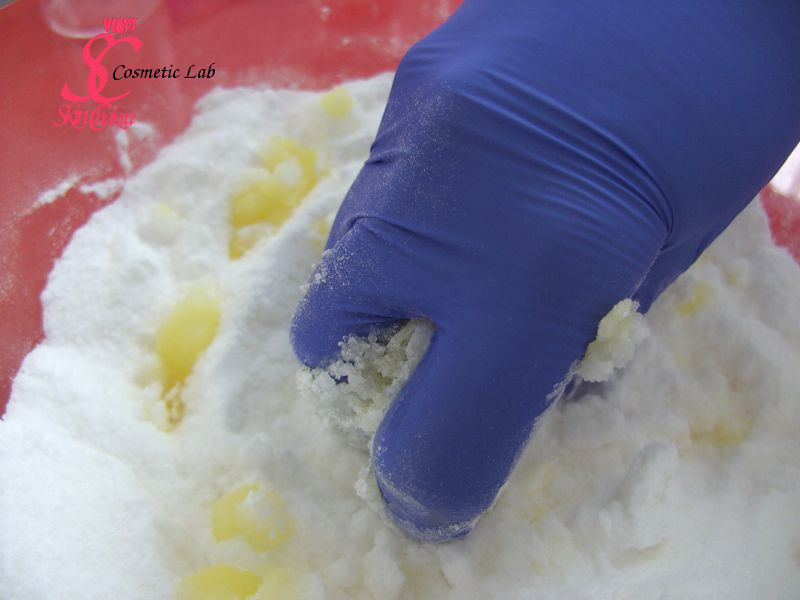
Four: Mix and knead the mixture with your hands. Be patient and knead gently. This part needs time. the consistency depends on the ambient humidity. If you have the impression that the mixture is too dry and brittle add up to one table spoon lysolecithin, if you feel the mixture is too wet, add up to one table spoon sodium bicarbonate.
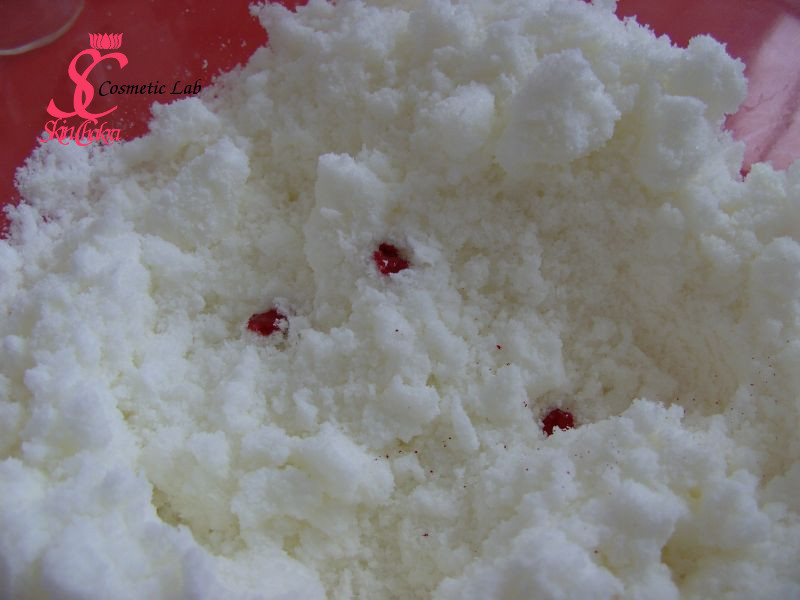
Five: Add a few drops of the colorant. The intensity is optional. It is up to you if you want a very uniform blend or rather a marbled look. Here as you can see, we mix the color so that the mixture has a marbled look. If you prefer, you can even divide the mixture and add the colorant only to one part.
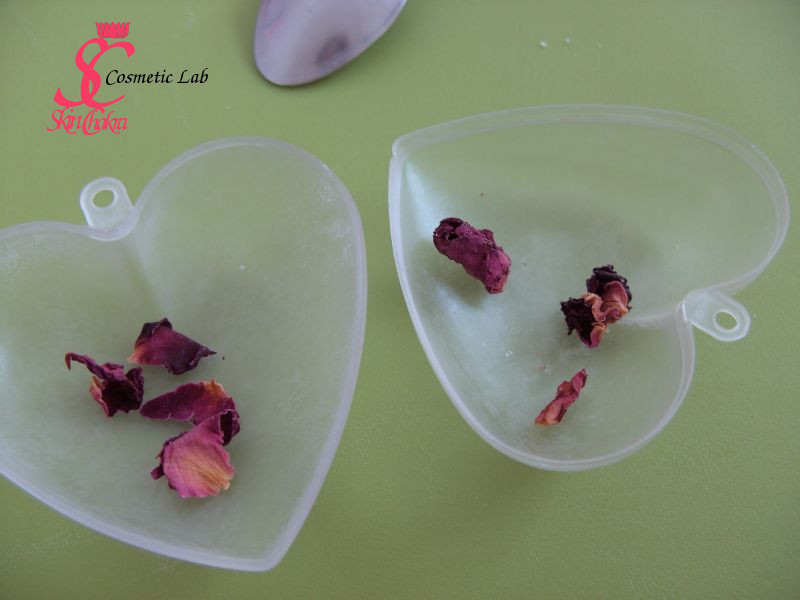
Six: If you want to apply rose petals, you can mix them with the blend or set them in the mold so that only the outer part of the hearts contain the petals. The acrylic molds are completely clear at the beginning, they become however cloudy and brittle as you work with baking soda, fragrance oils or essential oils. They have a limited life and should be replaced after about 50 bath fizzies.
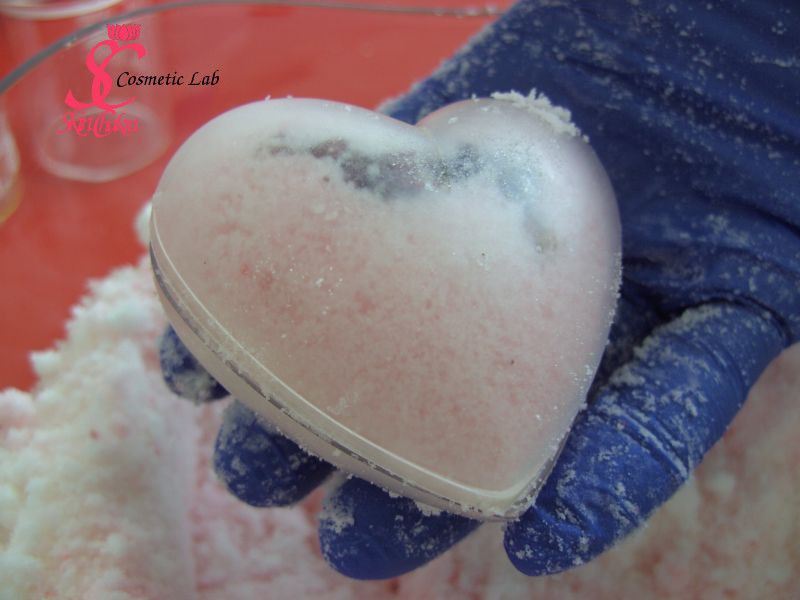
Seven: The fun part begins. Shovel the base with your mold pieces in your left and right hand, bring the two parts together and press them firmly to close the mold. With an asymmetric mold like this one it could be a little bit more tricky compared to a spherical mold. If you have enough molds, let it rest for a few hours before you take the bomb out of the mold.
Eight: to demold the bath bomb, keep it in one hand
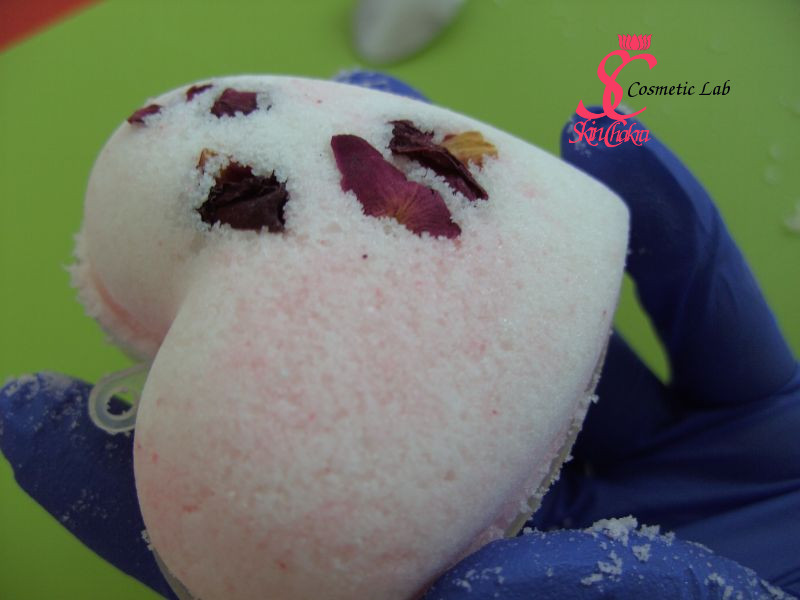
and very gently remove the upper part.
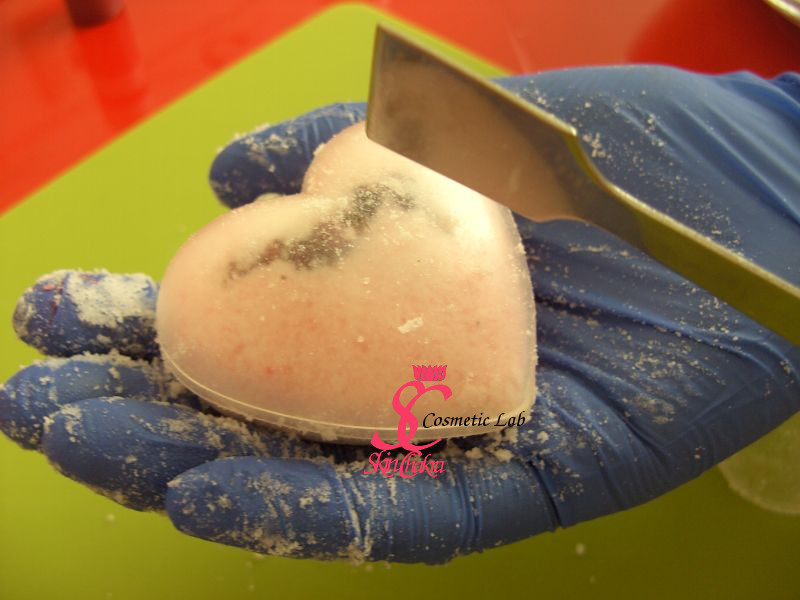
Nine: Now turn the bomb in your hand so that the free part is in your hand palm and the molded part is free. Gently tap a spatula or spoon over the mold to release the bomb from the mold.
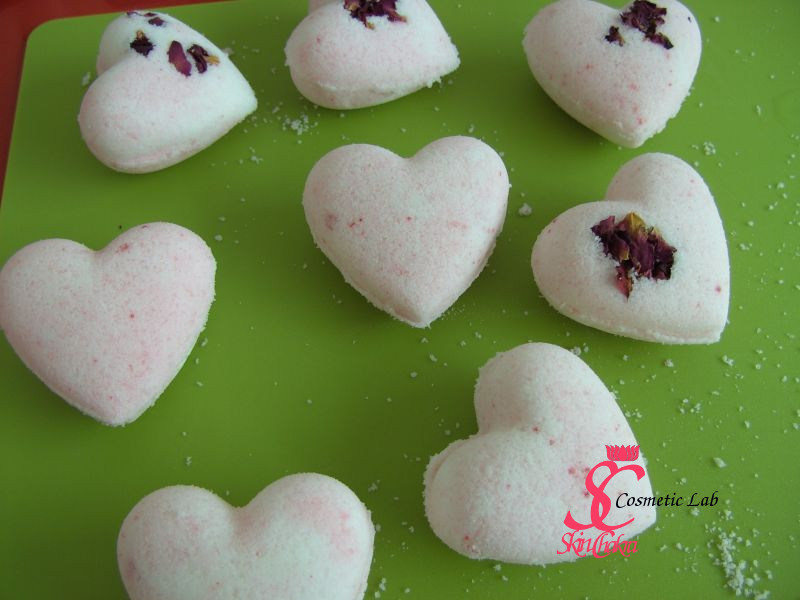
Ten: Let the bath bombs harden in air for at least 24 hrs. If you're leaving in a humid region, protect them from humidity so that they really harden.
Wrap them in cellophane or a clear foil to protect them from moisture.
You can purchase all ingredients for this project by SkinChakra® Online Shop.
BeHappy and have fun.
