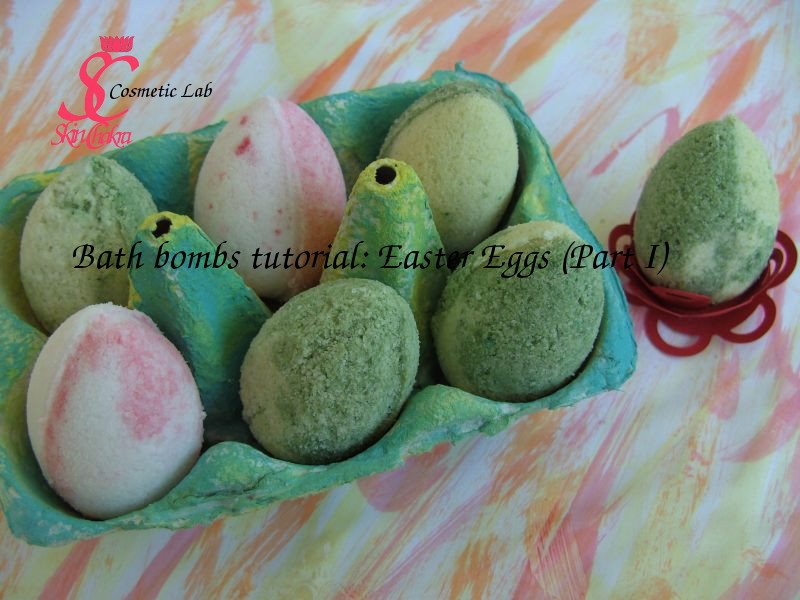
Are you looking for cute Easter projects? Then follow me through this tutorial
Cute easter eggs which are super easy to make. With these bath bombs you can surprise both children and adults and bring them something very special. In this first part I'll show you how to make the green eggs. In the next part we'll prepare the red ones. The procedure is basically the same. There is only a difference in color, fragrance and the plant extract.
With our acrylic egg molds, you'll prepare eggs about 40-45 gr each. So calculate your ingredients as you plan how many eggs you would need. It always better to have some raw material in surplus. Calculate 50 gr for each egg.
Before we start I recommend you to read our older posts and general information regarding hygienic manufacturing practice in cosmetic lab and the introduction to Basic equipment and utensil for a cosmetic lab .
For this Project (500 gr base, 8 eggs) you'll need:
20,0 gr lysolecithin (4,0%)
1,0 gr Tocopherol (Vitamin E) (0,2%)
4,0 gr lipophilic calendula extract or infused oil (0,8%)
a few drops of Oxide green (CI 77288) dispersed in Glycerin or in lysolecithin
At least a pair of acrylic egg molds
You'll need as well
two bowls to mix the ingredients
Glass beakers for essential oil and other liquid ingredients
Spatula or suitable spoon
Let's get started
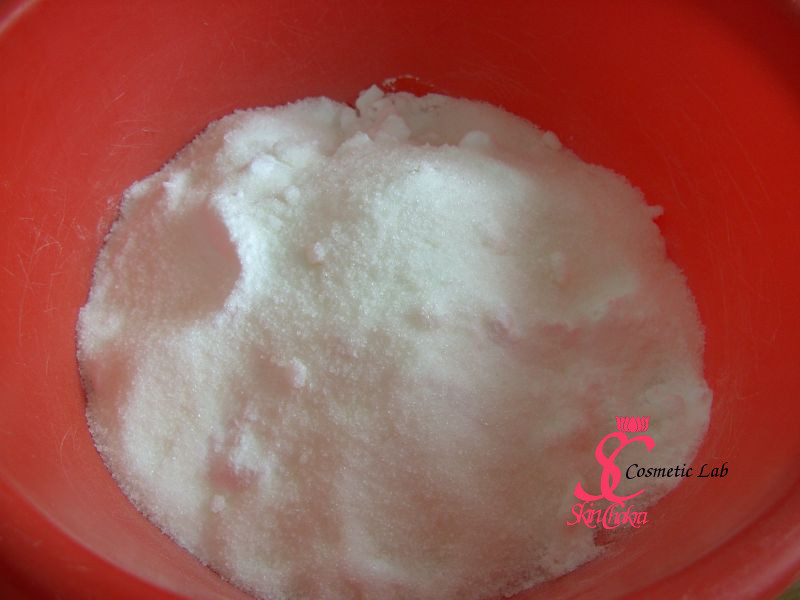
One: in a suitable bowl mix baking soda and citric acid. Mix them first with a spoon and then with your hands. (wear gloves to protect your nails and nail varnish) . Try to break any possible clumps. If the mixture is not very fine, you may want to pass it through a sieve to get rid of big clumps.
Two: Step by step and with mixing after each addition add the liquid ingredients to the powder. (Vitamin E, calendula extract, essential oil and lysolecithin)
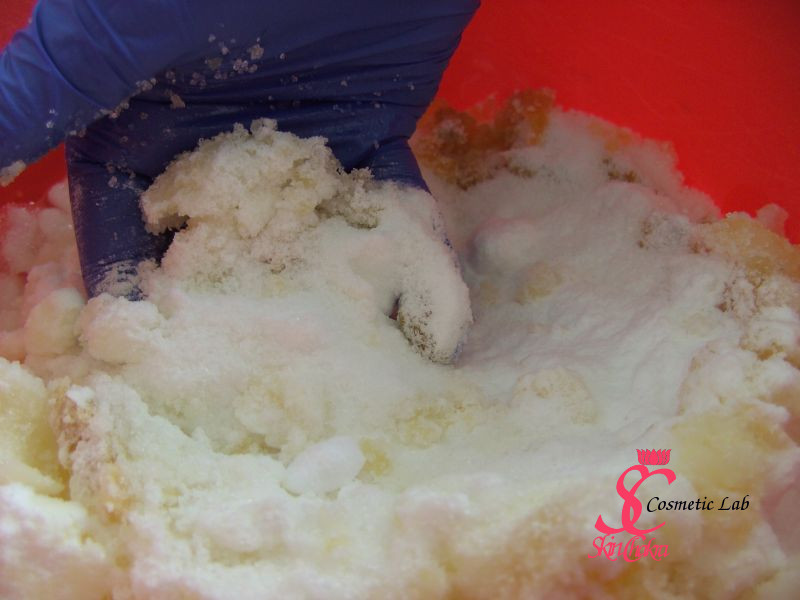
Three: Mix and knead the mixture with your hands. Be patient and knead gently. This part needs time. the consistency depends on the ambient humidity. If you have the impression that the mixture is too dry and brittle add a few drops up to one teaspoon Lysolecithin, if you feel the mixture is too wet, add 1-2 spoon sodium bicarbonate.
Four: Lime essential oil gives a pale green color to the base. You may want to go ahead with this color without adding any extra colorant. If you want to have a more intensive color however apply the colorant dispersed in glycerin or in lysolecithin.
Add a few drops of the colorant. The intensity is optional. It is up to you if you want a very uniform blend or rather a marbled look. For this project we've divided the base (eyeballing) and added the green color to only one part.
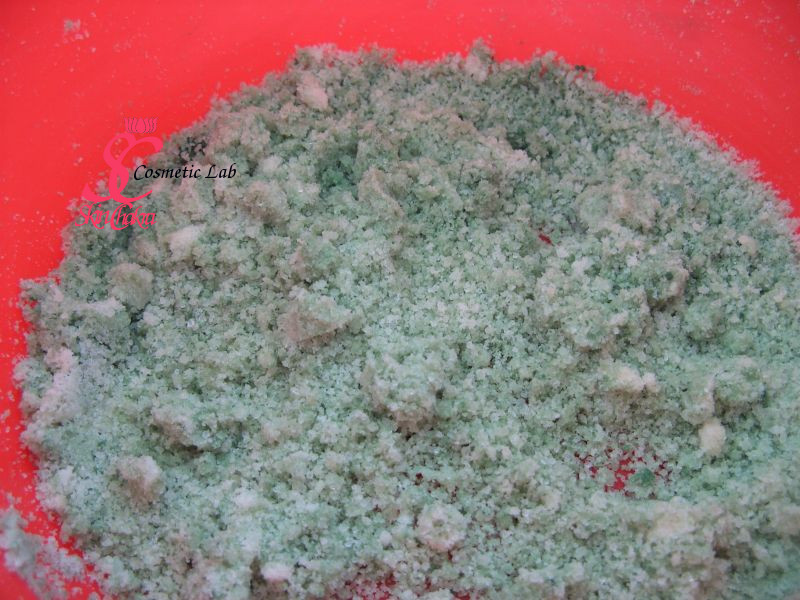
Five: The fun part begins. Fill each half of the mold with the base according to your preference for color. Each half should be more than just full with the base.
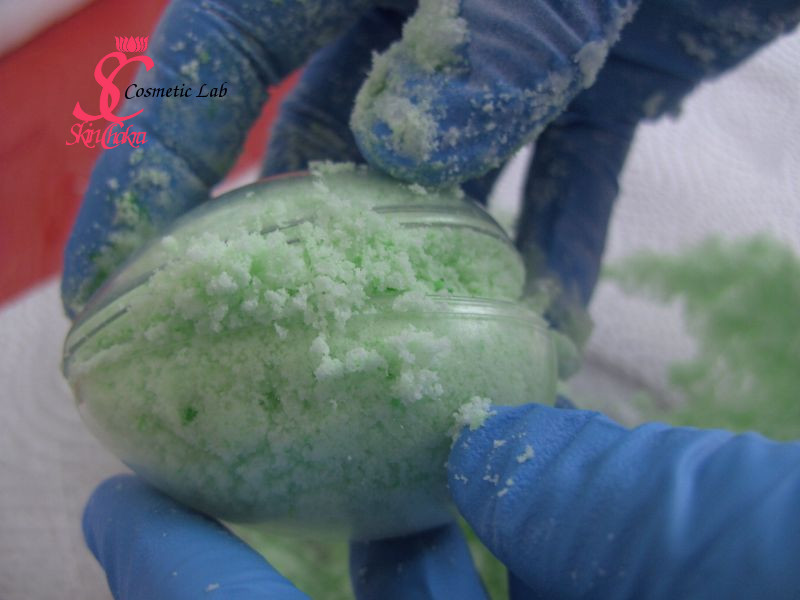
Working with asymmetric molds like oval molds is basically a little bit more different than working with symmetric molds but you'll learn to manage it after the first couple of trials.
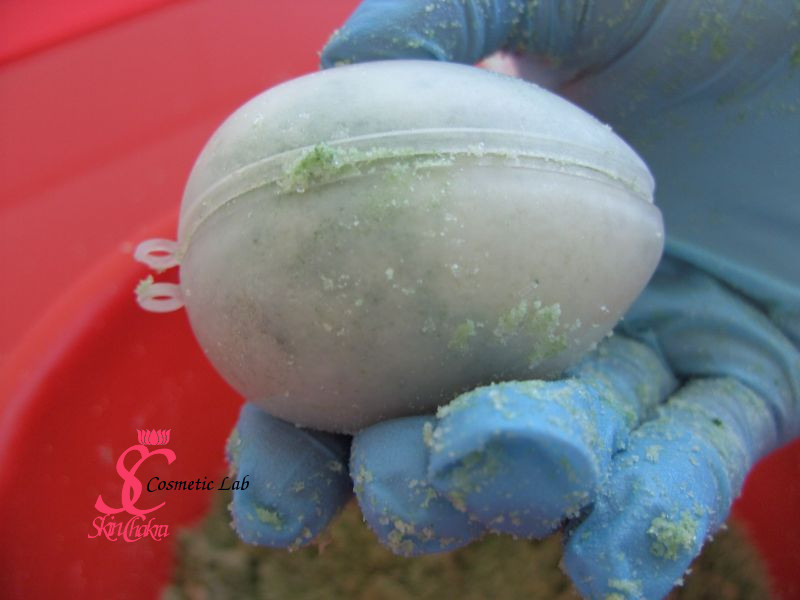
Press the two halves together and clean the molds perimeter from surplus base.
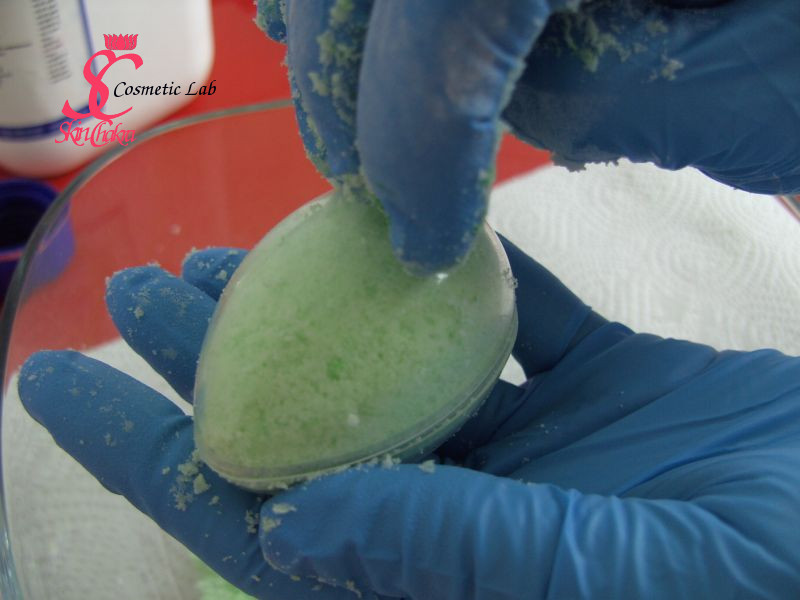
Six: To bring the egg out of mold hold the egg in one hand, gently tap over one half to release it and then remove it. Repeat the same procedure with the other half.
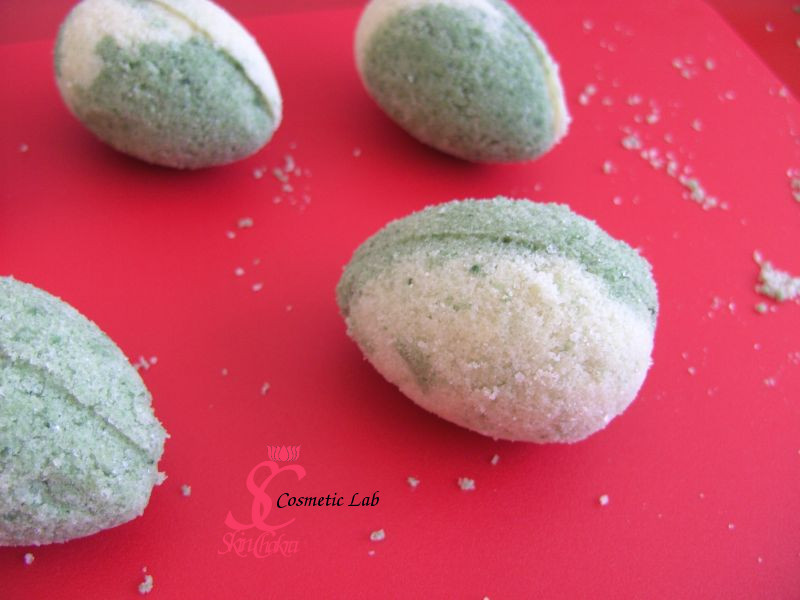
Seven: Repeat the procedure with the rest of the base. Unless your ambient humidity is too high, let the bombs stand for about 24 hours before you wrap them. They should be kept away from moisture.
Wrap the bath bombs in cellophane or a clear foil to protect them from moisture.
You can purchase all ingredients for this project by SkinChakra® Online Shop.
BeHappy and have fun.
SC PaperDesign am : Easter eggs- Transparent bag