Montag, 2. November 2015
Avocado whipped butter-Tutorial
If you're in the northern hemisphere, it's the time of the year when the skin needs fat-rich products to protect it gainst cold and dry weather.
This is why we decided to dedicate Formula Botanica's formulation challenge in November-December to formulating a simple butter.
As simple as it might sound, formulating a butter is one of the biggest challenges to both students and experienced formulators. Grittiness of shea butter is a nightmare to the majority of formulators who work with shea butter (or who decide not to work with shea butter). Then we have the greasiness of the butter, it's sticking over the skin. To improve the formulation and avoid these problems, most students (and even artisan manufacturers) add starch, arrow root powder, bees wax, cetyl alcohol and heaven knows how many other ingredients just to become more frustrated and more disappointed with the results. Because of this, we decided to let students (and graduates who want to participate in the challenge) make a very simple butter formulation. We keep to our KISS principle in all of our challenges. They are supposed to prepare a formulation in two different ways: one concentional butter and one whipped butter and then compare the texture, consistency, skin feels and appearance.
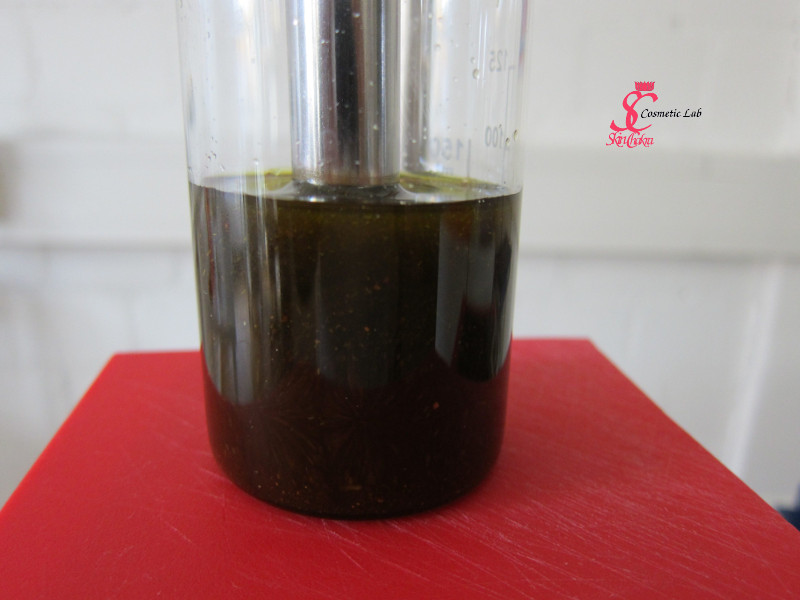
I shall confess that I deviated from my own established KISS principle and made the butter a little bit complicated. I badly wanted to make a winter themed butter with some warming notes and this is why I infused/extracted cinnamon, clove and cardamom in my avocado oil. I made a cold infusion and used our marcus (homogenizer/disperser) to accelerate the extraction. I crushed the spices in a mill before adding them to the oil for a better extraction.
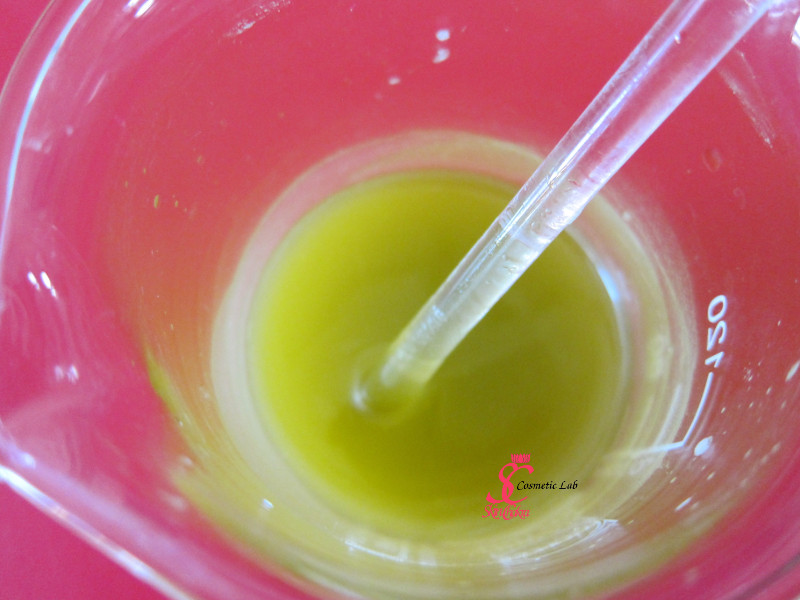
This is my avocado infusion:
100 gr Avocado oil (organic and unrefined)
2.2 gr Cinnamon
2.2 gr Clove buds
1.5 gr Cardamom
I filtered the oil after a short dispersion (about half an hour). This would be my avocado infused oil in the recipe.
Now going to the recipe:
11.0% Babassu oil
4.0% Cocoa butter
52.0% Shea butter
26.8% Avocado infused oil (as above)
1.0% Tocopherol
5.0% hypericum extract in sunflower oil
0.2% Ginger essential oil
Here we go:
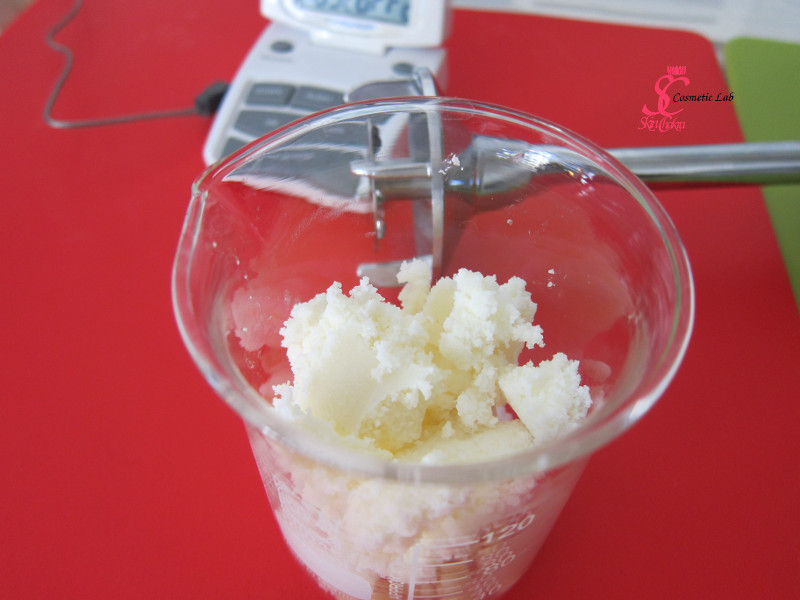
1- In a suitable vessel (a beaker for example) melt babassu oil, shea butter and cocoa butter in a water bath. I know many tutorials recommend adding shea butter at the end of the process and not melting it from the beginning. I have however, never had any issue with applying shea butter from the very beginning and since the heating phase is really short, there is no damage in heating shea butter with other solid fats and butters.
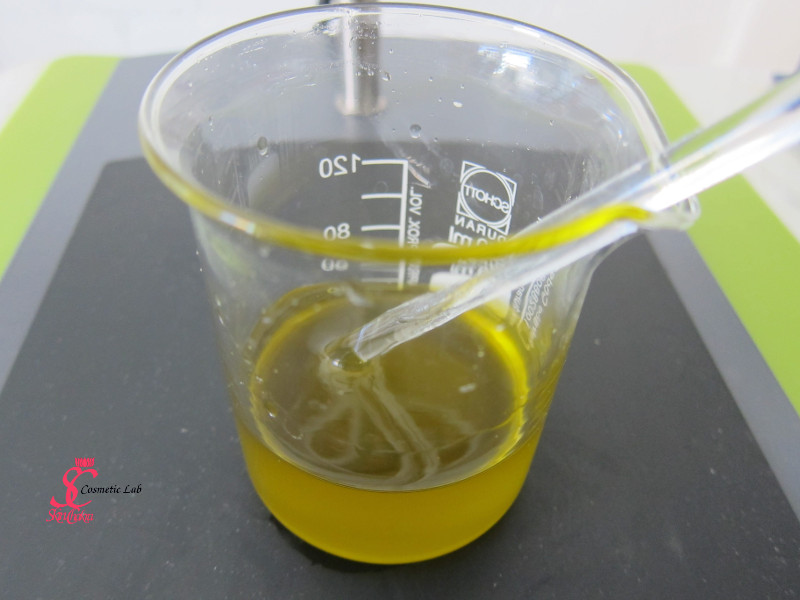
2- After this blend is melted, stop heating and add the avodaco infused oil, the extract and tocopherol and blend gently
3- Continue gentle blending as the blend cools down. At about 35 degrees add the essential oil.
For the conventional butter:
You can add the butter to the jar or continue stirring in the beaker. Let the butter coold down at room temperature. Do not put it in the fridge yet.
As the butter cools down, the viscosity increases. Continue stirring until the butter reaches a consistency where you can make traces with your spatula. This is the consistency of our butter at this point.
At this point pour the butter into the jar and bring it into the fridge. Using this procedure, all of your ingredients coold down simultaneously and there is no chance of crystalization for shea butter. The butter would solidify to a nice & smooth consistency without that dreaded grittiness.
For the whipped butter:
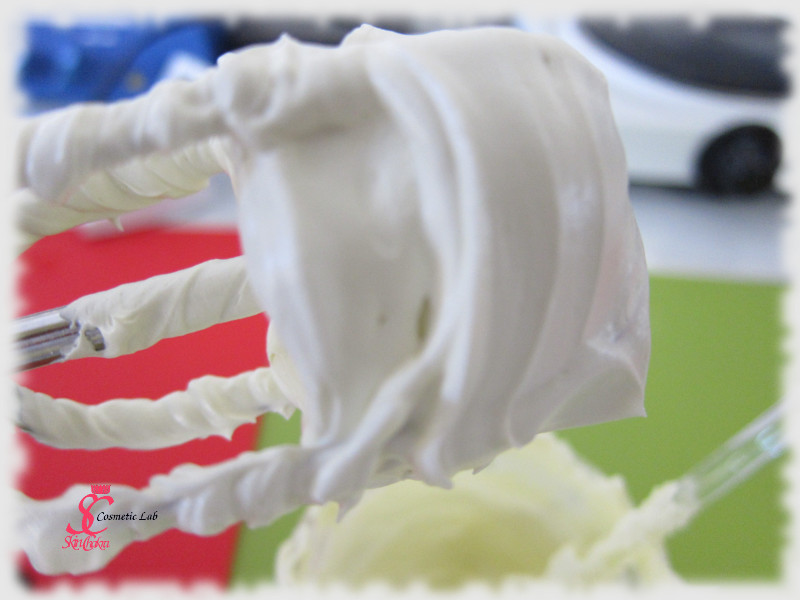
As the butter starts to solidify (when you can make traces with your spatula) start beating the butter with your blender. Whip it to the desired volume and appearance and put it in the fridge. Depending on your ambient temperature, you may need to first put the butter in the fridge (after coming to a trace) for 15-30 minutes and then start beating. You can even do beating in successive sessions: 15 minutes fridge-beating , 15 minutes fridge beating and so on until you get the desired consistency.
Leave both butters for some 12-24 hours in the fridge. After that, take them out and leave them at ambient temperature. Compare their appearance, texture and skin feel after another 24-48 hours.
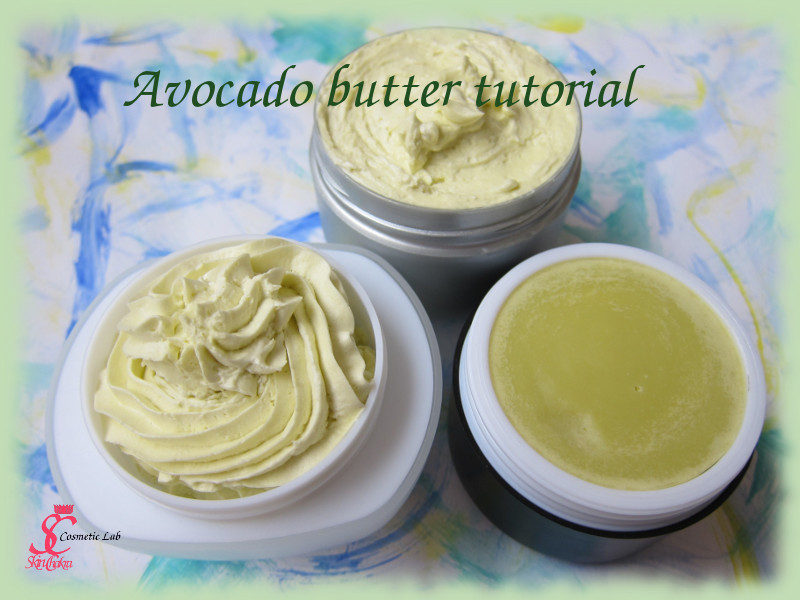
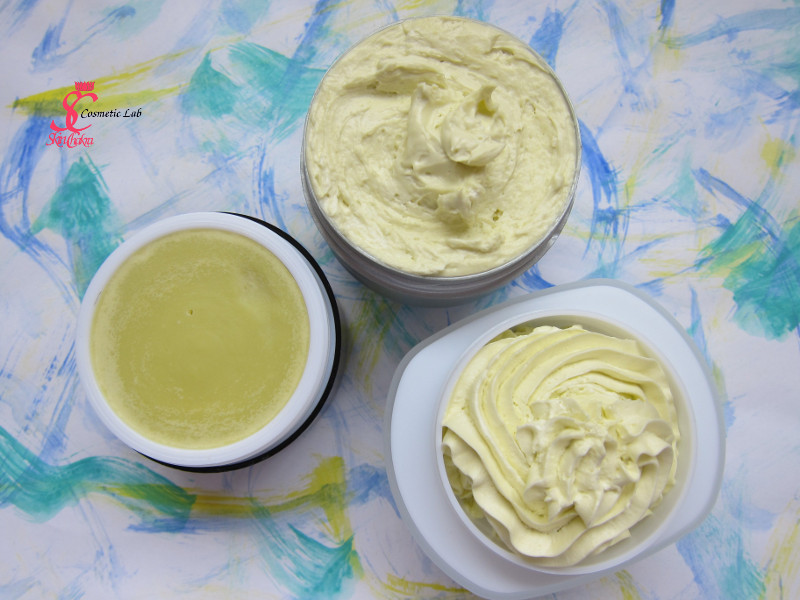
These are my butters:
It's quite amazing that the whipped butter has a much lighter green color compared to the unwhipped butter. All butters are smooth, have no greasiness and impart a silky feel to the skin. Non of them are gritty or grainy. Obviously the butter in the black jar is the unwhipped one. The other two are both whipped. We've filled the silver jar after whipping with a spatula and filled the white dose with a patisserie decorating tip.
I hope you'll enjoy this challenge. I'm quite excited and curious to see your contributions to this challenge.
