Dienstag, 22. März 2016
Easter special: How to Make Shiny Body melts (with Sunflower Lecithin)
If you belong to those skin care formulators who believe lecithin is a boring ingredient confined to making sticky, unpleasant (and almost unstable) W/O emulsions then you're very mistaken. Look at this tutorial for example for making a very nice and light O/W emulsion with lecithin or this guest post with two amazing recipes and tutorials from Singapore and New Zealand.
Lecithin is, apart from being an emulsifier (and probably the most "natural" emulsifier) and amazing penetration enhancer and scent stabilizer. We'll come to lecithin and its important in the cell membrane and for an intact and healthy skin barrier in a separate post.
Anyway, you probably know how I love bodymelts. These are such a cute products. Excellent as giveaways and samples and handy and cute for personal use (specially in your handbag in the airport). Except for hot summer days when we've temperatures above 35 C (which happens for 3-5 days every other year here in Germany), these are practical and useful all year around.
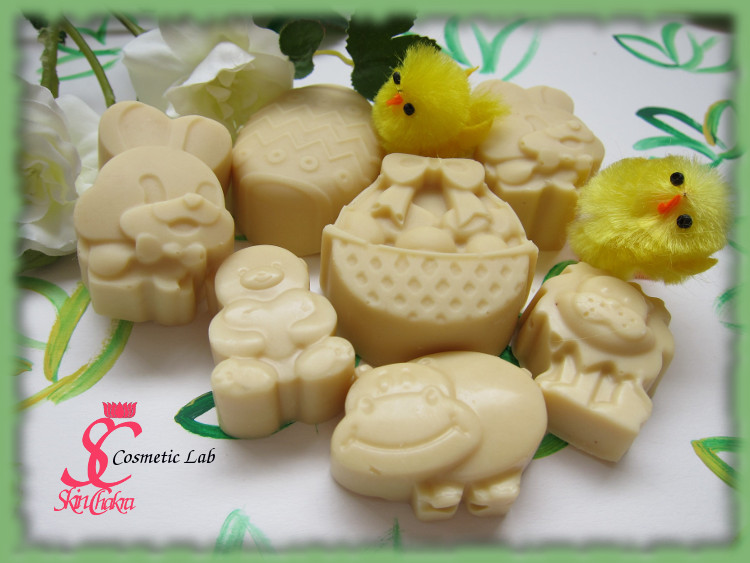
For a recent formulation challenge, I decided to think out of the box and add lecithin to the bodymelt. As you observe, it contributed to a very nice and natural beige/champagne colour which is lovely. The inherent smell of the lecithin didn't overpower the product and added a kind of earthy note to the applied essential oils.
Those of you who are new to body melts or lotion bars or massage bars (or whatever you like to call them) can have a look here at my previous body melt tutorial and the tips and tricks for making these cute babies.
In this post, I just want to share an easy to make recipe which you can easily prepare during the remaining days to Easter and use it as a cute hand made Easter gift.
Before we start I want to recommend you to read our older posts: hygienic manufacturing practice in cosmetic lab and introduction to Basic equipments and utensils for a cosmetic lab.
For 100 gr of this Body melt you'll need:
| Phase A | |
| Cocoa butter, unrefined | 62.50% |
| Shea butter | 19.00% |
| Babassu oil | 11.00% |
| Sunflower lecithin | 4.00% |
| Tocopherol | 0.50% |
| Phase B | |
| Rosemary CO2 extract | 0.05% |
| Vanilla infused jojoba oil | 1.95% |
| Phase C | |
| Cedar wood essential oil | 0.50% |
| Petit grain essential oil | 0.50% |
Procedure:
1- Melt and heat ingredients of phase A in a water bath or bain marie by ca. 50 degrees. Blend the ingredients during melting.
2- When everything is a liquid, blend the mixture gently with a spatula. Try to avoid incorporating bubbles into the melted blend.
3- Add ingredient sof phase B and blend well.
4- Continue stirring at RT till the temperature reaches ca 30-35 degrees. Add the essential oils and blend
5- Start cooling down in an ice/water bath or put the blend in the fridge but slowly stir it every 10 minutes until it starts making a trace.
6- At this point (it is very important to stir the mixture till the trace is reached, only in this way your melts will have a nice and shiny appearance and would be free from the infamous grininess of shea butter and cocoa butter) pour the mixture into the mold and put the mold into the fridge.
7- Demold after 12-24 hours and enjoy the cute and nice babies you've made
Packaging tips:
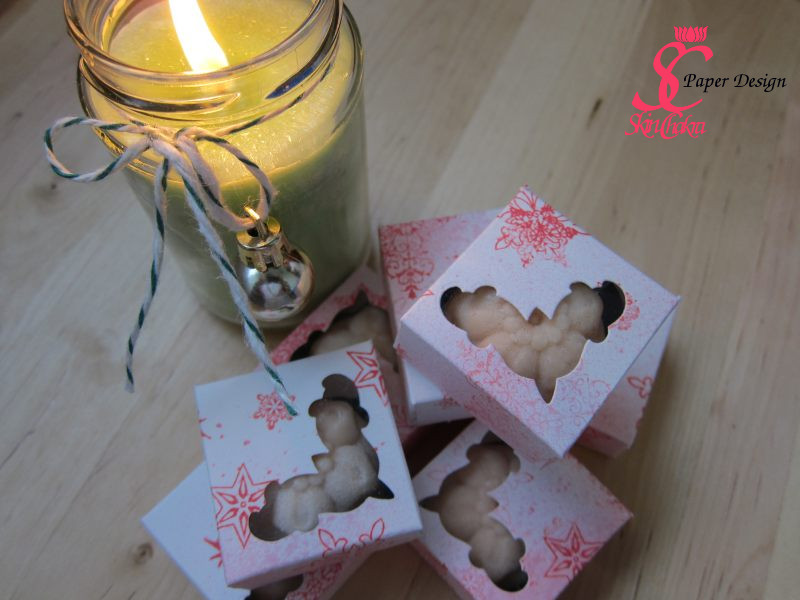
We pack the melts like real truffles, in wax paper or parchment paper and then in a box.

You can pack them in a cream jar or an aluminium box as well.
Mention is to your customer or the lucky ones who recieve the melts as a gift to avoid exposing the melts to sunshine or direct heat (near a radiator in the bath room).
Hope you'll enjoy making these cute body melts (you can even apply them as a facial melt, they are excellent for dry skin)
Feel free to send me your comments and photos. I really enjoy your participation in our Facebook discussions.

