Sonntag, 17. April 2016
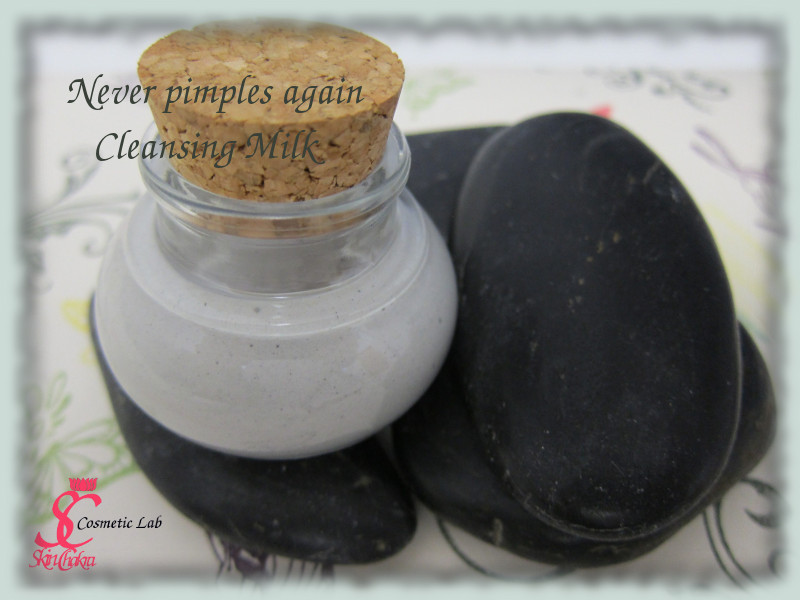
"Never pimples again" deep cleansing milk
One of my favourite research activities at the moment is blending of emulsifiers for an improved texture, skin feel and stability.
For this project, I've blended two of my favourite emulsifiers: Sucrose stearate and Plantasens® HE20 in a nice and smooth deep cleansing lotion.
This is a very mild (less than 10% active of natural surfactants) but deep cleansing emulsion thanks to activated charcoal and selected plant extracts.
If you've followed my previous tutorials with Sucrose stearate you know that I usually apply this emulsifier in cold process. For this tutorial however and because Plantasens® HE20 is a hot process emulsifier, I decided to use sucrose stearate as well as a hot process emulsifier.
In this formulation, I've applied very low concentrations of perilla seed oil, an amazing plant oil rich in omega-3 fatty acids and castor oil (as the carrier for lavender) which is the number 1 oil for cleansing products.
To boost the astringent, antibacterial and anti-inflammatory properties of the milk, I've applied witch hazel hydrosol as a part of the water phase and hydroglyceric extracts of meadow sweet, comfrey, witch hazel, pansy and blueberry leaf. I usually don't apply high concentrations of extracts in rinse-off products but for this specific project I wanted to pack the milk with some amazing phytochemicals. Feel free to use any other available extract or hydrosol which you think would suit your concept.
I've added both emulsifiers in the water phase (don't be confused, it was done deliberately).
I've made this emulsion by hot-warm-cold process which means, I've heated the ingredients just as much as necessary and as little as possible. I've heated a part of the water phase with the emulsifiers to 70 degrees (centigrade) and the oil phase to 40 degrees. After making the pre-emulsion, I've added the rest of the water phase @room temperature to avoid heating the hydrosol and plant extracts.
Before we start I want to recommend you to read our older posts: hygienic manufacturing practice in cosmetic lab and introduction to Basic equipments and utensils for a cosmetic lab.
Here is the formulation:
| Phase A | |
| Plantasens® HE20 | 8.0% |
| Sucrose stearate | 2.5% |
| Coco glucoside, glyceryl oleate | 2.5% |
| Distilled water | 35.0% |
| Phase B | |
| Organic perilla seed oil | 2.0% |
| Lavender flower extract in organic castor oil | 3.0% |
| Tocopherol | 0.5% |
| Rosemary CO2 extract | 0.1% |
| Antimicrobial blend (CO2 extract) | 0.1% |
| Phase C | |
| Witch hazel water | to 100.0% |
| Sodium lactate | 2.0% |
| Hydroglyceric extract of meadow sweet, comfrey, witch hazel, pansy, blueberry leaf | 3.0% |
| Panthenol | 0.5% |
| Phase D | |
| Tara gum | 0.3% |
| Xanthan gum | 0.1% |
| Sclerotium | 0.1% |
| Natural Glycerine 99,5% | 4.0% |
| Phase E | |
| coco glucoside | 3.0% |
| Disodium/Sodium Cocoyl Glutamate | 7.0% |
| yucca extract | 3.0% |
| Phase F | |
| Lactic acid 80% | 1-1.5% to adjust the pH |
| Euxyl® K903 | 0.5% |
| Dermosoft® 1388 eco | 2.0% |
| Lavender EO | 0.3% |
| Phase G | |
| Activated charcoal | 0.15% |
Procedure:
1- Heat the ingredients of phase A in a water bath @ 65-70 degrees centigrade. Stir while heating. The emulsifiers swell in water and make a nice mousse as they melt
2- Heat ingredients of phase B in a water bath @ca. 40 degrees centigrade.
3- When phase A is ready and homogeneous, slowly add phase B to phase A while stirring phase A.
4- Prepare the ingredients of phase C @ room temperature. Gradually add this phase to the pre-emulsion while stirring.
5- Homogenize the emulsion for 1-4 minutes depending on your homogenizer and your batch size.
6- Blend the gums in pahse D in glycerine to a paste. Slowly add this slurry/paste to the emulsion. Stir the emulsion to avoid building of any lumps.
7- Blend the surfactants of phase E in a nother beaker. Don't stir them vigorously to avoid foam. Gently and little by little add this blend to the emulsion.
8- Add the preservatives and adjust the pH with lactic acid between 4.8-5.2. Add the essential oil.
9- Very gently add the activated charcoal to the emulsion and blend slowly to avoid foam building.
10- Take your micro kit sample and fill the emulsion is a suitable bottle. The most suitable container is a bottle with an emulsion pump (you don't want your customer to poke her finger into the product or accidentally add water to the emulsion)
I hope you'll enjoy making (and applying) this emulsion. Thank you for being here and for sending me your comments and photos. I really enjoy your participation in our Facebook discussions.

