Freitag, 29. Juli 2016
What you need to know about pH measurement
One of the most frequent questions from the students in my Certificate in Natural Cosmetic Preservation and Certificate in Stability Testing is tips & tricks of pH measurement.
pH measurement is a fundamental test in every cosmetic lab (where there is water in the product or any of the raw material) and should be a part of:
- GMP plan
- Quality testing of raw material
- Quality testing of finished products
- Stability testing of finished products
It is not only imprtant because obviously the pH of the product should match the physiological pH of the skin but because any changes in pH of the product might have adverse effects on the:
- Appearance (specially colour)
- Scent
- Viscosity
- Physical stability
- Chemical stability
- Preservative efficacy
of the product.
Except for some functional products (such as deodorants, hair strengthening products, hair dyes, cuticle removers or chemical peels) which have a much higher or much lower pH than the physiological skin pH (4.5-6.5), all daily use skin and hair care products should have a pH between 4.5-6.5 (in the best case between 4.5-5.5).
One exception is the lye soap which by nature has a much higher pH and there is nothing we can do about it. Reducing the pH of the soap causes the hydrolysis (degradation) of soap. This high pH is the reason why most experts recommend applying surfactant based cleansing products or cleansing oils over facial skin instead of a lye based soap.
In organic and natural hair & skin care, pH adjustment is even more important than in conventional cosmetics. This is mainly because the performance of most "natural" preservatives is extremely pH dependant. (Read our previous post about "how to avoid wasting your natural preservatives" here)
How to measure pH
There are different ways of pH measurement and these are the most common ones:
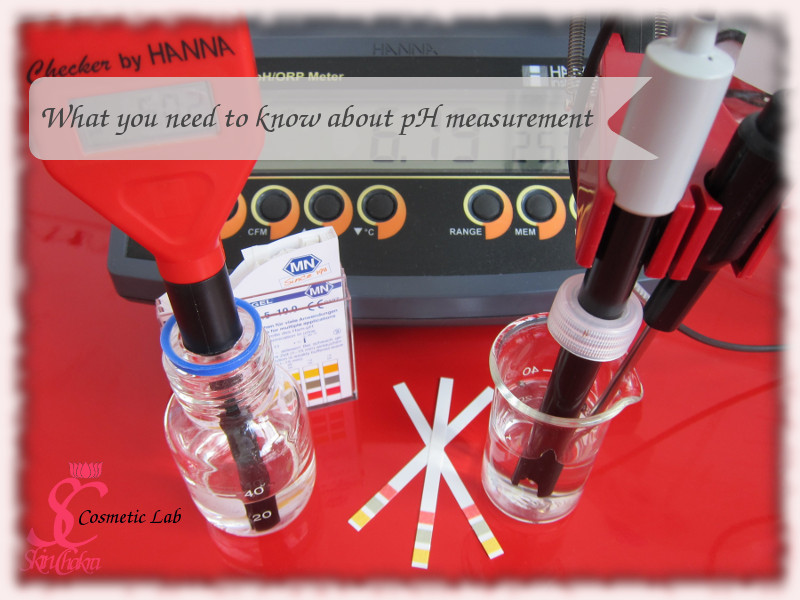
- using pH indicator papers and strips
- using chemical indicators with different colours at different pH ranges
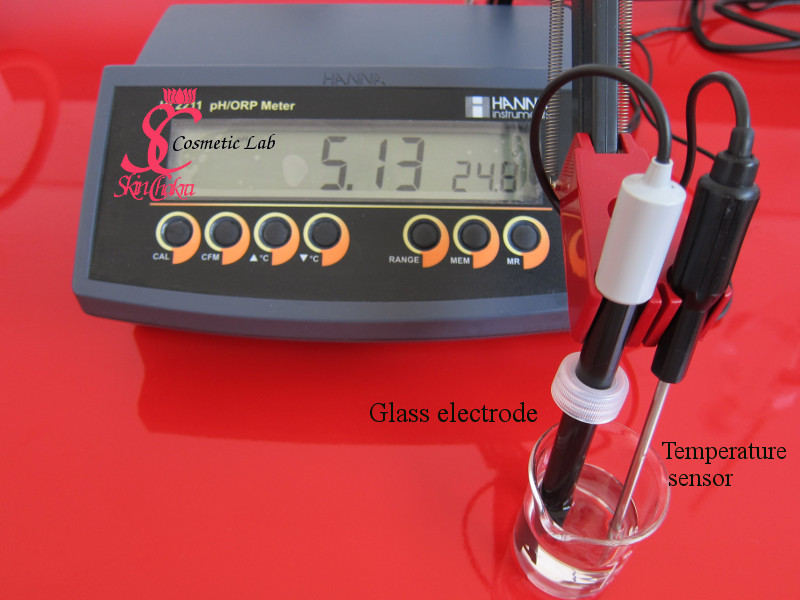
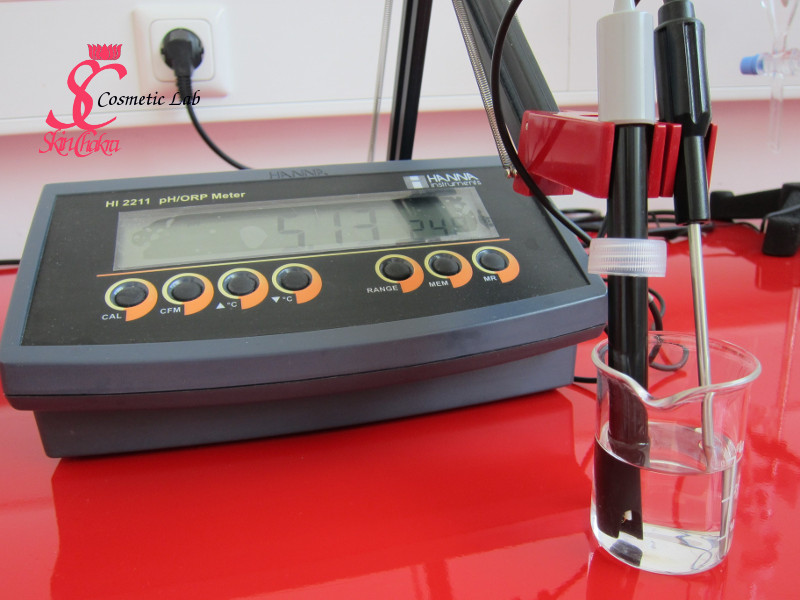
- using a pH meter attached to a glass electrode
Using indicator paper and a glass electrode are the most convenient and practical ways to measure pH in a cosmetic lab. There is obviously a huge difference between the price and the precision of pH indicator papers and pH-meters, even a huge difference between various pH indicator papers and certainly there is an overwhelming price difference between pH meters that often confuses and disappoints skincare science students.
Whereas pH indicator papers might be quite efficient and sufficient in a soap making lab, these are not going to be efficient in a cosmetic lab where a difference of 0.5 would cause instability or mean instability of a product.
Most of our students start with pH indicator papers and this is what we recommend them at the beginning ourselves. We don't want them to pay a fortune for instruments before they have really decided which orientation they are going to have. If you for example decide to focus on waterless products and make balms, butters and oil blends, you wouldn't need any pH-meter neither for your raw material nor for your finished products.
But as you decide to make water containing products such as shampoos, toners, micellar waters, emulsions, bi-phasic products, cleansing foams and all other water containing products, and as you move from being a newbie to becoming a professional, a pH-meter becomes one of the most important tools in your quality control, GMP and stability program.
The pH of every single product and every single water containing (or water soluble) raw material should be checked and recorded and this is where an accurate pH-meter becomes indispensible.
As you may guess there are hundreds of pH meters available varying enormously in price and precision.
To help our students and all other readers who are in the decision making phase of purchasing a pH meter, and to help those who already have purchased their pH meter but have not received enough information from the supplier, we've decided to collect the recommendations we've given here and there in a one single post. Hopefully this will help you out of confusion.
1- The pH-meter choice
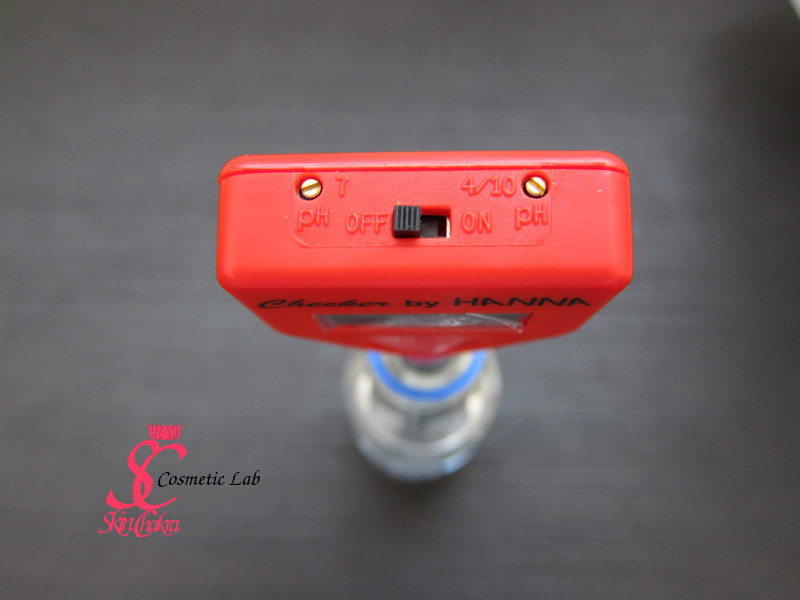
Without no doubt, the stationary and bench top pH meters are more precise and easier to work than the portable pH meters. The price difference is however sometimes so big, that you may want to start with a portable pH meter. (a portable pH meter is anyway more precise than the paper indicators and on a long term even more economic)
If you decide to purchase a portable pH meter, this one is a model we've tested in our lab and are satisfied with. The price is quite reasonable and there are many of our students working with this pH meter at the moment.
2- The electrode
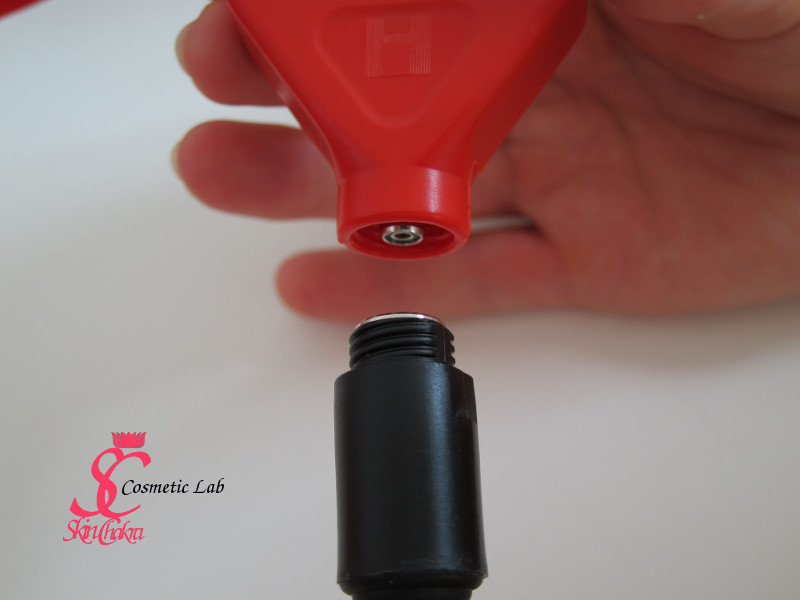
pH electrodes are called glass electrodes and the old-fashioned electrodes were completely out of glass (you may recall the glass electrode from your high school lab).
These electrodes break very easily (don't ask how we know it ![]() ). Modern electrodes are covered with a polymeric sleeve which makes them quite robust and more reisitant against breaking. Look exactly at the electrode when you are ordering your instrument and order an instrument with an electrode with a protection sleeve
). Modern electrodes are covered with a polymeric sleeve which makes them quite robust and more reisitant against breaking. Look exactly at the electrode when you are ordering your instrument and order an instrument with an electrode with a protection sleeve
When purchasing a portable instrument, make sure that the glass electrode is replacable. By some instruments you can not exchange the electrode at all. Usually these electrodes work forever if you maintain them well but you know the Murphy's law: everything that can go wrong would go wrong. You don't want to discard the whole pH-meter in case the electrode is defect.
3- Temperature sensor
pH depends on temperature. It means when measuring the pH of a solution at 25 degrees and at 50 degrees, you'll have two different results for the same solution. Modern and elaborate instruments are equipped with a temperature sensor. Portable instruments under 300 € usually have no internal or external temperature sensor.
If you are purchasing a benchtop instrument pay attention that your instrument does have a temperature sensor. When using a portable instrument with no sensor, make sure that you always measure the pH of the samples at a certain temperature (20 or 25 degrees Celsius for example)
4- Electrode maintenance
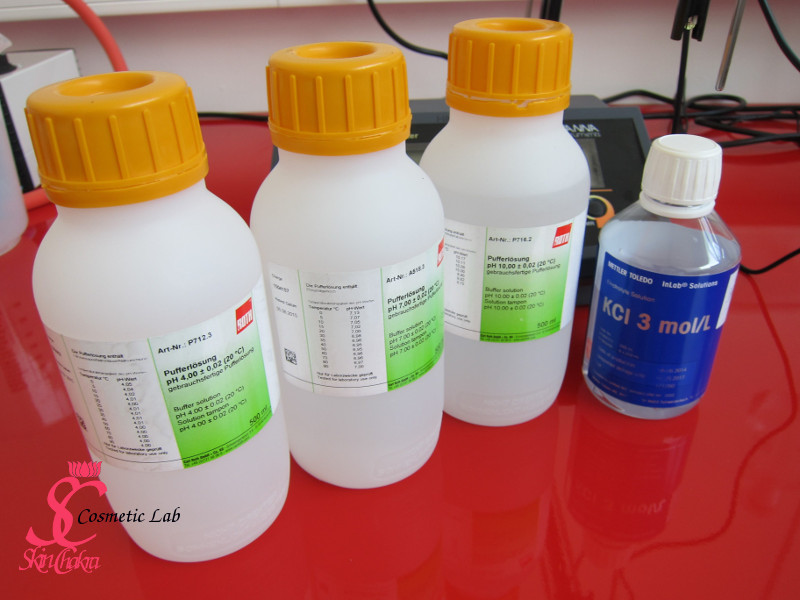
Obviously the most important part of any pH-meter is the electrode. If you maintain the electrode correctly, it would perform for an eternity. The electrode should never let to dry out. It should be kept in a special electrolyte solution which you have to purchase together with your instrument.
Never store the electrode in distilled or tap water. This would damage the electrode.
In emergency case and when you're out of electrode storage solution, you can store the electrode for a short period in a buffer solution. (the exact maintenance and storage solution are mentioned in the brochure you receive with your instrument)
5- Calibration
The electrode should be calibrated each time you turn the instrument on. (This depends on how often you run measurements obviously. It doesn't mean before each single measurement though. If you're having 10 measurements per day, you have to calibrate your instrument before making the first measurement and not before each measurement).
In our lab, we measure pH a few times everyday and calibrate our electrode at the beginning on the week. When we don't use the pH-meter/electrode for a few days, we calibrate the electrode before our first measurement.
Calibration mode might be slightly different from instrument to instrument. Most modern instruments have an auto calibration. Depending on the instrument (this should be explained in the instrument manual) you may need one or two point calibration. Most instruments need a two point calibration. For calibration, you'll need buffer solutions which you have to purchase with your instrument. For most skin care products in the pH range of 4.5-6.5 the calibrations buffers are 4.0 and 7.0. If you have products with a much higher pH, you may need to calibrate your instrument with a 9.0 or 10.0 buffer.
With some old instruments and most portable instruments, the calibration is manual but it is not a great hassle. If you have a choice between an auto calibration and a manual calibration however, it is better to purchase the instrument with auto-calibration.
6- Measurement
if you're measuring a raw material, consult the TDS for instructions about pH measurements. The dilution should be mentioned in the technical data sheet of the material. For most ingredients, it is a 10% dilution. For some powders with a lower water solubility, it might be a 1% dilution. For some certain ingredients, the pH of a hydroalcoholic solution should be measured but this is certainly mentioned in the TDS of the product.
For finished products, you shall make a 10% dilution of the product. It means weigheing 10 gr of the product (a shampoo, an O/W emulsion, a water based serm etc.) and then adding 90 gr of distilled water (at room temperature). Blend this completely and then measure the pH and record it. Always make a weight percent dilution (weighing your product and water) and not a volume percent (measuring the volume instead of weight)
Remember: the pH depends on the temperature. If your laboratory has a too cold or too hot temperature or your solution is too cold or too hot, you may need to temper the solution and then measure the pH
7- Cleansing the electrode
In between different measurements, between calibration steps and after each measurements rinse the electrode with distilled water before storing it in the storage solution. After working with oil containing material such as creams and emulsions rinse the electrode with water, put it for 5-10 minutes in an alcoholic solution (30-50% Ethanol or Isopropanol to degrease the electrode). After removing from alcohol, rinse the electrode with distilled water and store it in the electrode storage solution.
8- Drying the electrode
(This is a procedure we internally refer to as: cleaning the nose of the electrode). Between multiple measurements and after rinsing the electrode you may want to gently shake the electrode (to get rid of water droplets on the electrode) or gently drying the electrode with a tissue. Do not press the tissue too hard or rub the tissue over the electrode tip. This would prolong the electrode response time and reduce the electrode efficacy.
9- pH adjustment
Now that you've successfully measured the pH of you solution (let's say shampoo or emulsion) and realize that the pH is out of your desired range. It is either too low or too high. What to do next?
You shall either increase the pH to your desired range (let's say 5.0-5.5) or reduce it to your desired pH.
For increasing pH you'll need a base and for decreasing pH you'll need an acid.
a) Increasing pH
best possible options (acceptable in organic and natural cosmetics) are applying either sodium bicarbonate or sodium hydroxide to increase the pH. If you are a soap maker, then you already have sodium hydroxide in your stash. If you are not a soap maker and according to your region, it is possible that you can not easily get access to high purity sodium hydroxide.
Never use a hardware store grade or drain opener in your cosmetic products
If that is the case then you can use sodium bicarbonate (baking soda) to adjust the pH.
We'll hardly add a powder directly to the product specially when we're working in small scale. In this case you have to prepare a solution of sodium hydroxide or sodium bicarbonate in distilled water.
Sodium hydroxide is a very corrosive material (caustic soda). Please read our previous post about safety requirements when working with lye.
we've experienced that having some stock solutions with different concentrations is quite handy. We've solutions of 10%, 25% and 50% lye available and use them depending on the original pH of the solution. This is something you'll learn by experience but it makes the workflow easier and faster.
b) Reducing pH
To reduce the pH you'll need an acid. The most suitable acids to reduce the pH of a natural cosmetic product are citric acid and lactic acid.
Both of them are almost equal in reducing the pH. Lactic acid is an AHA (alpha hydroxy acid) in addition to just reducing the pH and has keratolytic and moisturizing properties. Citric acid on the other hand is a chelating agent and a preservative booster. Which one you choose depends totally on your preferences and ease of supplying the one or the other. Citric acid is usually delivered as powder and is much cheaper than lactic acid which is usually delivered as a 80% solution.
Anyway just like increasing the pH, it is easier to have some stock solutions with different concentrations. We have for example 20%, 40% and 80% solutions of lactic acid and apply them according to the original pH of the sample.
I hope this could be helpful to you to perform your pH measurements and adjustments with assurance and competence.
Feel free to send us your questions and comment either per mail or to our Facebook page. Don't forget to follow us on telegram and Instagram to receive our formulation and technique tips and short videos.
