Freitag, 19. August 2016
How to make a hydrogel mask
We've promised to have a colourful August for you and here we are.
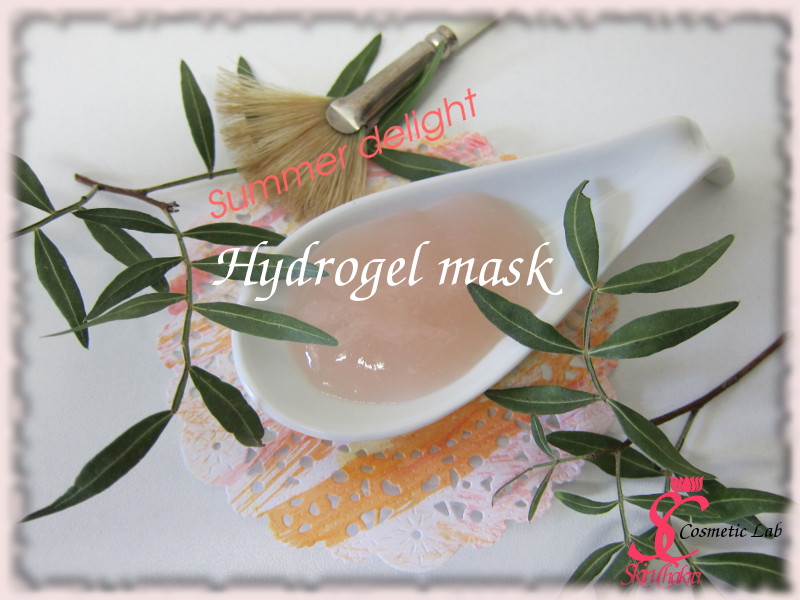
Hydrogel masks are one of those lovely and easy to make masks that are awesome to pamper the skin (even during hot and humid summer days) with lots of active ingredients and moisturizers.
Obviously, since this is a hydrogel mask, you can apply only water soluble active ingredients. And since there is water in the product, the mask should be preserved. This is the only challenging part of the preparation if you're going to store the mask or sell the product. Unlike Oleogel masks that are free of water and don't need any preservatives (or challenge tests for the safety assessment)
If you're preparing the mask for your own use, you can prepare small volumes, apply the mask and discard the rest or you can preserve the mask and keep it . You can even add fresh fruit or vegetable juice instead of extracts and hydrosols.
In a professional scale and if you want to sell the product, there should be a challenge test and a safety assessment as well as a series of stability tests to determine the shelf-life of the product (which wouldn't be longer than one year for a "natural" product).
The principle is really easy: Creating a hydrogel and adding hydrosols, plant extracts and your desired active ingredients. Feel free to swap any of the ingredients (except the gums) with your desired ingredients. Everything is prepared at roome temperature. No heating and cooling is needed.
The mask is applied with a brush (you can increase the viscosity and apply it with a spatula) and is rinsed-off after some 15-20 minutes. Since there is no oil phase in the mask, the after feel is very refreshing.
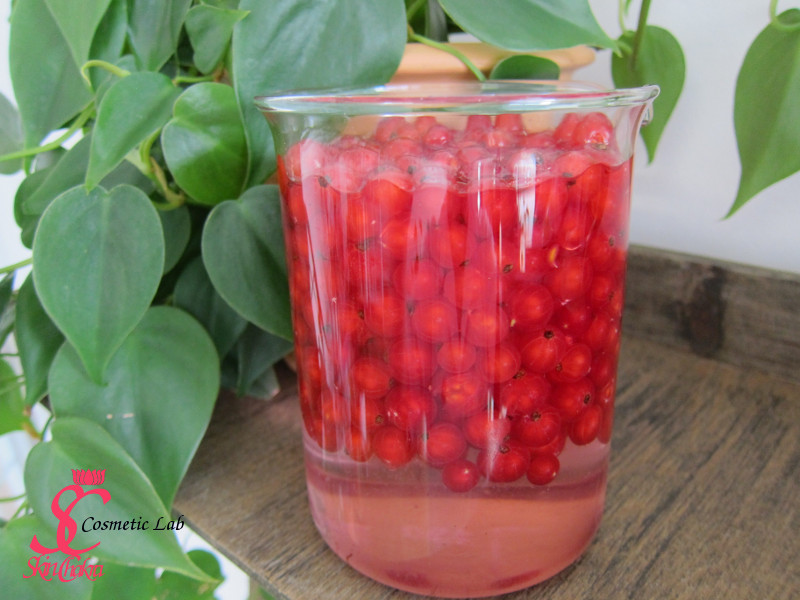
The beautiful peach colour comes from the red currant extract we've made the last month. Can you remember the photo I posted on Facebook just before the extraction?

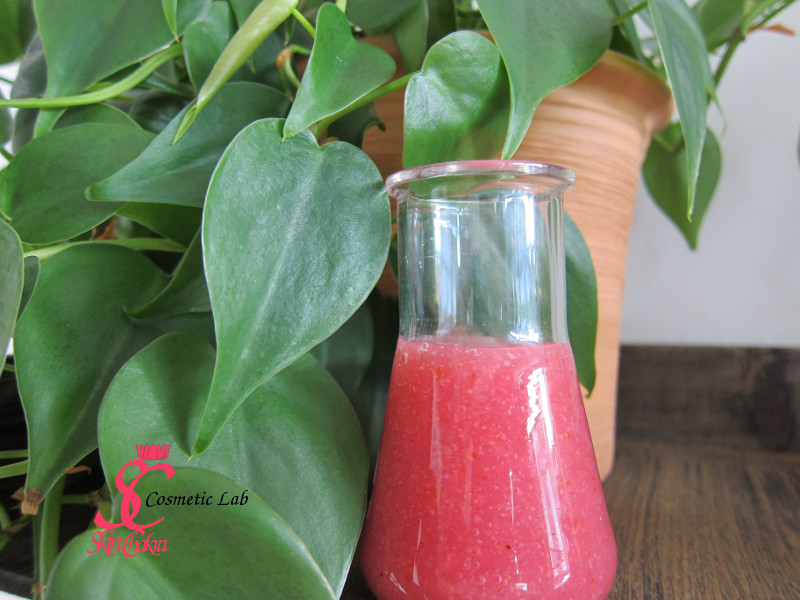
This was one of our most exciting and most difficult extracts. Currants have a lot of pectin and mucillage and the extract had a consistency of a pudding. I literally broke to tears during different steps of extraction but the outcome was so pretty it was the hassle worth.

I haven't added any essential oil or fragrance to the formulation and I leave the scent to neroli hydrosol. If you want to add any fragrance oil or essential oil then you shall use a solubilizer. Read our tutorial for peppermint foot gel to learn how to apply an essential oil in a hydrogel.
Let's go to the formulation:
Ingredients:
| Phase A | |
| Neroli hydrosol | to 100% |
| Dermofeel PA-3 | 0.1% |
| Phase B | |
| Solagum Ax | 2.5% |
| Sclerotium | 0.2% |
| Plant based and organic pentylene glycol | 5.0% |
| Phase C | |
| Hydroglyceric extract of red currant | 10.0% |
| Hydroglyceric extract of licorice root | 2.5% |
| Hydroglyceric extract of artichoke leaves | 2.0% |
| Hydroglyceric extract of olive leaves | 2.5% |
| Hydroglyceric extract of apple seeds | 2.5% |
| Vegeluron | 5.0% |
| Panthenol | 1.0% |
| Allantoin | 0.1% |
| Sodium lactate | 2.0% |
| Sodium PCA | 1.0% |
| Phase D | |
| Dermosoft® 1388 ECO | 3.5% |
| Sodium hydroxide | to adjust the pH |
Procedure:
1- Disperse the gums in Pentylene glycol. I've used Pentylene glycol instead of glycerine because I'm using high concentrations of extracts that already contain glycerin. If you don't have access to pentylene glycol go ahead with glycerin or disperse the gums directly in the water phase.
2- Blend the hydrosol (whatever hydrosol you want or even freshly boiled distilles water) with Dermofeel® PA-3 which is a natural chelator and a preservative booster.
3- The gum blend could be dispersed both cold and hot and we dispersed it cold. If you want to make a hot dispersion, then it is better to use distilled water as a part of your liquid to disperse the gum (not heating the hydrosol) and then adding the hydrosol as the gum dispersion is cooled to room temperature.
Disperse the gum phase in phase A. Stir for some 10-15 minutes till the gums swell to a nice and smooth texture.
4- Blend ingredients of phase C together at RT and add this slowly to the gum-hydrosol phase.
5- Add the preservative and measure the pH.
6- In our case the pH was 4.7 and we added a few drops of Sodium hydroxide solution to adjust the pH between 5.0-5.2. Depending on which ingredients (extracts and hydrosols) you use, your pH (I mean the pH of your sample) might be lower or higher. If the pH is above 5.5 use lactic acid to decrease it and if it is below 5.0 use sodium hydroxide or sodium bicarbonate to increase the pH.
7- Take your micro kit sample and fill the mask in a suitable bottle. You can use an airless bottle, a jar or a lotion pump bottles. if you're going to apply the mask with a brush then a jar would be the most suitable packaging .
It's your turn now to create some amazing ice gel. Feel free to send us your photos and comment either per mail or to our Facebook page. If you post any photos on Instagram, don't forget to tag @SkinChakra.

