Freitag, 16. September 2016
How to use a portable pH-meter (Guest post)
pH measurement and adjustment is a basic step in every formulation session when you've water in your formulation. The pH of the product is not only fundamental for the functionality and efficacy of a product (skin moisturizer vs. chemical peel vs. hair dye for example), it is extremely important for the physicochemical, preservative efficacy and microbial stability of the product.
 Read our previous post about what you need to know about pH measurement here.
As long as you're a DIY crafter and prepare some shampoos and facial mists for your own self every now and then, or you're a newbie skincare formulation student you can perfectly handle your pH measurements and adjustments with pH stripes but as you move to a more professional level, the stripes are not precise enough for an accurate pH measurement.
Well, after we agree on the fact that you'll need a pH meter, the next question is : Which one?
The diversity of choices are quite overwhelming for anybody who has not spent at least a couple of years of his life in a chemistry laboratory. Different products and models available from less than 10.00 to some 5000.00 € and more are available and it would be extremely difficult for a newbie to select an affordable but reasonable instrument that would do the purpose of measuring pH in a cosmetic lab or kitchen.
One of the first things to consider before purchasing your pH meter is your lab assembly and space. if you're working in a make-shift lab and don't have fixed places for your instruments (like most of skincare students and artisan manufacturers), then certainly a portabe pH-meter would be a better option than a counter-top pH meter.
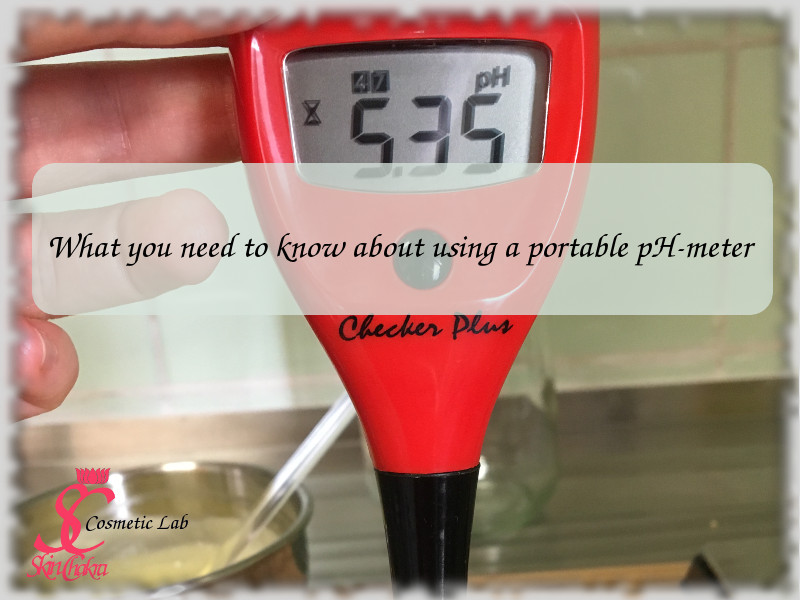
The checker plus of Hanna instruments is one of those handy dandy instruments with quite a reasonable price, easy to find almost all around the world and easy to apply. I often recommend this instrument to students of skincare formulation and even small manufacturers of skin and hair care products.
Hanna is almost present all around the world. You can find their instruments by your supplier of laboratory instruments, on Amazon or by some local aquarium shops.
Anyway, Jilly who is a brilliant student of Formula Botanica, bought a checker plus a couple of months ago and has been testing her sample with it since then. She was so generous to write a review and share her experience with you which is certainly more useful for you than my blah blah. Here we are with her review and recommendations.
Because it is so important to get the pH exactly right with natural preservatives, I felt that the pH paper strips weren’t accurate enough for me any more. If you need a pH between 5 and 5,5 it can happen that you interpret the colours between those numbers whilst it is 5,87 for example. An easy mistake to make but the consequences can be huge!
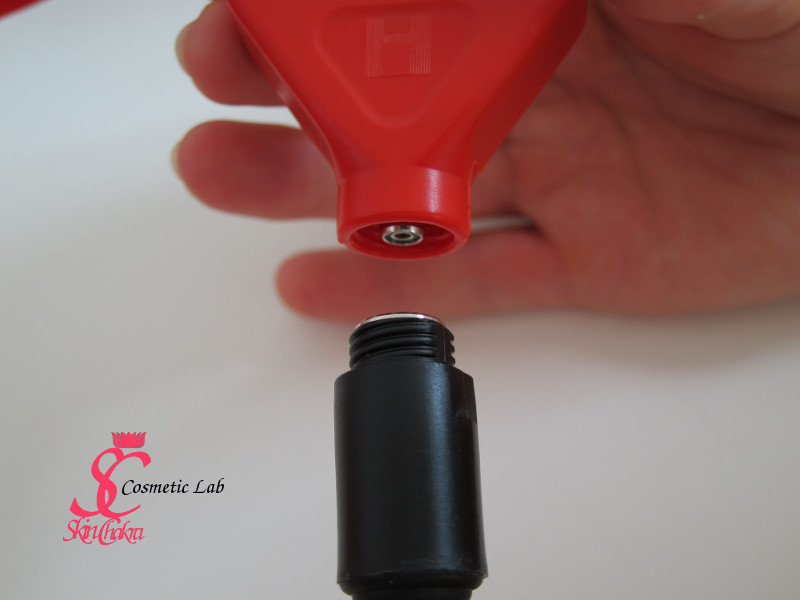
If you manage to kill your electrode, it is possible to buy a new replaceable electrode (HI 1271), this is easily screwed on.
When you treat yourself to a Checker Plus, you need to buy following extras:
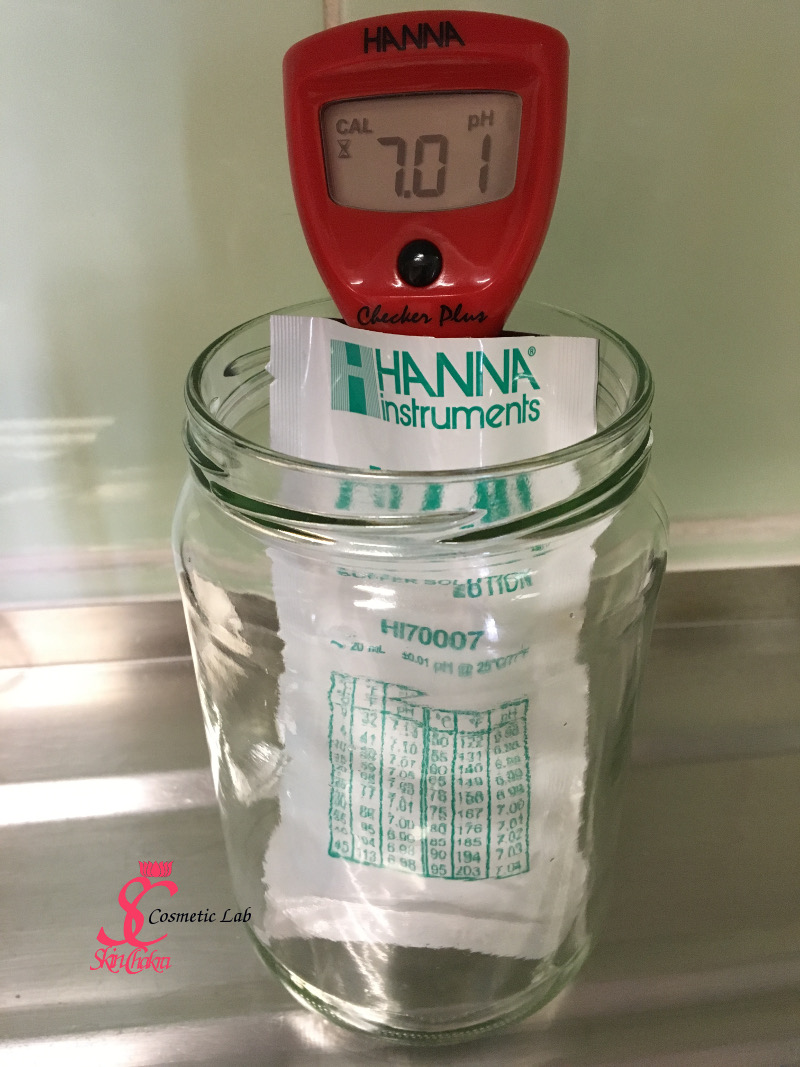
1/ calibration buffer liquid for pH 4 (HI 700004P) ànd pH 7 (HI70007P)
-
in a sachet or a bottle
-
one time use only (you can pour it in the sink after calibration)
2/ distilled water to rinse
3/ disposable pipets
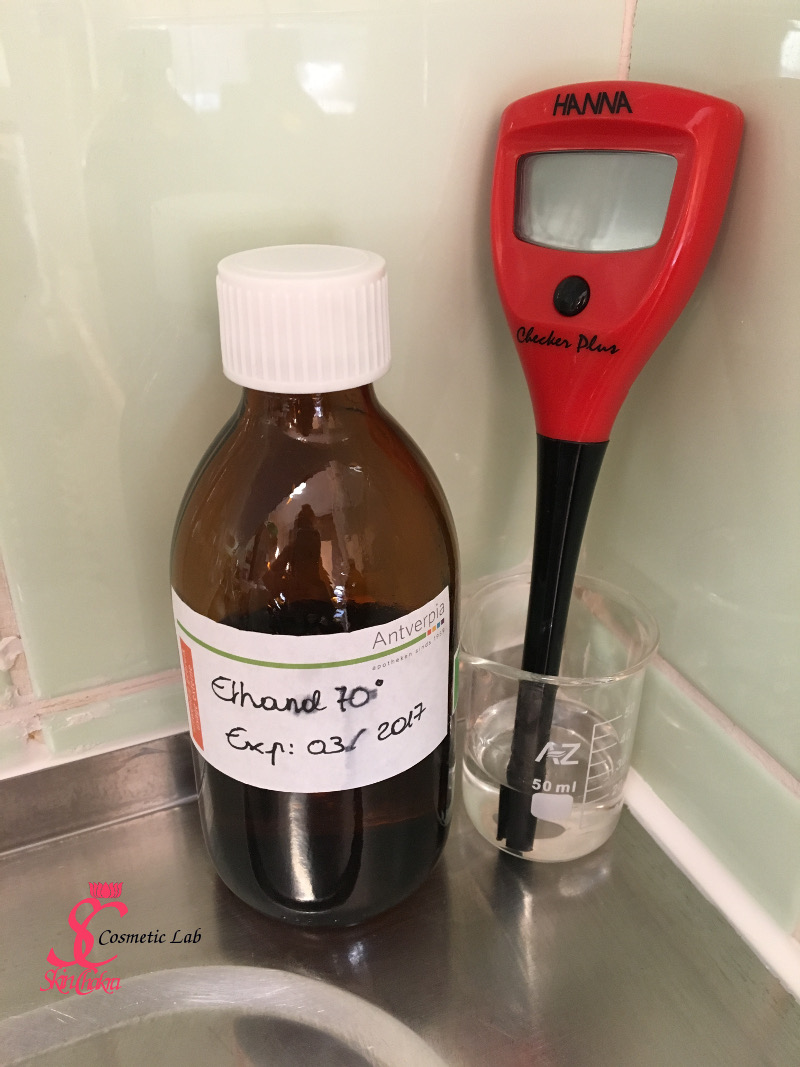
4/ ethanol to clean the electrode after use
-
especially necessary when you have measured an emulsion
(Elham's note: if you're in a region where ethanol is not available, or is shamelessly expensive, use vodka or isopropyl alcohol instead)
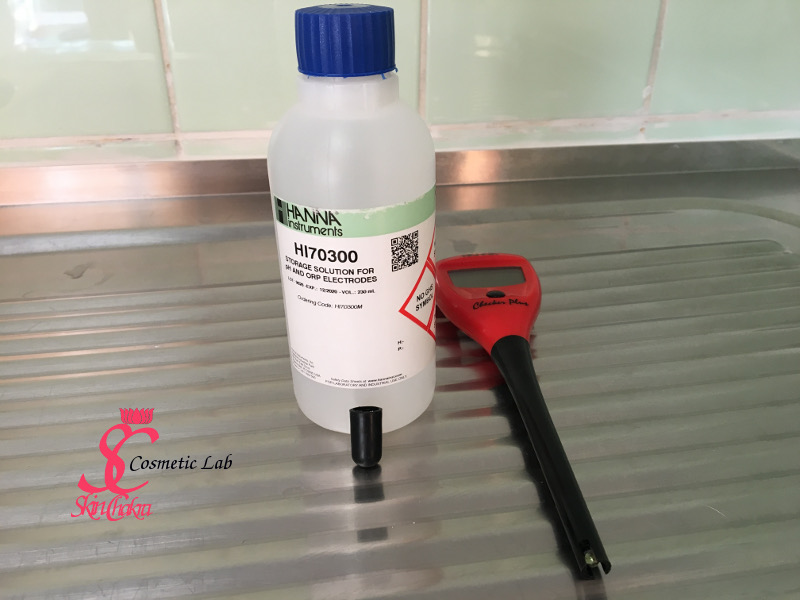
5/ storage liquid (HI 70300)
-
the electrode is very sensitive and needs to be wet at all times!, therefore you will need the storage liquid. You can easily pour some of the liquid in the small black cap and put it back on the electrode. Then it is best to keep it upright. You need to do this EVERY 2-3 days so the electrode doesn't dry out. (Distilled water is not suitable for electrode storage)
6/ glass beakers/bottles/… to put the electrode in for easy cleaning. The Checker Plus is delivered in a plastic box that you can use to store it in an upright position.
My experiences:
In the beginning it was a lot to get used to.
In the first week I already thought something was wrong: the bottom was completely covered with white crystals, comparable to when you leave a battery for too long in a device. That couldn’t be good… I went back to the swimming pool shop where I purchased it (I heard them thinking when I walked in “oh, there is that crazy cosmetics lady again, we are a SWIMMING pool shop for crying out loud” ). Crazy lady indeed, apparently this is ‘normal’ because when the storage liquid dries it forms those white crystals. *pfjew*
(Elham's note: it is indeed true and your electrode might arrive with some salt crystals on it. Do not panic. Rinse the electrode and keep it (the instrument is off) for some 48 hours in the storage solution to revive the electrode, do not try to scratch the salt with your fingers , this will damage the electrode)
Next, it was a bit of a struggle to get the hang of the calibration. I don’t know what I did wrong in the beginning (so I can’t say what to do or not to do) but I often got an error, or only a 4 or only a 7 calibrated right. Lots of sachets were used…
When you are making one cream only for example, it also feels like a “waste” to do this calibration évery time before use.
I like to think the Checker Plus needed some warming up time, because after those first weeks of trying to get to know each other, it started to grow on me. These are my findings after a 2-month trial:
-
in the beginning I needed to calibrate EVERY time before use (often several times because of the errors) BUT now the calibration process goes fine and stays accurate for 2 weeks if I use the Checker Plus on an average of 2 times per week
-
if you fill the cap sufficiently with storage liquid (not overflowing of course
 ), you can leave it for a week and it is still wet (or you can buy one of those specially glass bottles which you can fill up higher)
-
if you are used to working with paper strips (which I feel is often a wild guess “I think it is something between this and that”), the Checker Plus is earth shattering accurate!
-
if you work like me, in your artisan kitchen, it is a bit of a hassle and an extra effort: calibrating, excellent GMP cleaning, top up the storage liquid, it needs ‘looking after’ (so when you go on a holiday, you also need a pH-sitter besides your cat-sitter
 ), … Important reality check: for quick check ups, I have to admit I once in a while still use those strips, even if they are not so accurate, just because they are quick, less hassle and no mess.
 -
big pros: affordable + accuracy!
Manual: you can download the manual via this link
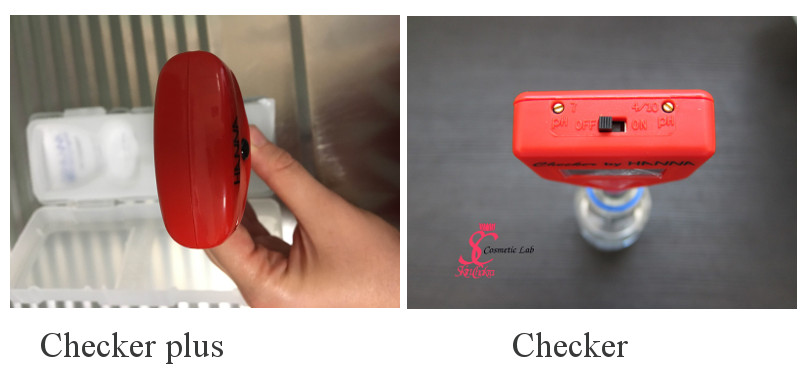
Elham's note: There are two models available. The older one is called checker and the newer one is checker plus. Make sure that you purchase the new model (checker plus). The old one is perfect but it should be calibrated manually and it could be quite intimidating for you whereas the checker plus is calibrated automatically. Another difference is that the checker comes in a carton and after you've opened the carton you have no fanciful plastic box for storage and transport of the pH-meter.
I hope you've enjoyed reading this review from Jilly and you'll find it helpful for your pH-meter shopping and the first steps to work with it. Don't hesitate to send us your questions, comments and photos via Facebook, mail or Instagram.
Afterword:
It seems that despite Jilly's excellent explanation, there are still a few questions and confusions and I try to answer some of your recent questions:
1- Rinse the electrode thoroughly beforeand after each measurement with distilled or deionized water. This means, when you start and turn the instrument on, between measuring with different buffers and before and after each single measurement.
2- Most of you have asked about the frequency of calibration, how often shall you calibrate the electrode?
Well, the safest and most accurate way is to calibrate it each time you turn your instrument on and want to measure pH. This can however become quite a hassle and very expensive (you need to discard the buffers after each measurement). So let us find a compromise:
1- At the beginning and when your electrode is new, calibrate it each time before you measure the pH. This doesn't mean calibrating it 6 times a day if you're measuring 6 samples on a single day. It means each day, when you turn the instrument on and want to measure the pH, calibrate your electrode first.
2- As you gain confidence with your electrode and your electrode has worked for a while without error (this means proper storage and maintenance after you've unpacked the instrument and the electrode), the frequency of calibration depends on how often you use the instrument. You are still very welcome to calibrate the electrode everyday (I mean on days when you want to use the pH-meter and not literally on every single day) and there is nothing wrong about it. Your electrode wouldn't be damaged or exhausted by this practice.
However, if your budget and time doesn't allow daily calibration, follow this basic and general advice:
If you use your electrode several days per week, it is enough to calibrate your electrode once a week. Let's say you start on Monday and have some samples to measure. Calibrate your electrode before your first measurement and continue with the measurements. With a plug-in instrument, we leave the instrument on for the whole day. With a battery run instrument, this would become difficult, if not impossible. No worries. Calibrate your electrode and run your first measurement. You can turn the instrument off between measurements to spare the battery.
If you measure the pH very randomly, let's say every now and then or after a long break, then calibrate the electrode each time you turn the instrument on and before your first measurement.
I hope this can help you with most of your questions and uncertainties. Feel free to send me your questions via mail or Facebook if there are still questions.
BeHappy and have fun
Disclaimer: SkinChakra is responsible for the content of this blog post. Please send your comments and questions directly to SkinChakra and don't try to contact Jilly in private or via any other online forum/platform. Jilly or one of our team will happily come back to you.
