Freitag, 4. November 2016
How to make herbal extracts with your "Blendia"

I've promised you a post about "how to make herbal extracts with Blendia" a long time ago and didn't find the opportunity to do it.
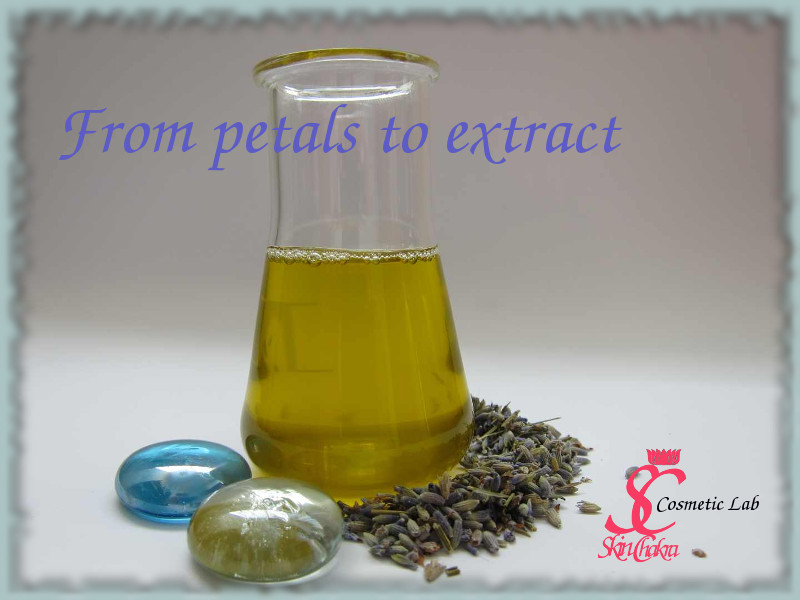
Here I'm sharing with you how we used "blendia" in making a small batch of lavender extract in organic jojoba oil.
Making your own extracts and macerations is not only fun, it has many advantages.
7 good reasons to make your own herbal extracts and macerations
One of the biggest advantages is your access to freshly prepared, high quality extracts in your desired carriers for each specific purpose, having custom made extracts in other words.
You may want to read my previous posts about choosing a carrier oil for your macerations and extracts:
7 Steps to choose the right botanical oil for macerations
8 best carrier oils for making botanical oil infusions
For this specific extract I've decided to work with organic jojoba oil and I extracted lavender petals in this amazing oil.
What is the different between a maceration, an infusion and an extract?
Maceration and infusion are very often interchanged and used for both hydrophilic and lipophilic carriers. Usually maceration and infusion are made without much mechanical force or any other source of energy than heat.
Hydrophilic infusions are made in water using freshly boild and hot water or boiling water (depending on the plant material). The plant material is filtered/sieved aftere a short time and the infusion is usually immediately used (herbal hair rinse) or applied in a formulation that is then preserved (a shampoo or a lotion).
Lipophilic infusions and maceration are prepared in a botanical oil, everything from soybean oil to harder oils (solid at RT) such as coconut could be used depending on the purpose of maceration. Usually soap makers are masters of making lipophilic infusions and macerations creating amazing ingredients (for the sake of colour, scent or therapeutic properties) in their carrier oils.
Just like hydrophilic infusions, lipophilic infusions and macerations are made with almost no source of mechanical energy. One relies on heat, time and sunlight to prepare these treasures of natural cosmetics. As a general rule the less the heating energy, the longer the infusion time (which varies depending on the plant material, purpose and nature of the carrier oil).
In extracts however, at least one source of mechanical energy is applied to crush the plant cells and EXTRACT as much possible active ingredients as possible in a very short time. The best extracts are obviously the cold process ones. As a general rule, the higher the applied mechanical energy , the lower the extraction temperature. In fact in many cases, the mechanical energy creates heat and if you want a true cold process extraction, you have to cool the carrier to avoid excessive heating and burning of the carrier and the plant material.
One of the modernest and most effective extraction methods is ultrasound nergy. An older but still common method is application of mechanical force to crush the plant material.
You have to look at the extract as a kind of concentrated infusion with more active ingredients (both quantitatively and qualitatively). Whereas you can apply an infusion or maceration up to 100% of your carrier in a product, extracts are usually applied in 0.5-5% in a formulation.
What you need to know before starting extraction
Water is a gift:
even a few drops of water would ruin your extract and your whole efforts put into making the lipophilic extract or infusion. Before starting, make sure are of your instruments and vessels are clean, disinfected and completely dry, without even traces of water. If you're working in a tropical and humid area, store your instruments in an desiccator or in a closet/box where you keep dehyrating material such as silica gel.
Make sure your botanical material is absolutely dry. The same rule here, even the slightest amount of moisture causes deterioration and moldering of your extract. You don't want your heart to bleed later as you are forced to discard your botanical extract.
Invest time and be patient
Whereas extraction is a much faster process than maceration or infusion, the filtration takes much more time. Plan for the time and be patient. You can not start an extraction on Friday and expect to make a nice cream for a friend's birthday party on Sunday.
Quality of the material
Regarding all the time and the effort you're investing in making an extract, it would be a shame when you compromise the quality of the material. You don't want to use an old plant oil sitting on top of your counter for the last year and going to be expired in 3 months (unless you're making a product for immediate application). You only want the best quality (otherwise spare the time and money a go purchase cheap commercially available, mass market extracts)
Use of anti-oxidants
Lipophilic extracts do not need any preservative but they need an antioxidant to protect them from oxidation. If your carrier oil does not already contain an anti-oxidant, add an effective anti-oxidant before extraction. I usually use 0.1% rosemary CO2 extract and 0.3% tocopherol to the oil before extraction. You may decide to add the antioxidant after extraction as well (or have forgotten to add it to the oil before extraction). It is OK but I personally prefer to use the anti-oxidant because of the long filtration time that the oil and the plant material are exposed to oxygen.
Ratio between plant material and the carrier
A 1:10 ratio is a reasonable and common ratio. For the beginning you may even want to use a 1:15 ratio. That might sound much of carrier oil compared to the plant material but as soon as you've made the extract (crushed the plant material) and start filtering, you realize that it is quite reasonable.
Do not reduce this ratio at least for your first extractions.
Let's start:
1- Weight your oil. I recommend working with small quantities at the beginning. 150-200 gr would be quite enough. I'm using organic jojoba oil here.
2- Add the antioxidant (I used 0.3% tocopherol and 0.1% rosemary CO2 extract. Blend the antioxidant with the oil.
3- Weigh your clean and completely dry material into the oil. (15 gr lavender petals for 150 gr or or 20 gr lavender for 200 gr oil)
4- I usually let the plant material soak in the oil for a few hours. You can extend it to overnight. Cover the oil tightly and keep it in a cool place if you do so.
5- The fun begins. Take your cleans, disinfected and completely dry Blendia. Use the homogenization head. If you're working in a hot lab, place your oil beaker in an ice bath to avoid overheating of the oil.
6- Start pulsing your blendia. Apply short pulses for 2-3 minutes. (Do not burn the motor!!)
Just after the few first pulses, lavender petals are crushed to fine particles and are not anymore distinguishable.
7- After all plant material is crushed, you can continue with stirring. Here you can use an overhead mixer, a magnetic stirrer or a stand mixer at very low speed. If you don't have any of them, stir manually every now and then for a few hours.
8- Make sure your veggiefino is clean, disinfected and completely dry (not even one drop of water).
9- Show your muscles and start filtering the extract with veggiefino.
This is such a brilliant tool for hygienic extraction of plant material.
You can apply the residue in scrubs or soap if you want or discard it as organic waste or use it as compost.
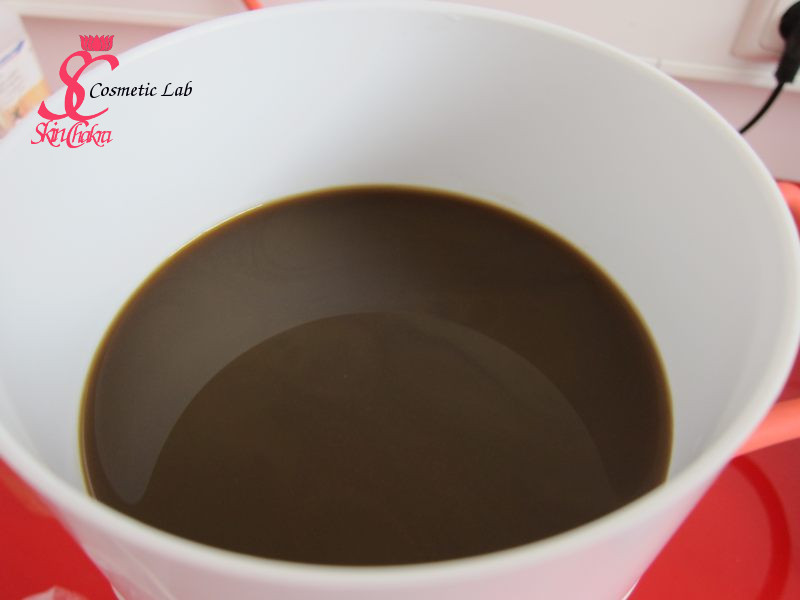
This is the extract after filtration with veggiefino. It is still very turbid (and ugly) and needs some more filtration steps but the biggest particles are already removed.
Be patient and let the gravity do the job for you. Cover your extract and let it at rest for some 24 hours. Most of the solid part sediments and that facilitates further filtration steps.
Look at the above photo. You can clearly distinguish the sediment at the bottom of the bottle.
Still we need some more filtration steps.
I usually use two steps of rapid filtration with buchner funnel and fast-filtration filtr paper.
Read our previous posts about filtration of extracts:
How to filter your herbal extracts and infusions (part I)
How to filter your herbal extracts and infusions (part II)
How to filter your herbal extracts and infusions (Part III)
How to cure your cloudy macerated oils and plant extracts
At this stage, the extract is quite all right for application in balms, creams and lotions but it would be a little bit cloudy for application in a transparent serum or oil blend. I prefer to run a few fine filtration steps (time consuming) to get rid of all that cloudiness. This cloudiness is not due to residual water in the extract (with experience you can distinguish the difference). This is the cloudiness you sometimes observed in native oils and wouldn't affect the quality. If you're OK with that or don't have the necessary instruments with fine filtration, then go ahead without it.
It's now time to store your pretty extract in a clean, disinfected and completely dry bottle (a dark bottle would be much better).
GMP (Good Manufacturing Procedure)
If you're a DIY hobbyist and making extracts for your own personal use, you can be flexible with quantities and procedures , as long as you have no water and no contamination in the system, everything is acceptable.
If you're a formulation student or do want to make extracts for using them in your cosmetic products you sell, then you need an exact and written step by step procedure, following exactly the same ratios, the same time of extraction, the same raw material for a good qualiyt oil and for complliance with GMP (which is mandatory in the EU).
I hope you'll enjoy this tutorial and will enjoy making your own extract with Blendia.
Don't hesitate to send us your photos, comments and questions. You can post your photos on our Facebook page or tag us (@skinchakra) on Instagram .
BeHappy and have fun


