Freitag, 18. November 2016
How to make a foot pampering balm
Clays are gaining more importance and popularity in hair and skin care (even the mainstream manufacturers have finally discovered benefits of clays) . Originally being used as cleansing/absorbing or exfoliating ingredients, they are now being applied in personal care products to improve formulation texture and sensory properties, improve skin barrier function, acting as anti-oxidants, improving skin elasticity, regulating sebum secretion and reducing dandruff, hydrating the skin and improving the skin and hair texture. These are only a few benefits of applying clays in personal care products (not to mention the lovely colour they impart both in functional and decorative cosmetics.)
You're probably familiar with the fact that clays are notoriously challenging to preserve and that no "natural" preservative is able to preserve clays in water containing products. This is why we always advocate applying clays in waterless beauty products (which are very popular on their own) to avoid any risk of contamination as well as the necessity to apply preservatives such as phenoxyethanol.
I've strated applying clays in balms and butters for a special project and I was so fascinated with teh skin feel and texture that I went on to apply different clays in different formulations afterwards (patience, I'll reveal them little by little).
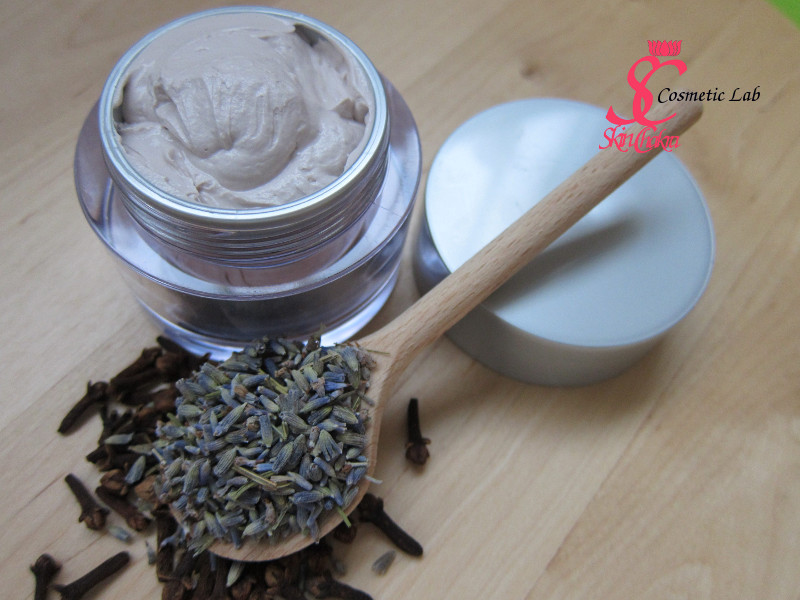
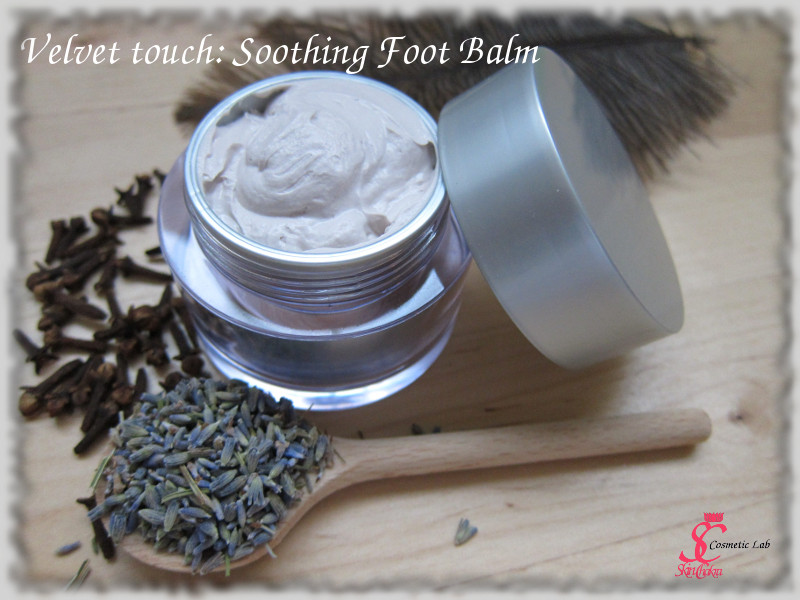
For this project, I've used a purple Brazilian clay rich in Magnesium ions for a foot pampering balm formulation. I've used lavender essential oil in the balm for a deep sleep and for its antibacterial and sanitizing properties as well. I couldn't resist applying a clove bud macerated oil for its divine smell. The rest of teh formulation is pretty easy and straightforward. Well, I made this balm completely without any shea or cocoa butter (for those of you who are traumatized by grainines of shea butter).
I've added 1.0% allantoin to this formulation for its excellent moisturizing and anti-inflammatory properties. You can swap it with urea and even increase the concentration to 10%.
Let's go to the formulation and procedure:
Formulation
| Phase A | |
| Organic myrica fruit wax | 13.0% |
| Cupuacu butter | 10.0% |
| Babassu oil | 25.0% |
| Phase B | |
| Lavender infused organic baobab oil | 15.0% |
| Clove infused organic jojoba oil | 5.0% |
| Organic poppy seed oil | 12.4% |
| Organic perilla seed oil | 15.0% |
| Tocopherol | 0.5% |
| Organic rosemary CO2 extract | 0.1% |
| Phase C | |
| Purple Brazilian clay | 2.0% |
| Lavender EO | 1.0% |
| Allantoin | 1.0% |
Procedure:
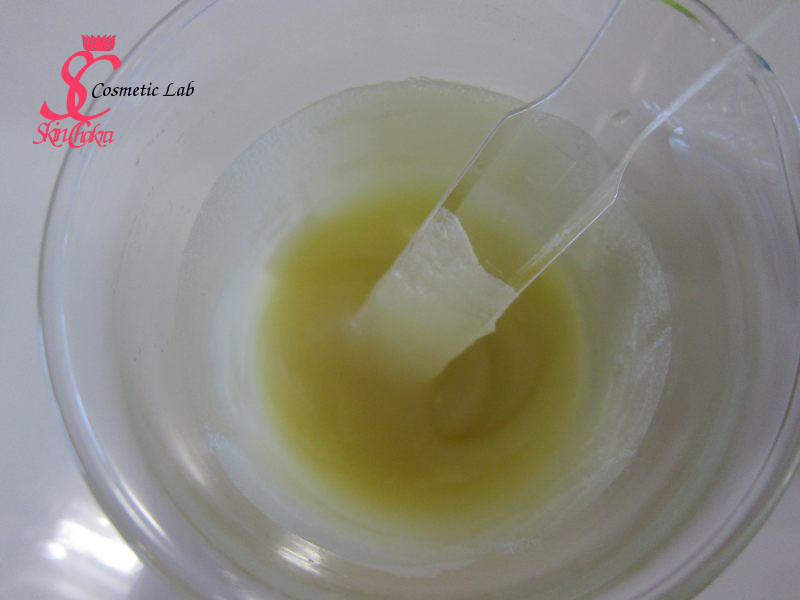
1- Weight all of the ingredients of phase A in a beaker and melt them in a water bath @ 65-70 oC. Stir the blend during melting.
2- Weight ingredients of phase B in another beaker. After phase A is melted to a homogenous blend, stop heating and add phase B. If your lab is cold, it is possible that by adding phase B some flakes solidify in the micture. Blend the mixture for a few minutes (out of the water bath) until all of the blend is a homogenous liquid.
3- Start cooling under stirring. According to our experience, the best way is to put your beaker in the fridge and then blend the content at 10-15 minute intervals until the blend reaches a trace.
Read our previous post about how to avoid graininess in your balms and butters
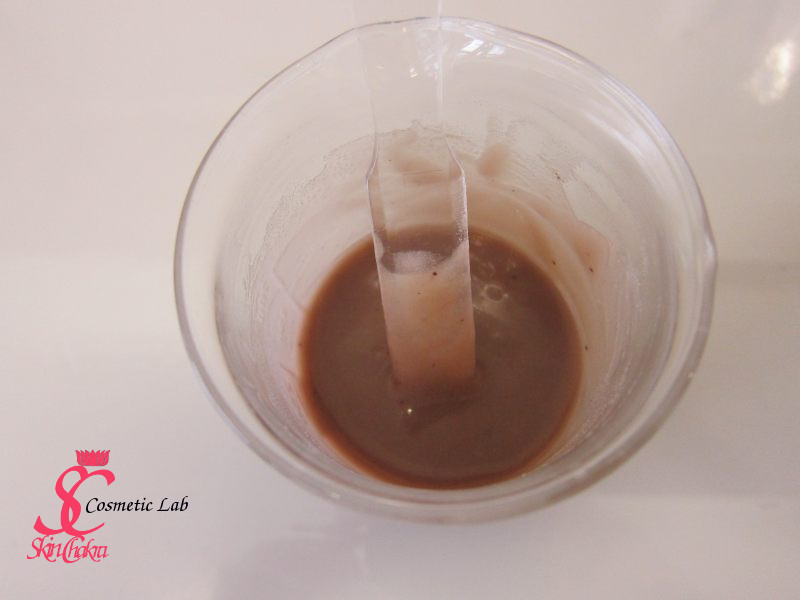
4- At this stage you can add the ingredients of phase C one after one and completely blending the mixture. You need more time for blending powders into the butter.
The colour is not pretty at all at this stage but don't worry it becomes better as it cools down.
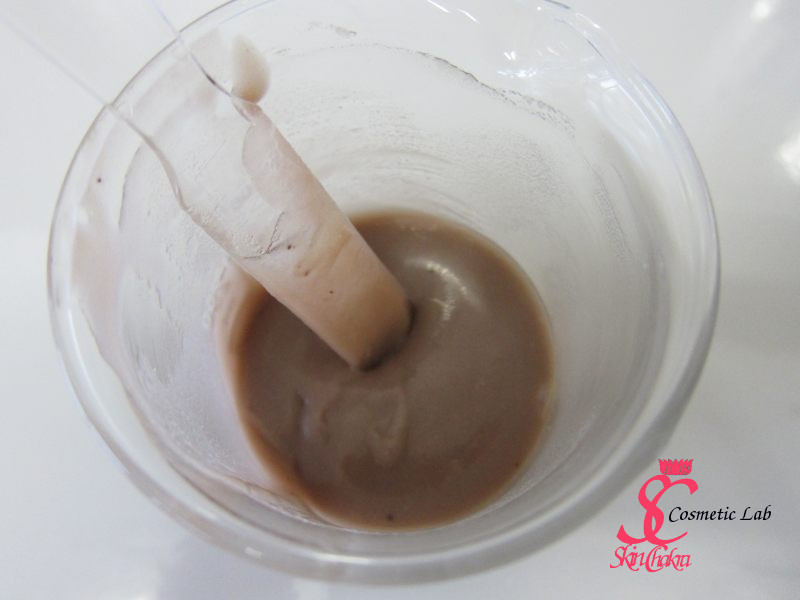
5- Continue cooling down and stirring in intervals. As the butter becomes harder, you can start whipping with your handy dandy Blendia.
This is the colour of the butter as it cools down. It's much more attractive now.
After whipping, the colour becomes even lighter and prettier.
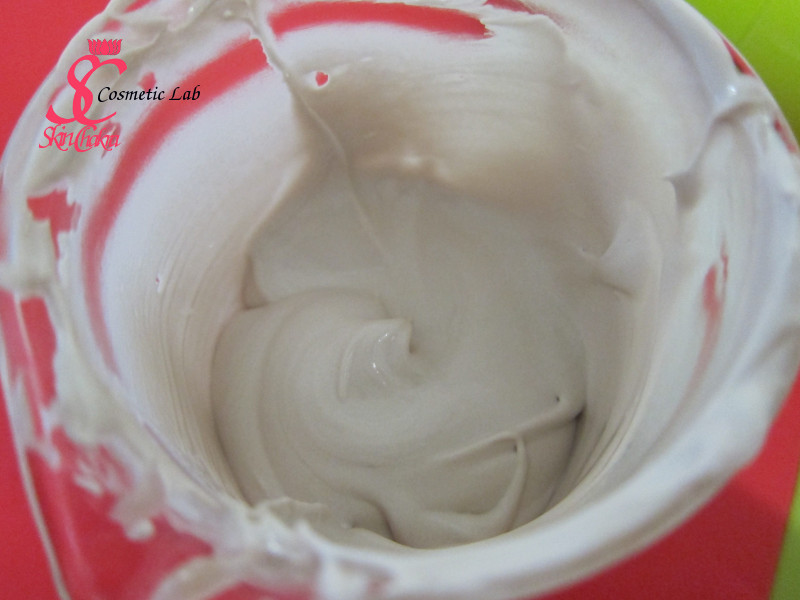 6- You may need several sessions of whipping. Putting the butter back into the fridge at intervals.
7- After reaching the desired texture, fill the butter in suitable jars and keep the jars overnight in the fridge.
Important note: This butter contains clay which is extremely susceptible to contamination. Never ever dip your wet finger into the jar or allow water (even a single drop) to enter the jar.
It's your turn now. Don't hesitate to send us your photos, comments and questions. You post your photos on our Facebook account or tag us (@skinchakra) on Instagram .
