Sonntag, 12. März 2017
How to make a self-emulsifying shaving cream (guest post)
Today's post is written by Jilly who is not only an amazing enthusuastic formulator, but a very popular tutor by Formula Botanica as well. Jilly has always something in the pot and every now and then, when she finds sometime between answering students' questions and grading assignments, she writes an easy to follow tutorial for our readers.
This time, she has used the self-emulsifying oleogel as a base for a natural shaving cream. I can easily claim that Jilly is one of the first people using this concept for a preservative-free, natural and easy to use shaving product.
This is her introduction to the concept and her tutorial:
If you would ask me what my favourite skin care product is, without a shadow of a doubt I will answer “something self-emulsifying”! Before I started making my own cosmetics I never came across these kinds of products, I had never even heard of them! It was SkinChakra’s blog who introduced me to this wonderful ingredient, Dermofeel G5O. And of course, I had to try this “self-emulsifying thing”. It is safe to say I am quite addicted now to these products ![]() . I adore the creamy silky feeling on my skin, no exaggerations but you can compare it to ‘velvety peach’ and soft plump chubby baby cheeks.
. I adore the creamy silky feeling on my skin, no exaggerations but you can compare it to ‘velvety peach’ and soft plump chubby baby cheeks.
When you get the hang of it, it is a lot of fun to make ànd you can easily adjust the viscosity by playing with different ratios. Another pro is because it is anhydrous you don’t have the hassle of adjusting the pH and you don’t need to add a preservative (except when there is a chance you’ll add water to the product, therefor choose your container wisely ![]() ).
).
I would kindly like to advice you something about glycerine. When you are new in making oleogels, during your experimental phase you don’t need to use thé best glycerine and certainly not your most precious oils. But, there is a big but coming! But, when you get more confident in making these fab products and when you start using them frequently, please do not economize on cheap(er) glycerine! Oleogels contain a high % of glycerine so you need one of good quality. Believe me, the cheaper ones result in a sticky feeling and I don’t know about you but my skin feels dehydrated afterwards. So, invest in good quality glycerine! SkinChakra has a fab glycerine of 99,5% in the shop which is perfect for making your oleogels. It truly makes a difference to your product. (Elham's note: we're now selling a 99,89% palm free and organic glycerine)
The trick when making an oleogel lies within the moment the oil phase and the glycerine/G5O phase come together. For me it is do-able to make a batch of 50 grams finished product in one time. The blending phase requires approx. 35-40 mins, so it means a serious work-out for your arms! At this stage you can very easily mess it up! You will need A LOT of patience when you add VERY small aliquots of the oil phase to the glycerine/G5O blend. Let’s see what happens when you add too much oil and if you can save your product.
Let’s get started:
This is a nourishing and soothing shaving cream, a unisex cream. The product itself isn't a cream. It is an oleogel and it becomes a cream upon coming into contact with water. You can tweak the formulation and split it into more masculine or feminie touches by varying the essential oils added to the formulation but the basic formulation would be the same.
What you need:
STAGE A
STAGE B
15% argan oil, organic
12,2% calendula macerated oil (sunflower, organic)
0,5% a-bisabolol
0,5% tocopherol
0,1% organic rosemary CO2
0,2% EO lavender, high altitude
0,2% EO bergamot, BF/FCF free
0,2% E0 blood orange
PROCEDURE
-
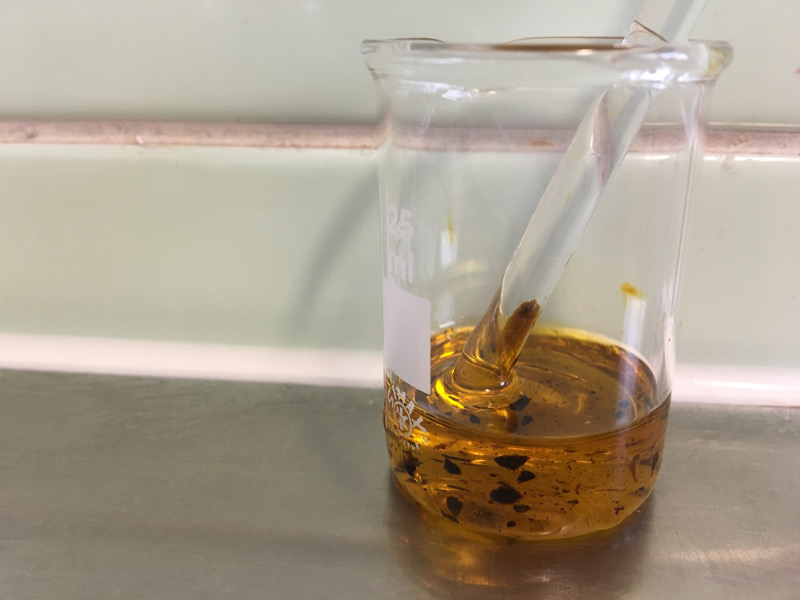
The calendula CO2 I have is a syrupy one and needs to be dissolved first in oil. So I do this first.
If you notice it doesn’t blend well and there is still some of it floating in the oil, you can put it for a sec in your bain marie, but not too long and not too hot! (it completely dissolves @ ca, 40 oC)
Set aside.
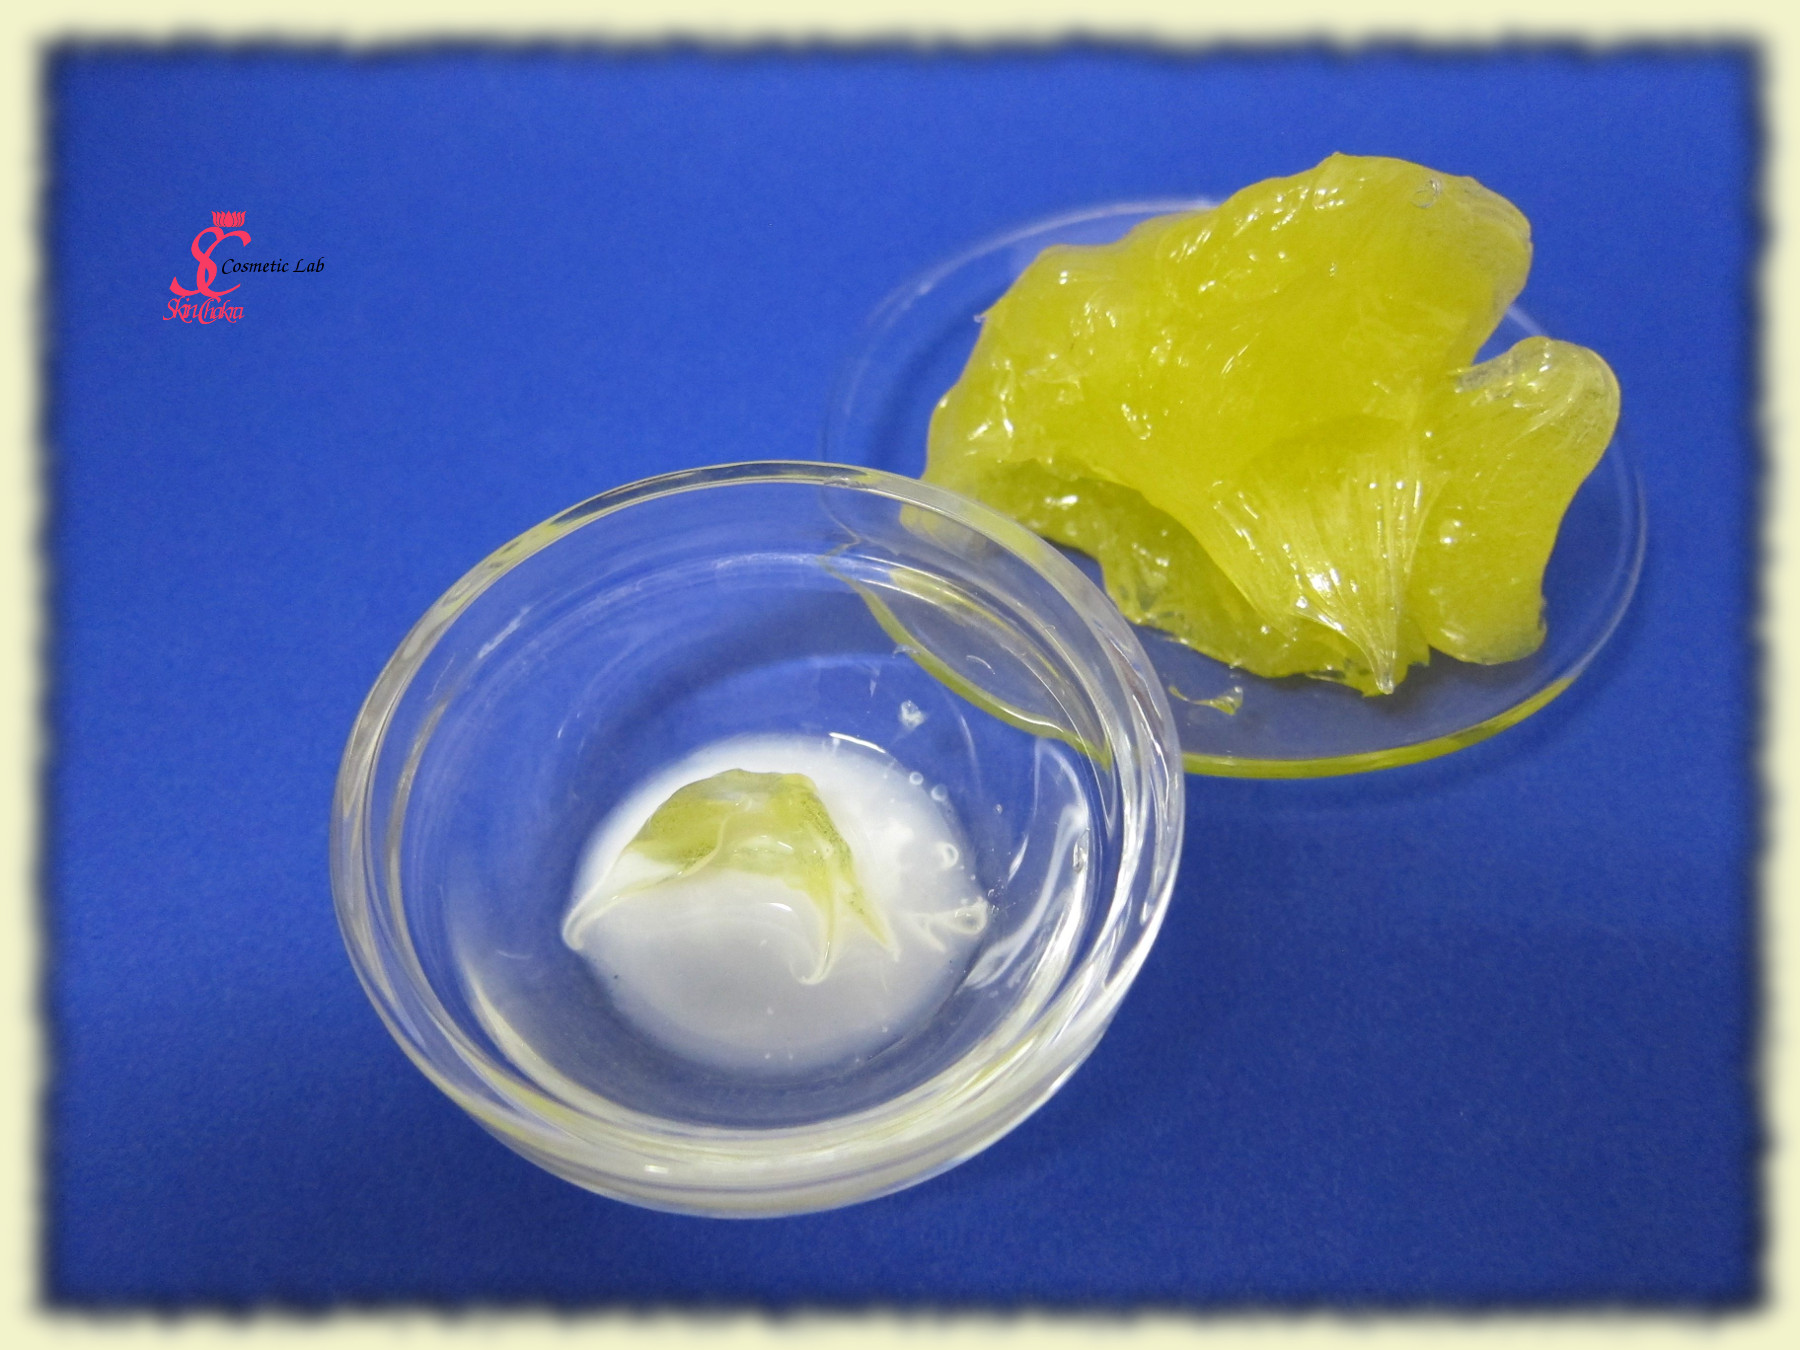
2. Blend your glycerine and G5O @ RT.
-
G5O can be quite gloopy and sticky, if it isn’t manageable you can warm it up a little in a warm water bath, but I usually twirl it around a metal spoon without a problem.
-
When it is fully mixed a nice smooth white blend is formed.
-
If it is cold in your kitchen/lab it helps if you hold the bowl in the palm of your hand (a little body heat) while your are blending
-
Set aside.
3. Blend all your phase B ingredients in a second bowl.
-
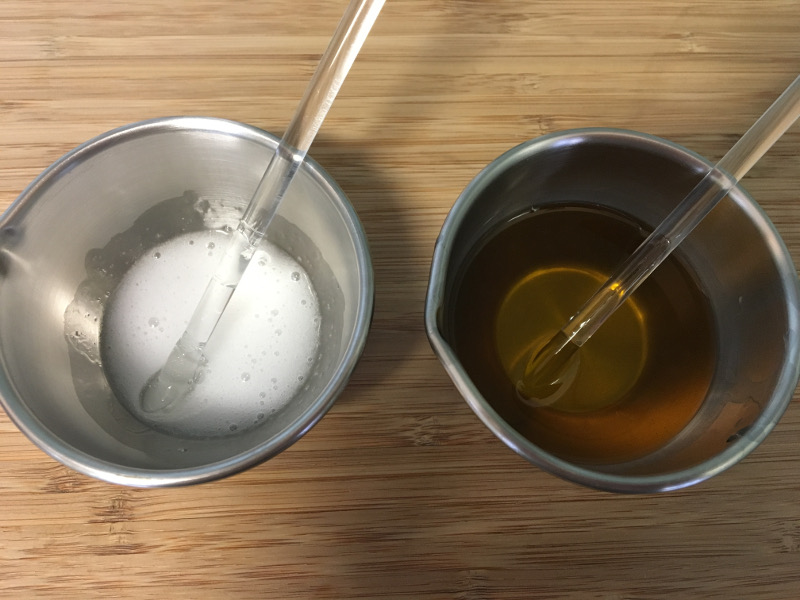
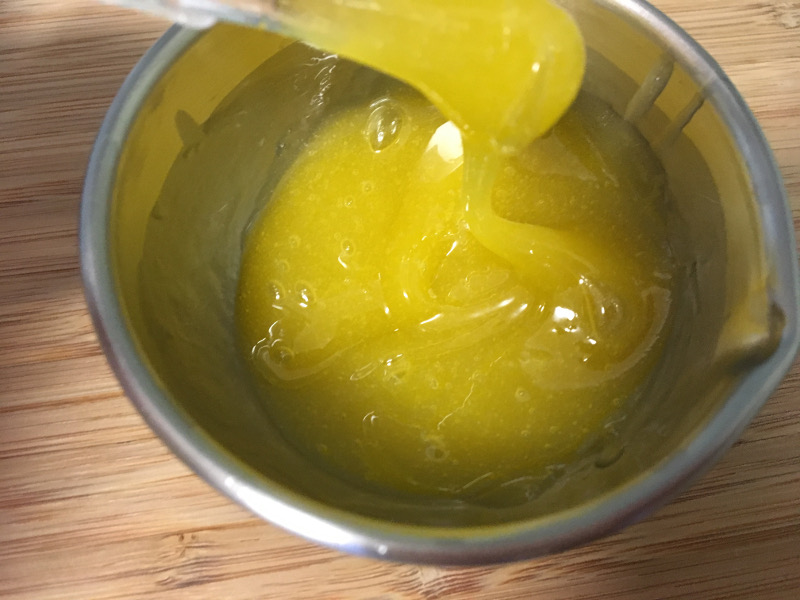
The calendula CO2 is now completely blended in the oil and you can add it too. Here are your two phases.
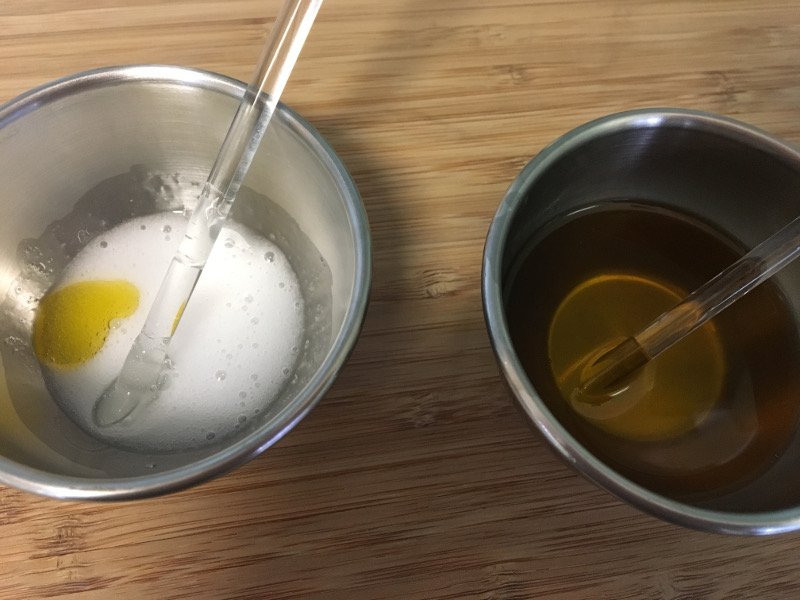
4. Now, here comes the tricky part, you need to add the oil phase to glycerine/G50 blend VERY SLOWLY and in VERY TINY aliquots, blending well and fully after each addition with a glass rod!
-
Normally an oleogel is a uniform gloopy blend that ‘stays’ together, so keep it together!
-
This process can take a while, take it slowly and be patient.
At first it doesn't look quite pretty but don't get disappointed. Continue adding the oil in small aliquots and blending before adding the next aliquot.
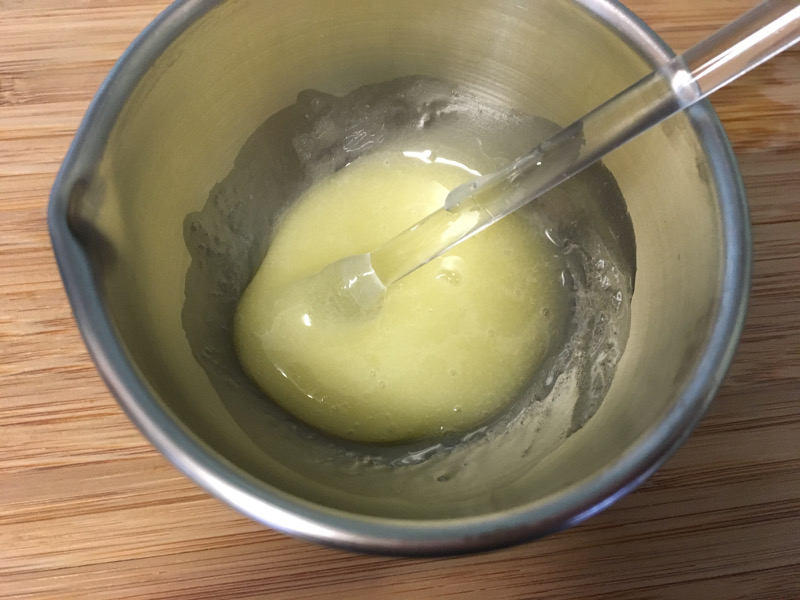
5. After all the oil phase is added to the emulsifier phase, you will notice immediately if your product has failed or succeeded. But if you want to know for sure, leave it for a couple of minutes. When you return and the oils aren’t floating atop, you can applaud yourself for doing something quite tricky! Well done!
6. Now it is time to transfer your finished product in your container. This is a non-aqueous and self-preserving product. It foams upon coming into contact with water. To keep is as beautiful as it is, and to keep it intact and free of contamination, we recommend filling it in bottles with a lotion pump or in a tube where there is no risk of addition of water to the product during application.
Final note: You can adjust the viscosity of this product according to your desire and packaging. If you want a more runny product, increase the concentration of the glycerine and reduce the concentration of the oil phase. We don't recommend applying less that 15% and more than 60% glycerine.
Now it's your turn to create an amazing oleogel. Don't hesitate to send us your questions per mail, to our Facebook page or share your Instagram photos with us by tagging @skinchakra.
BeHappy and have fun
Disclaimer: SkinChakra is responsible for the content of this blog post. Please send your comments and questions directly to SkinChakra and don't try to contact Jilly in private or via any other online forum/platform. Jilly or one of our team will happily come back to you.
