Freitag, 28. April 2017
How to make preservative-free scrubs
With this horrible weather at this time of the year (we're having snow here) one shall think about Xmas time and Xmas gift.
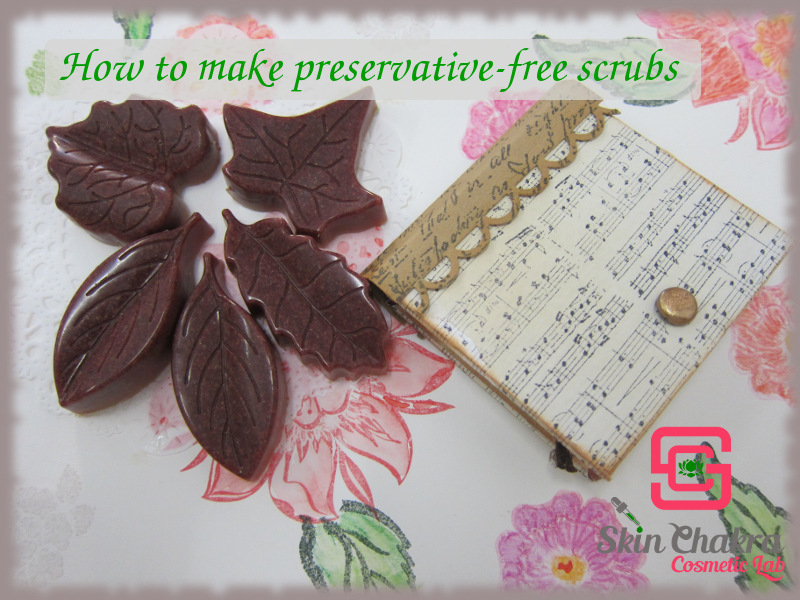
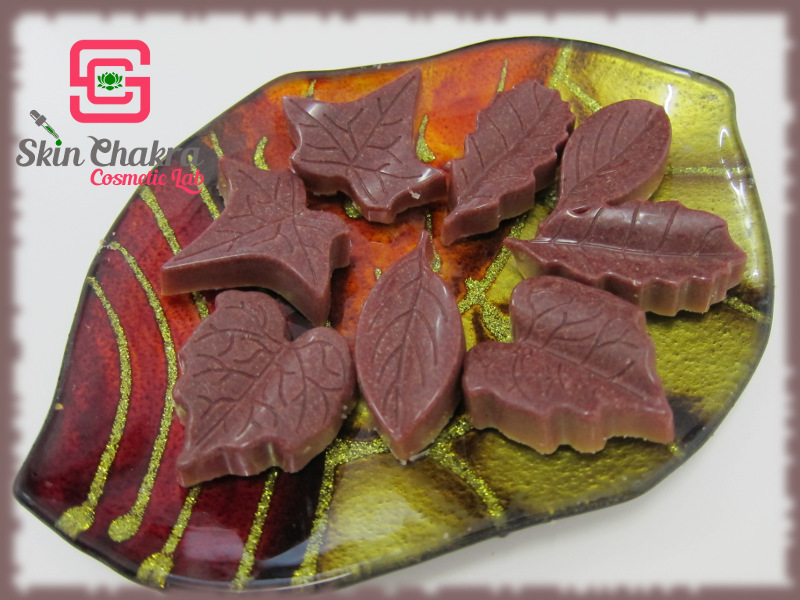
We've hosted a very talented intern last week and she made these adorable single-dose scrubs. I have prepared several varieties of these scrubs in the past and it is an AHA effect each single time we take the pieces out of the molds.
These cute and adorable pieces are easy to apply both in an institutional and home application. They have a butter/wax matrix and are free of water and hence are self-preserving. The advantage of these small solid forms over the butter/balm scrubs in a jar is that they are used up in one or two applications and there is no chance of contamination and hence no need for adding any preservative. By using a balm scrub from a jar, depending on the jar size and the way the consumer applies the scrub, some water would certainly enter the jar and cause contamination and hence there is a need for effective preservation although the product itself is free from water and would remain intact and free of contamination for ages if the jar is not opened and no water has entered the jar.
Anyway, when making these scrubs, you may need to adjust the hardness/ the melting point to the climate you're working in or you're selling your products. You may need to add less wax/butters and more oils to make it softer or apply more wax and cocoa butter if you're in a hot climate.
We made these adorable coffee scrubs last week as a part of our Xmas gift to customers. The ones we sent to hot regions such as Singapore and Malaysia arrived deformed because they couldn't stand the ambient temperature in that region. We were lucky that they didn't melt completely to a mess (the importance of stability testing!!!).
Let's go to the formulation and procedure which is quite easy.
We made the formulation as KISS as possible and avoid making a cocktail of ingredients. These are rinse-off products and there is no need to add tons of high performance active ingredients. They remain in contact with the skin only for a very short time and their main function is to peel-off the dead skin cells (apart from being adorable and smelling good).
Formulation:
| Phase A | |
| Cocoa butter, unrefined | 60,4% |
| Myrica fruit wax | 10.0% |
| Shea butter | 3.0% |
| Sunflower lecithin | 3.0% |
| Phase B | |
| D-Tocopherol | 0,5% |
| Organic plum seed oil | 7,0% |
| Phase C | |
| Organic Rosemary CO2 extract | 0,1% |
| Organic grapefruit essential oil | 1,0% |
| Cranberry seed powder | 15,0% |
Procedure:
1- Melt phase A in a water bath @ max. 70 degrees Celsius.
2- After the waxes and butters are melted stop heating and add phase B
3- Bring the beaker in the fridge and stir the content every 10 minutes until coming to a light trace
4- Add rosemary extract, the essential oil and the exfoliant (cranberry seed powder) and pour the blend into your mold cavities. We've used a silicone mold.
5- Put the mold overnight in the fridge
6- Demold the pieces and pack them. (We wrap them in wax paper and then in cartons, you may as well use a metal box or a glass/plastic jar)
Unless they are directly exposed to sun or heat (put near a radiator), they shall keep their form and hardness even in a warm bathroom. If the melt too easily in your hands you need to increase the wax content and reduce the oil content. If they feel stone hard, you may need to decrease the wax content and increase the oil content)
Enjoy the skin feel and the scent yourself or share them as a cute gift for your friends and family (or go into mass production and make them as a seasonal product).
If you're inspired by this tutorial feel free to send us your photos and comment either per mail or to our Facebook page. If you post any photos on Instagram, don't forget to tag @SkinChakra.
BeHappy and have fun


