Sonntag, 1. April 2018
How to make a shower bar (minimalist approach)
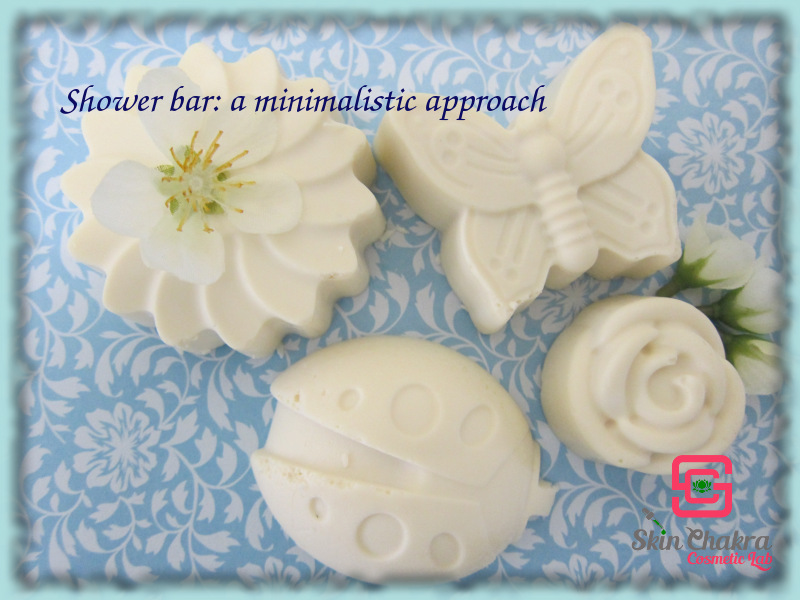
This is a post you have been waiting for for several months. If you follow our social media accounts you know that we've been playing with shampoo bar and shower bar formulation during the last 6 months and now it's time to share a minimalist formulation with you.
Before I jump to the formulation and procedure let me explain something to you:
Shampoo bar; shower bar & co
Shower bars or non-soap soap bars are on the market for ages. In fact, you can hardly find a soap-based commercial soap bar on the market. All you may find in drugstores and supermarkets are the so called "syndet bars" or non-soap soap bars. These soap bars, unlike conventional soaps, are not made via saponification of a fat, oil or fatty acids. All the soap bars you'll find with the claim "neutral pH" are syndet bars (not made with soap).
The main ingredient for making these non-soap soap bars is a surfactant blend with a very low water content. The surfactant blend can vary between some horrible totally synthetic detergents such as SLES and SLS to completely mild and plant based surfactants. The surfactant base is delivered as a powder, pellets, noodles or flakes. This base is then processed in an extruder and is blended with additives (mainly colourants and fragrances) and then formed into soap bars.
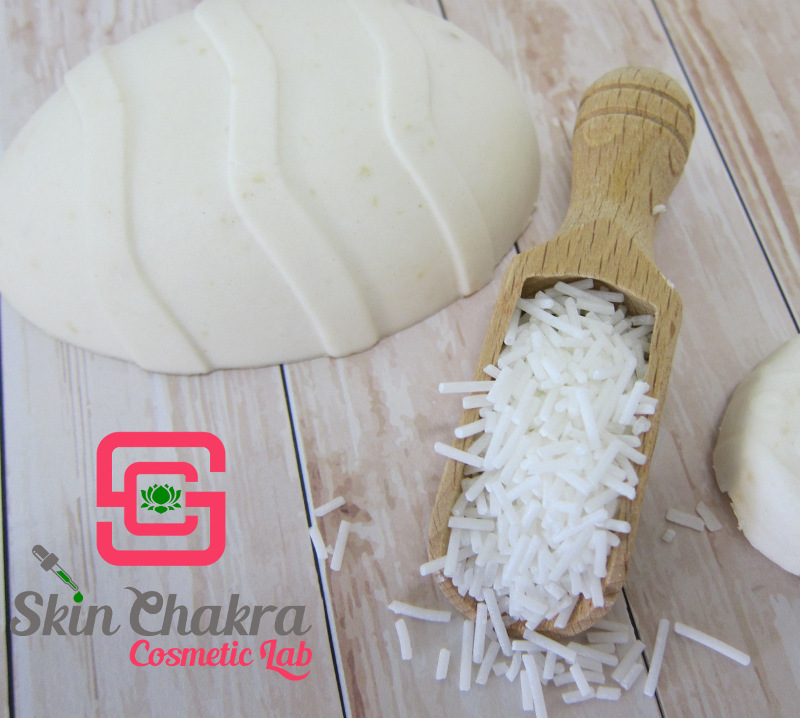 This approach is impossible in an artisanal lab (unless you want to invest some 15,000 $ in a bench-top extruder machine).
Now you may understand why it took such a long time for us to share our first tutorial with you: We have been working during the last 6 months to find a suitable way to process this surfactant noodles in an artisanal lab and without an extruder.
Why a non-soap soap (shampoo, shower) bar
Conventional and artisanal soap makers (whom I highly respect) might be extremely irritated by this but there are a few advantages of these non-soap bars over the saponified soap bars:
1- There is no need to go through saponification and working with harsh and aggressive lye
2- There is no need for CURING the soap and waiting till the lye has transformed the fat into soap. Your product is ready to use within 24 hours after preparation
3- You can adjust the pH as you wish. Non-soap soap bars have usually a much lower pH that saponified soap. This is the physiological skin pH and you wouldn't kick the skin pH out of balance each time you use a non-soap bar
4- Because the pH is not alkaline, you have all the freedom of choosing your additives. All the ingredients that would not survive the alkaline pH of a saponified soap (plant extracts, herbs, wine etc.) could be easily applied in a non-soap soap bar
5- You can make your batches as small or as big as you like and you can pour your product in individual cute moulds
Before you start
I have deliberately chosen a shower bar (and not a shampoo bar) for my first tutorial. I know that your hands are itching to add several extracts, herbs and flowers to the formulation but I strictly recommend (and beg) you to keep it simple (KISS) for your first few batches. Your first batches might be very disappointing (don't ask how I know it) but don't give up and continue, the result is very rewarding and is worth the whole headache and disappointment. You may even have to scoop your first batches instead of pouring them into the mould. Do not change the formulation if your first batch is unsatisfactory. Repeat the same formulation but work on the procedure until you get the feeling of how to heat, when and how to blend and when to pour.
pH adjustment
One of the difficulties (you can call it disadvantages) of this procedure/product type is that you can not adjust the pH after it is made. You can estimate the amount of the acid or base you need for a certain formulation. Measure the pH at the end and then re-estimate the acid/base requirement for the same formulation when you make the next batch. If your product is too basic or too acidic, there is nothing you can do to readjust the pH. You can only repeat the same formulation and add more or less acid or base to come to a satisfactory pH.
This is why I emphasize that you keep your first batches small (100 gr) and your first formulations simple.
If you are ready for some fun (and some disappointment), follow me through the procedure
Formulation:
| Phase A | |
| Distilled or deionized water | to 100,0% |
| Glycerine | 8,0% |
| Sodium cocoyl isethionate (SCI) | 25,0% |
| Phase B | |
| Myrica fruit wax | 10,0% |
| Rice bran wax | 7,0% |
| Babassu oil | 5,0% |
| Natural tocopherols | 0,5% |
| Rosemary CO2 extract | 0,1% |
| Antimicrobial plant extract | 0,1% |
| Phase C | |
| Proteol APL EF | 5,0% |
| Sodium lactate | 2,0% |
| Lactic acid (80%) | 0,8% |
| Sweet orange oil | 2,0% |
| Mandarine oil | 0,5% |
About the formulation:
1- As we've made this product, the babassu oil was rock-hard in our lab. If you prepare this formulation in summer or are basically having warm climate conditions and your babassu oil is liquid, you can add it at the end of the heating phase and when your waxes are melted
2- I haven't added any preservative to this formulation. We've made small bars and even those bars that are left in the shower for weeks are free from contamination. If you're having high-humidity climate or add additives such as herbs, clays, honey or other ingredients that promote a contamination, you shall test the microbial stability of your product and may need to add a preservative (challenge and efficacy tests are needed)
Procedure:
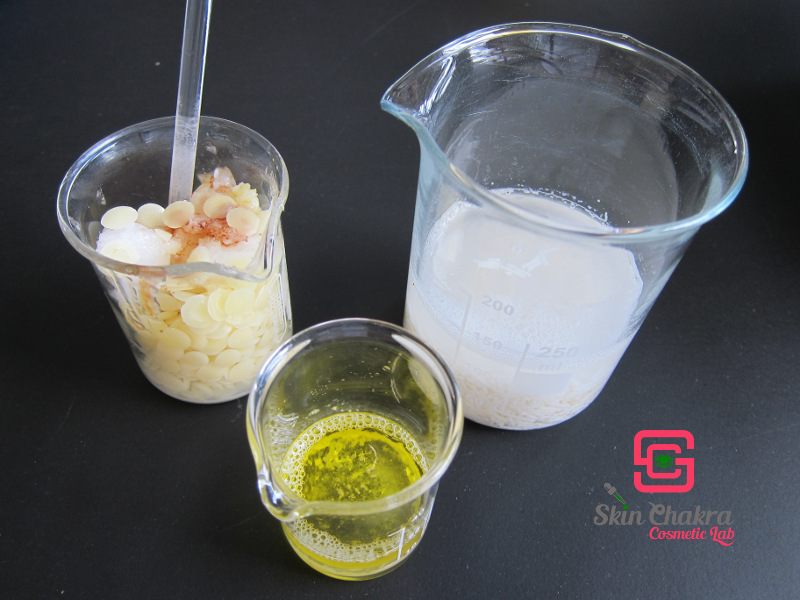
1- Weight all three phases in separate beakers
SCI does not dissolve in water, you need to heat it at high temperature to make it swell in water (you'll need heat-proof gloves)
This step takes a long time. Have patience
Heat phase A in a water bath at 90 oC. Blend the contents during heating. You may need a broad spatula or a hand mini-whisk for this step.
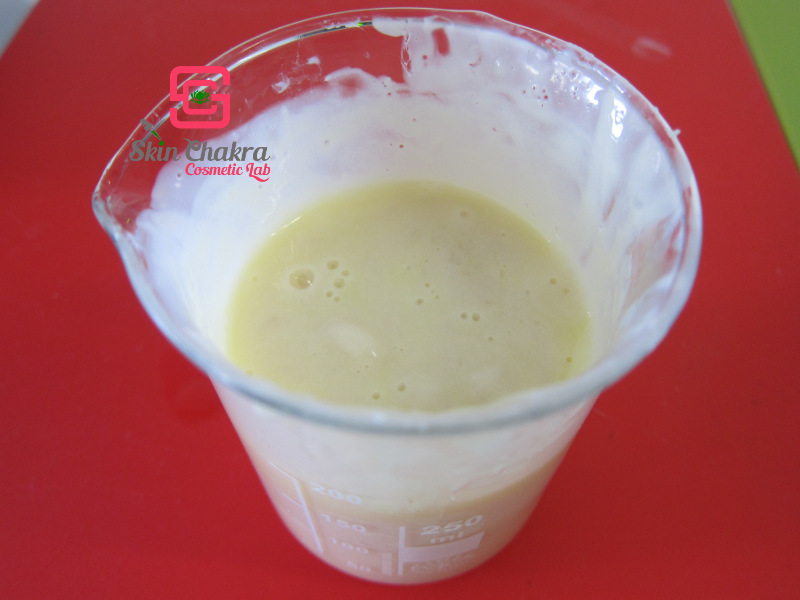
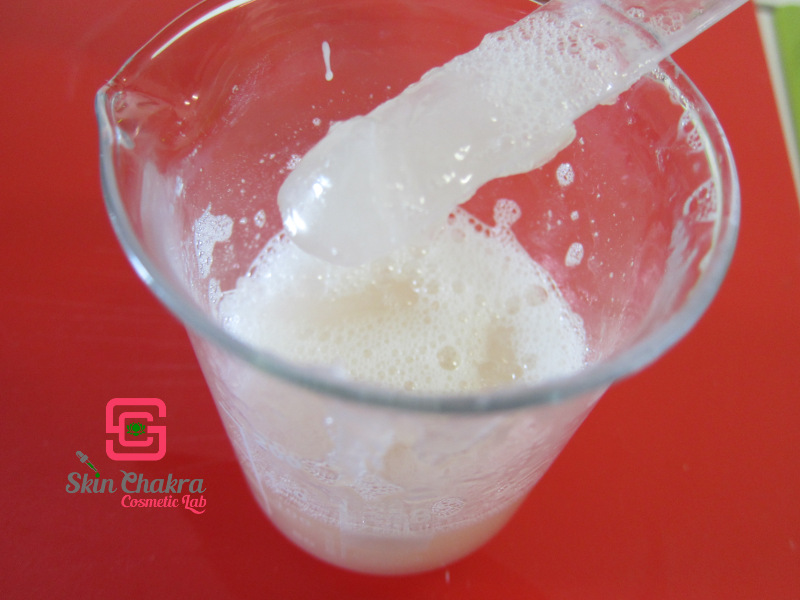 At the end you'll have something like this. The SCI has swelled in water. You can not identify individual noodles anymore but you may still have some clumps.
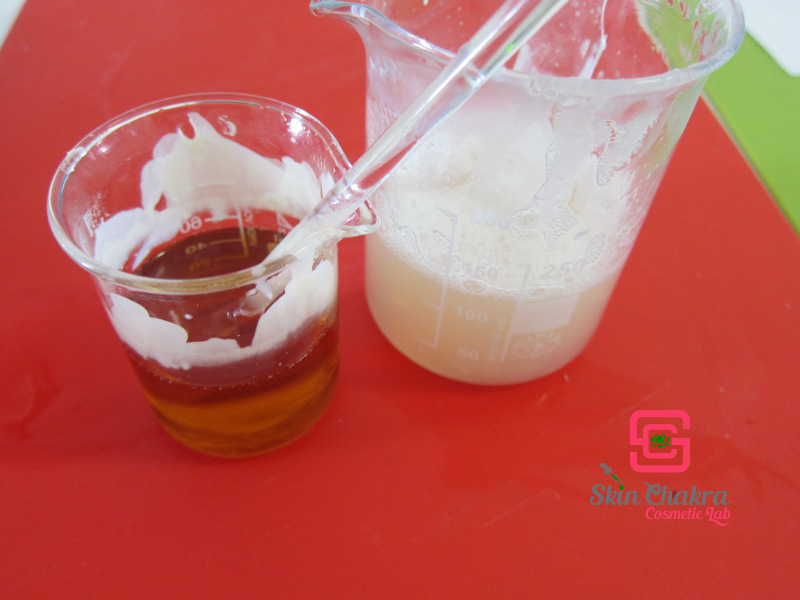
2- Heat your wax phase in another bath at 70-75 oC.
3- When both phase A and B are ready (your beakers are still in the water bath) slowly add phase B to phase A and blend gently (you want to avoid excessive foam). Keep the beaker in the bath but stop heating
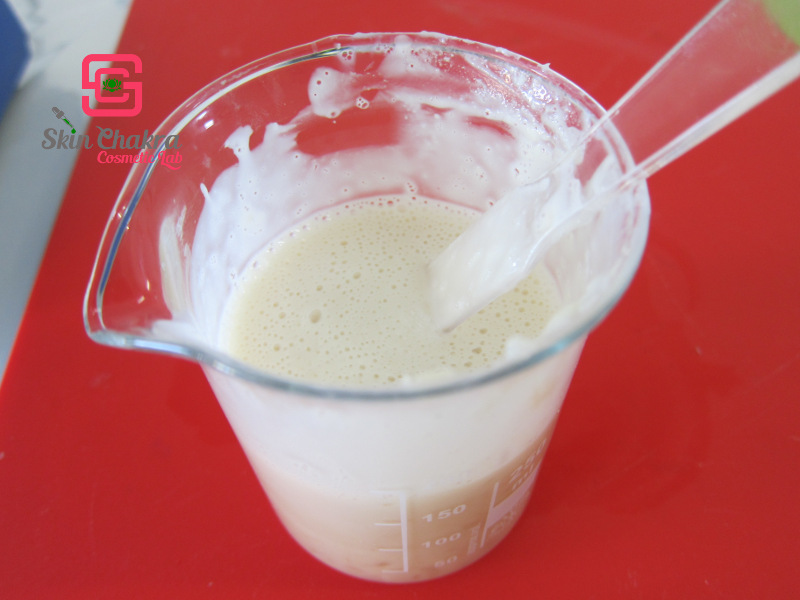
4- Now add phase C. Keep the beaker still in the water bath
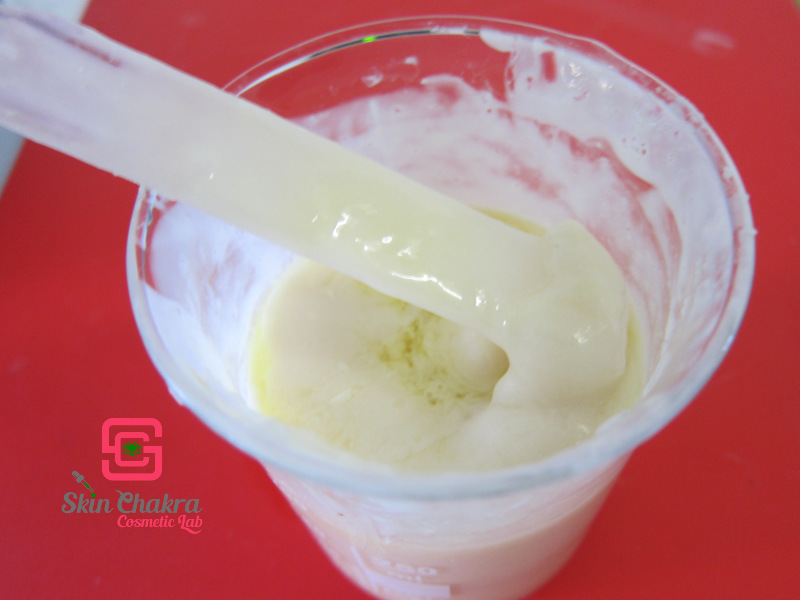
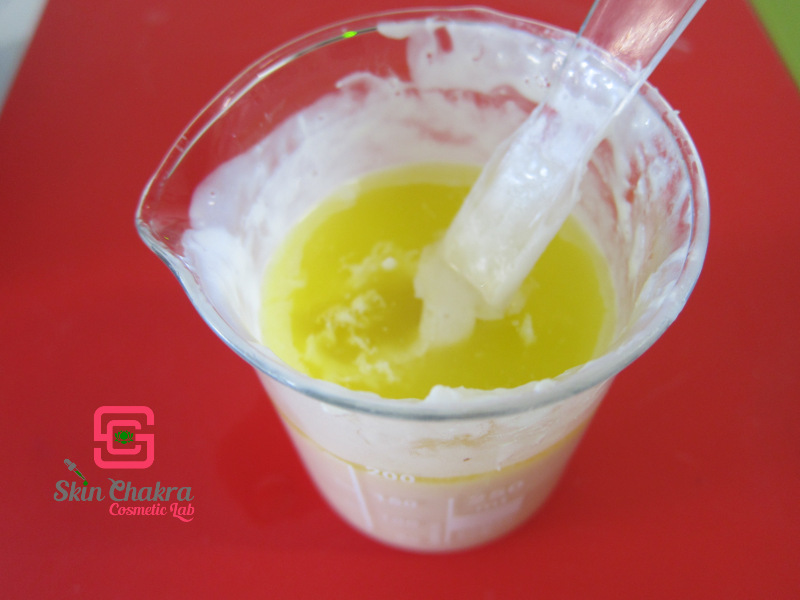 5- At first, the content makes clumps but don't panic. Continue stirring till everything is blended to a pourable and uniform consistency. If you act fast, you can prepare a 10% dilution of the liquid and measure the pH. Here you have a chance to adjust the pH if you want.
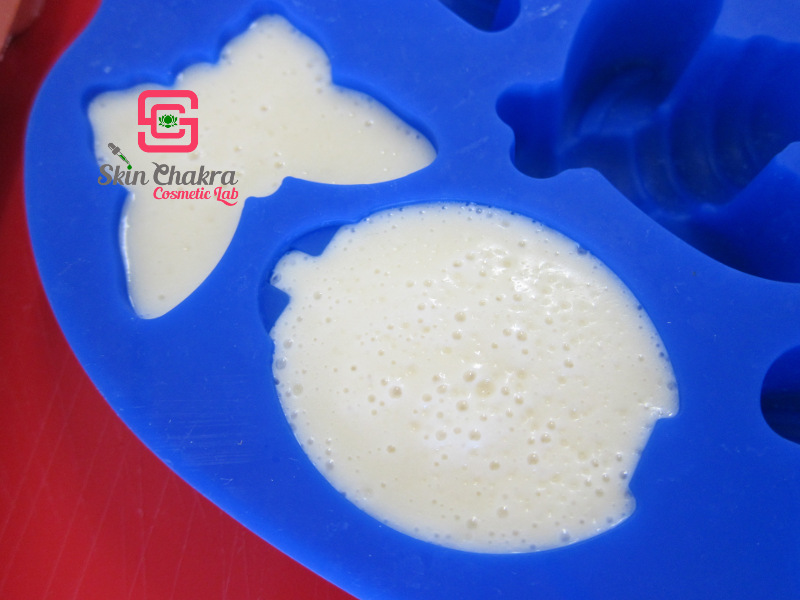
6- Now pour the blend into your mould cavities. You can use all the moulds you use for M&P soap.
7- The top of the mould (which is the bottom of the soap bar) might have some air bubbles. Tap your mould on the counter to bring all bubbles to the surface.
8- Put the mould in the fridge (we let it rest overnight)
9- Remove your bars from the mould and hopefully they are not quite disappointing (they usually are not)
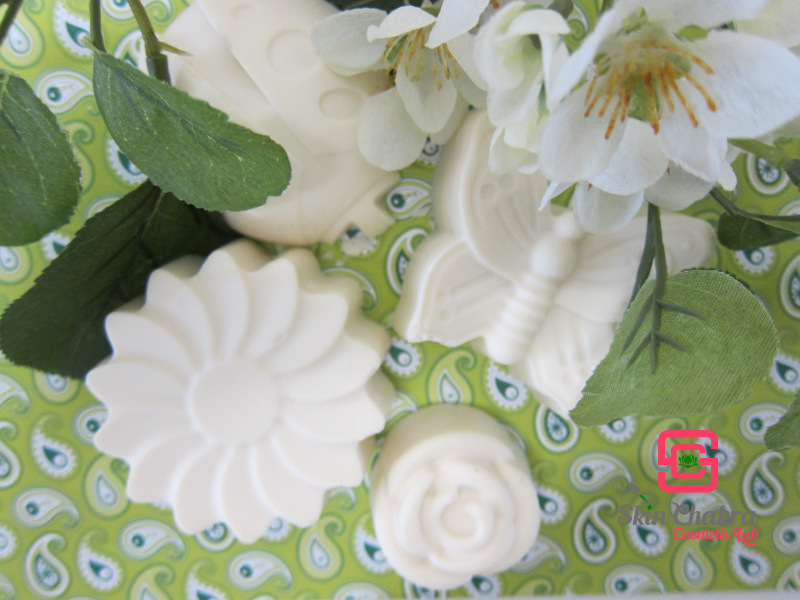 10- Cut a small piece of the bar and prepare a 10% dilution in distilled water and measure the pH.
Note the pH for your next batch. In ideal case, it should be between 5-5,5. If it is too acidic use less lactic acid for your next batch. If it is higher than 5,5 use slightly more lactic acid for your next batch.
Enjoy the lush foam and the luxurious skin feel of the shower bar. Prepare a few batches with the same formulation before you start adding more additives to the formulation.
I really hope to see some of your creations before we publish our next tutorial about shower/shampoo bar.
