Body melts or lotion bars are among my favourite products. Maybe the awaken the child in me. I really feel the magic of removing each single piece from the mold and falling in love with it.
I made body melts long before they became à la mode. Nowadays they are extremely popular because they don't need water (both from the self-preserving aspect and from sustainability aspect) and they don't need plastic for packaging. These are fun to make and even more fun to use and if you have a few cute moulds in your stash you can prepare custom pieces for each and every occasion.
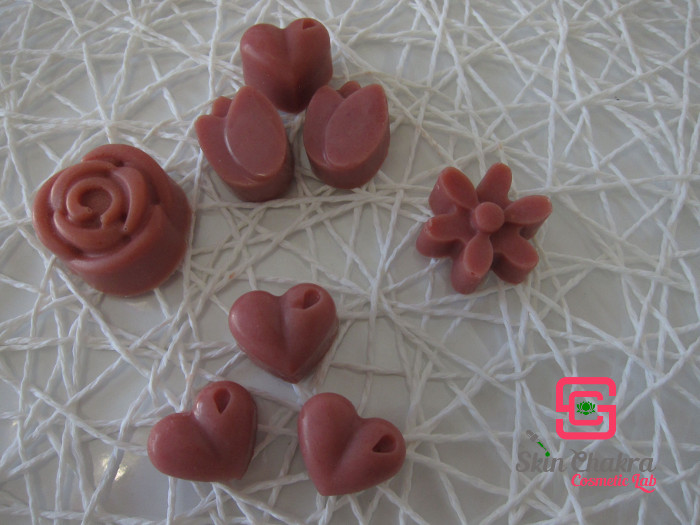
Today I'm sharing a simplified (less is better) version for Valentine's. This makes adorable (and much more healthy and personalized) gifts than chocolate.
There is no specific science behind making the body melts. The trick is:
- the pieces must be firm enough to keep their form and integrity during storage (unless somebody puts them near a heating radiator or directly expose to sun)
- the pieces must be soft enough to melt as you apply them over your skin
- a balance between refatting and a silky skin feel, no excessive greasiness. People shall not wipe or wash their hands after they apply the body melt
Choosing the right blend of soft and hard butters, waxes and oils is the key to hardness and melting point and applying powders such as modified starch or oat silk imparts the "powdery" skin feel and removes the unnecessary greasiness. Keep in mind: this is a waterless product with a much higher lipid content compared to a conventional cream.
Formulation:
| Phase A |
|
| Cocoa butter |
45,0% |
| Myrica fruit wax |
10,0% |
| Shea butter |
20,0% |
| Plum seed butter |
5,0% |
| Phase B |
|
| Olive squalane |
5,0% |
| Watermelon seed oil |
2,9% |
| Evening primrose CO2 extract |
1,0% |
| Natural tocopherols |
0,5% |
| Rosemary CO2 extract |
0,1% |
| Geranium rose oil |
0,3% |
| Lemon zest oil |
0,2% |
| Phase C |
|
| Modified rice starch |
5,0% |
| Oat silk |
3,0% |
| Cranberry seed powder |
2,0% |
Procedure:
1- Add phase A in a heat proof beaker and put it in a water bath at around 60-65 oC to melt. Stir every now and then during melting
2- Blend phase B in another beaker

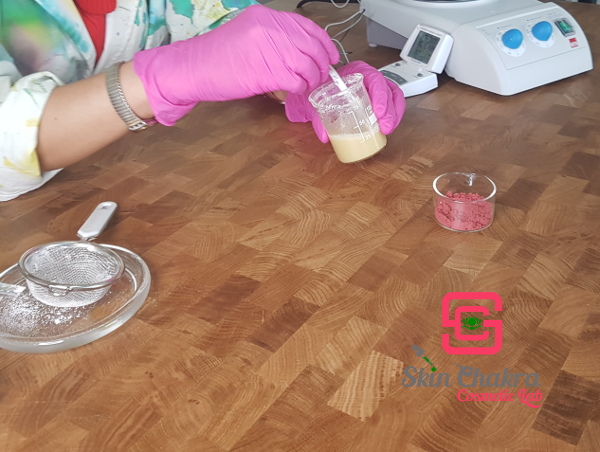
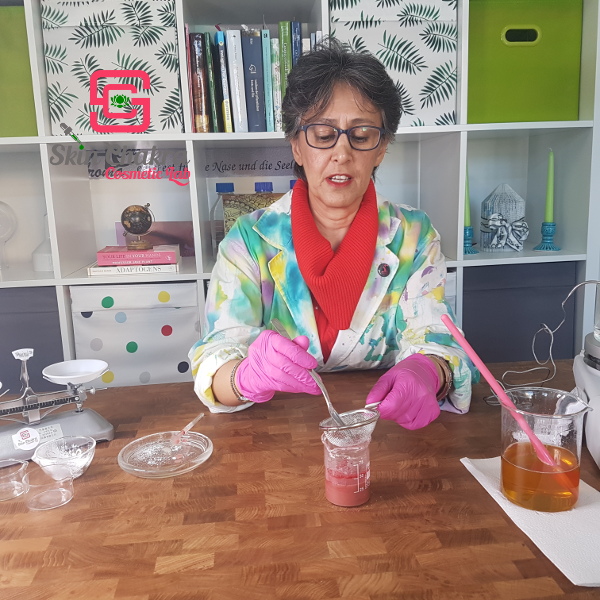
3- Gradually add the powders to phase B and blend completely after each addition. This is a huge volume of powders. To avoid clumping, use a small sieve and gently apply the powder from the sieve and blend after each addition. With this procedure, the powders will be blended uniformly without any clumps and grittiness or graininess in the finished product.

4- When phase A is completely melted remove it from the bath and stir and allow it to cool down.
5- As the temperature reaches around 35-40 oC, add phase B (plus the powders_) to phase A.
6- Stir till reaching a medium trace and pour the melt in your mould cavities.
7- Bring the moulds into the fridge and let them stay for at least two hours to overnight.

8- Remove the pieces from the moulds and wrap them in wax or butter paper.
9- Enjoy the silky and powdery skin feel
Watch the video for the complete procedure

BeHappy and have fun


