If you're new to soap making and are not sure how to get started, if you do not want to work with aggressive lye, if you want to prepare soap but do not want to have a great mess in your kitchen, if you want to impart sensitive ingredients into soap and.... there are tons of other reasons why you should try our soap base....

Let's see how it works.
I love working with soap chips or rebatch soap (don't be confused, you may call it "hand-milled" as well) even if there is nothing wrong with the original soap. You have so many options working with rebatch which are not quite applicable or comfortable during saponification.
- You can easily apply plant extracts, herbal teas, dried herbs which do not survive a CP or HP soap.
- You can form the soap to small easy to use balls or, if you're more talented than me to other individual forms.
- You can apply essential oils (specially citrus oils) which do not survive saponification.
- You can make soaps with children, a process which absolutely to avoid during HP or CP.
- You don't have to wait 8 weeks for the soap to cure.
Basics:
Generally you need a grated soap, we have here our basic/economy soap base which is grated to fine chips.
You can add any liquid to your chips keeping in mind, the more liquid you add, the longer you've to cook There are generally three methods of rebatching:
- Water bath or double boiler
- Furnace
- Microwave
I personally prefer the water bath. It's better to control and easily applicable.
You may add: herbal infusions and teas, milk, vegetable or fruit juice, bier, wine or simply distilled water to the soap. Do not add a lot at once, the chips shouldn't even be covered with the fluid. Add gradually if it is needed. The less the better. If you add too much liquid, you'll have foam which is not wanted at this stage and you have to wait longer for the soap to get dry.
You can even add a nourishing plant oil (up to 5%). The more oil, the less foam. Our economy base does not include any superfat so you can easily add any plant oil for added value, you can even add infused oil to combine superfatting and coloring.
And you can apply additives such as Panthenol, Tocopherol, your colorants, your dried herbs and finally your fragrance or essential oils. Additives are added at the last stage after the soap has reached the final consistency before you form it or pour it into the mould.
Here we go:
For this project (150 gr soap base) you need:
ca. 100 gr Calendula infusion or distilled water
4% Soja oil as a superfatt ( 6 gr) (I applied Calendula infusion in Soja oil)
0,5 Ginger essential oil (0,75 gr)
2% Grapefruit essential oil (3 gr)
You'll need as well:
a small pot for the soap and a bigger pot for the water bath
I applied Calendula tea and Calendula infused oil because of its beautiful color and skin friendliness. You may apply other liquids and oils such as green tea or peppermint tea. Grapefruit and ginger are my favorites for this time of the year, with an uplifting scent.
Instructions:

Before starting please review our older post about general hygienic manufacturing practice in a cosmetic lab and basic equipments for a cosmetic lab.
Please look at my older post for preparing calendula infused oil.
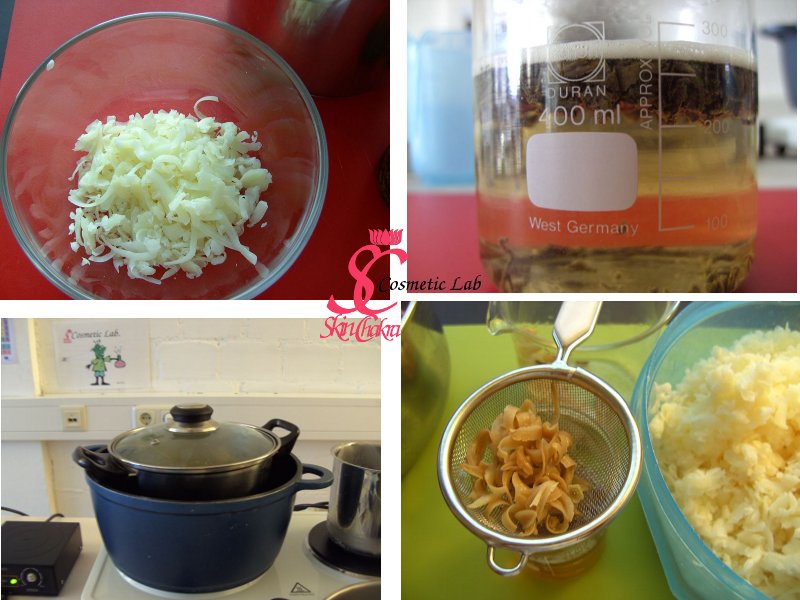
One: Prepare a Calendula infusion in distilled water. Add about one tablespoon of chopped and dried Calendula to 120 ml boiled water. Let it rest for 15-30 minutes and stir occasionally. Then filter with a tea filter, cheese cloth or any other suitable sieve.
Two: Add about 80 ml of Calendula tea to the chopped soap in a suitable pot. Mix thoroughly. Use as little water as possible. The chips should not be completely covered by the fluid. It's enough when they are lightly wet.
Three: Cover the pot and put it in a water bath. Water temperature should be around 90. Don't fill the bath with too much water. Stir the soap occasionally and check the consistency, if it is going to be too dry, add more water little by little. Leave the soap rest for about two hours. If you apply too much liquid, the soap needs longer.
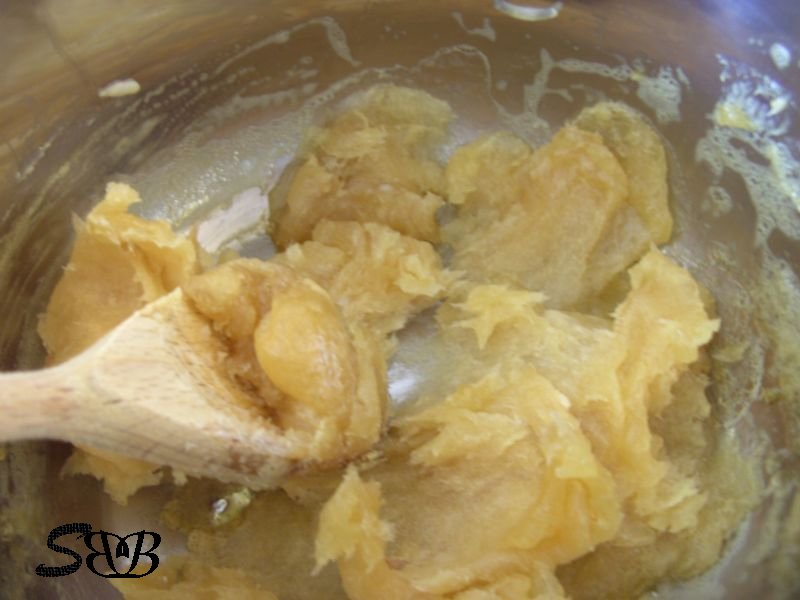
Four: After the whole soap is homogenous and has a consistency of potato puree, add the super fat oil and vitamin E. Continue heating for about 15 Minutes. Remeber, the consitency is not comparable to a soap at trace.

Five: Turn the heat off and add essential oils.
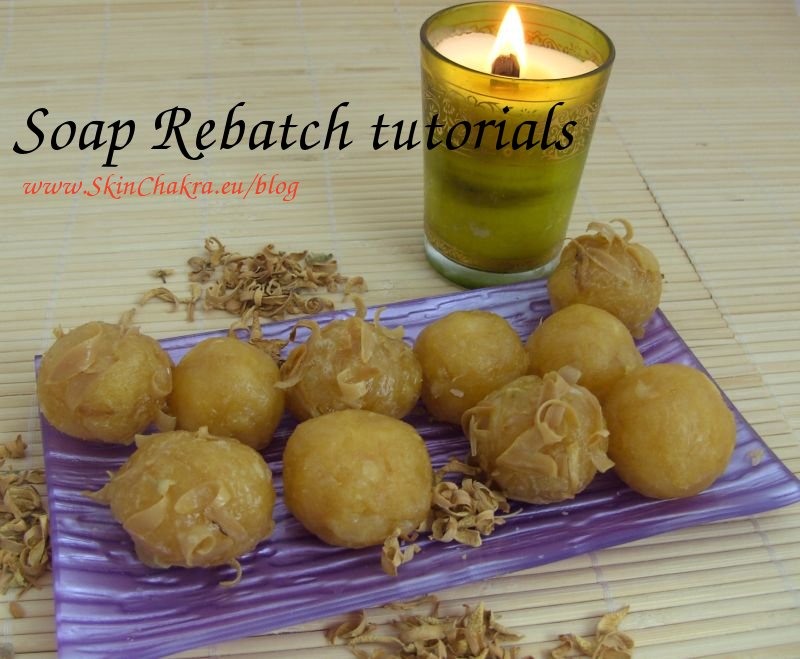
Six: Make small balls in your hands. You may apply the filtrate of Calendula tea or infused oil as a decoration in and on balls.
Put the balls on a tray and let them dry. You may need a couple of days up to one week depending on the added liquid and the consistency of the soap.
I love these small balls and I carry always some in my suitcase or my gym bag so that I can apply my own pieces of natural soap even when I'm in a hotel, a swimming pool or in the gym. They are as well very nice give aways.
Rebatch is not only applicable with our base, it's a way to rescue soap when you're not satisfied with your product.
You have certainly heard and experienced Murphy's law: "Anything that can go wrong, will go wrong"
It's the same thing for saponification. It even happens to the most experienced soap crafters that something goes wrong and that the soap is not exactly that one as one has planned for.
What to do then with 1 kg (in the best case) of something like soap which is really not a soap, or could not be presented, given away or sold as soap?
Here is where rebatch helps you. You can rebatch your soap applying the same procedure. Giving the soap a face lift.
Please consider: Rebatch (or hand-milled) soap will never have the appearance of a normally saponified soap. It is always coarser.
Happy mixing and have fun


Swettis Beauty Blog am : Making soap balls from SkinChakra® Luxury base
Swettis Beauty Blog am : Cognac Soap-Rebatch
Swettis Beauty Blog am : Calendula officinalis