
This is another version of our shower butter projects, this one is hanging on the rope for a more practical, less waste, less mess application.
Can you remember our previous shower butter project? Well these are revolutionary products, a hybrid of a body butter and soap which simultaneously cleanse and pampers your skin. This product is specially gorgeous for very dry and itchy skin. In this project, we've applied a rope within the soap-butter so that the consumer can hang the butter in the bath rather than laying it down on a soap dish. This reduces waste and smearing and the soap-butter would last longer.
If you're a soap maker, you might probably be familiar with 3D-soap molds and how to apply a rope into the soap. In this tutorial we've applied both a 3D- soap mold and an ordinary silicone mold and have incorporated the rope into both molds.
The butter is very easy to make. Basically you need soap chips and a basic butter formulation. You can practically apply any kind of soap chips. You can purchase them ready or prepare them yourself by grating a soap of your choice. For this project we've grated our Avocado-Olive oil soap to make the soap chips.
Suitable for summer, we've applied peppermint essential oil which is a skin friendly cooling and refreshing oil together with peppermint extract, but basically you can apply and fragrance oil or essential oil of your preference.
What you need, besides soap chips and a basic butter formulation is a kind of emulsifier to help rinsing the butter. Remember this is a very fat rich product. The soap alone can not emulsify the butter so you need something to emulsify the fats, otherwise you'll have a very sticky, greasy unpleasant feel after applying this product and should almost wash yourself once more with a soap or a shower gel to get rid of that FATTY skin feel. I've chosen lysolecithin in this product. Be sure to apply an emulsifier if you want to have a silky and pleasant skin feel.
The rope we've applied is a simple cord you can find at various colors and thicknesses at craft stores.
Before we start I want to recommend you to read our older posts about general information regarding hygienic manufacturing practice in cosmetic lab, introduction to Basic equipments and utensils for a cosmetic lab.
I've written this tutorial for 500 gr. It means, you need about 10* 50 gr or 5*100 gr cavities. Butter has a lower density that soap or water so please have a couple of molds available in case you have a surplus of butter. Latest after the second batch, you can figure out your molds and your required quantity of butter.
For this project (500 gr shower butter) you'll need:
10,0% lysolecithin (50,0 gr)
this is both a natural emollient and an emulsifier for a non-greasy skin feel after rinsing
0,5% lipophilic peppermint extract in sunflower oil (2,5 gr)
1,0% Mandarine essential oil (2,5 gr)
you'll need as well
a water bath to melt the butters
a suitable beaker or a pyrex jar
(optional) small glass beakers to premix and add other ingredients
(optional) a glass rod, spatula or any other suitable spoon or spatula to mix the ingredients
suitable molds (silicone molds are the best) and/or 3D-soap molds
Enough space in the fridge (this is the most important part)
Instruction:
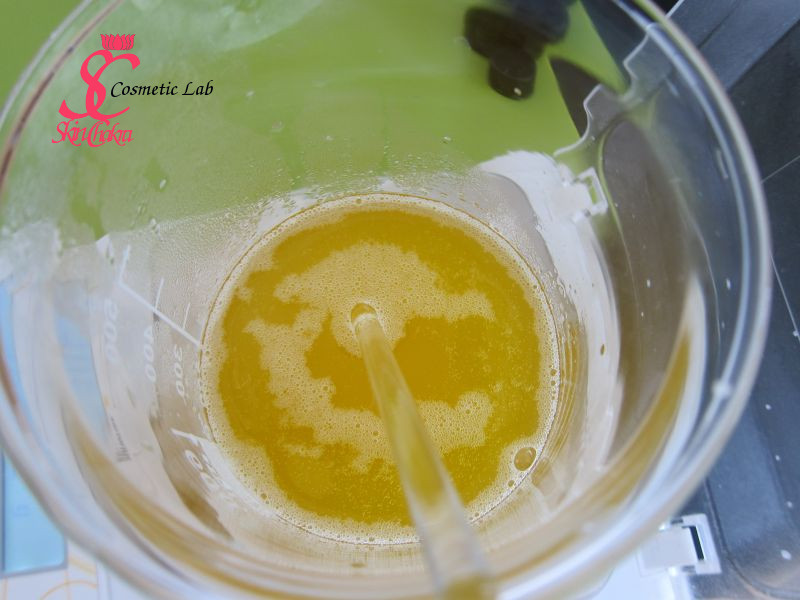
One: In a suitable glass beaker or jar, weight cocoa butter. Put the beaker in a water bath. Keep the water temperature under 60 degrees centigrade.
After cacao butter is melted stop heating and add shea butter. Stir gently to melt the shea butter as well.
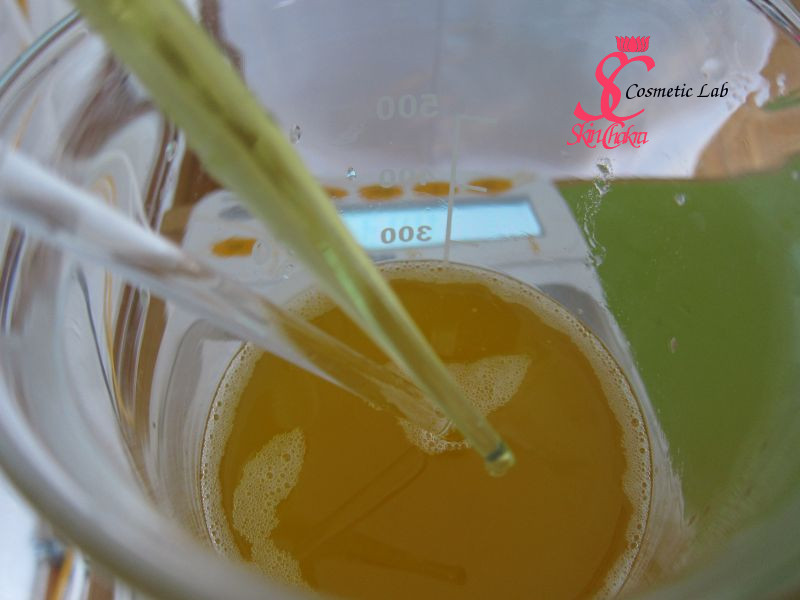
Two: After the butters are melted add lysolecithin, tocopherol and peppermint extract to the mixture and stir while the mixture cools down.
(now you can prepare your molds and rope as you're waiting for the mixture to cool down or prepare them from the very beginning to avoid stress)
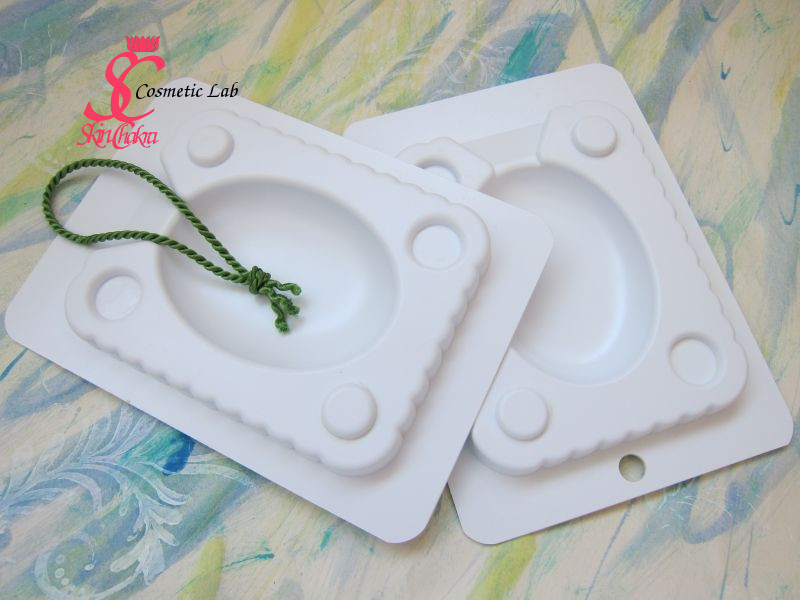
Three: If you've nor prepared your cord yet, do it now, Cut the prepare a loop at your desired length, cut the cord and make a knot at the end.
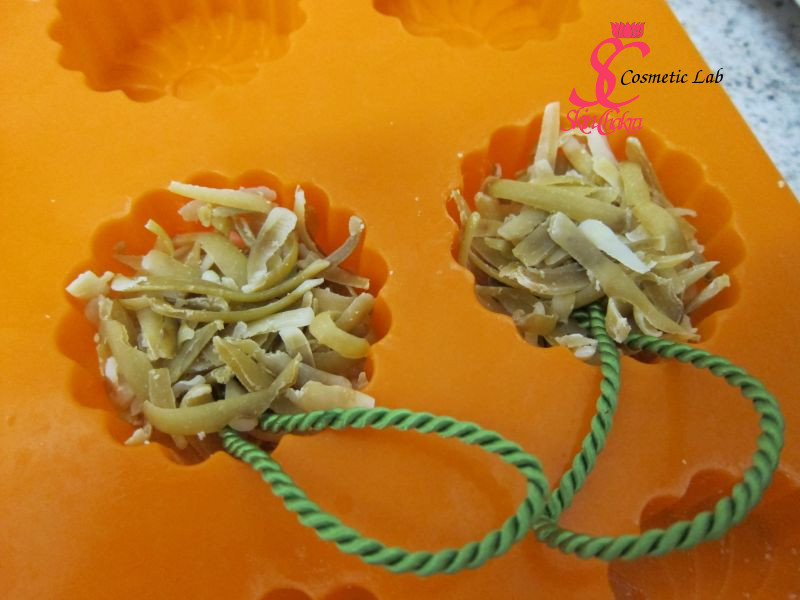
Four: If you're working with silicone molds or milky way molds, fill your cavities with soap chips and place the rope (with the knot at the end) in between soap chips.
Five: After the mixture has reached a temperature of 45, add the essential oils (peppermint and mandarine) and stir further.
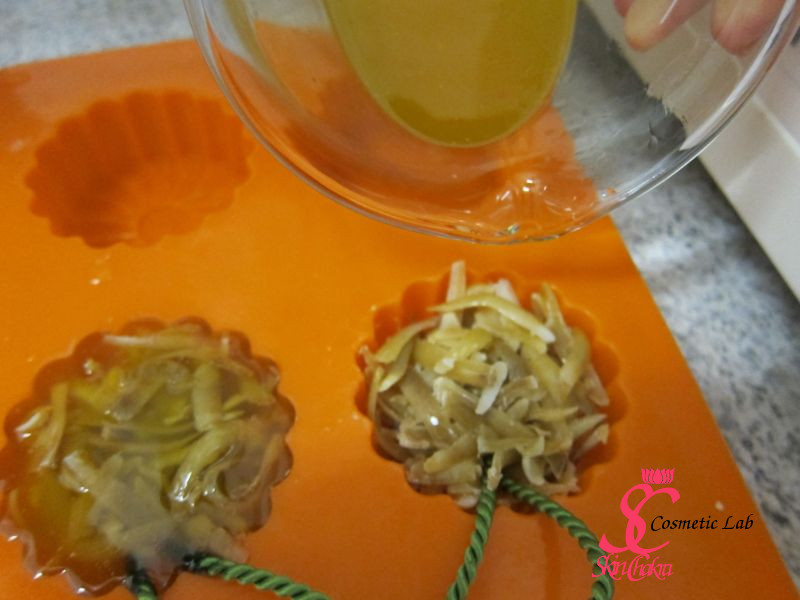
Six: If you're working with silicone or milky way molds:
Pour the melted mixture gently over the soap, make sure the rope remains in place and bring the mold into the fridge to harden. You're done.
If you're working with 3D- molds it would be a little bit more tricky:
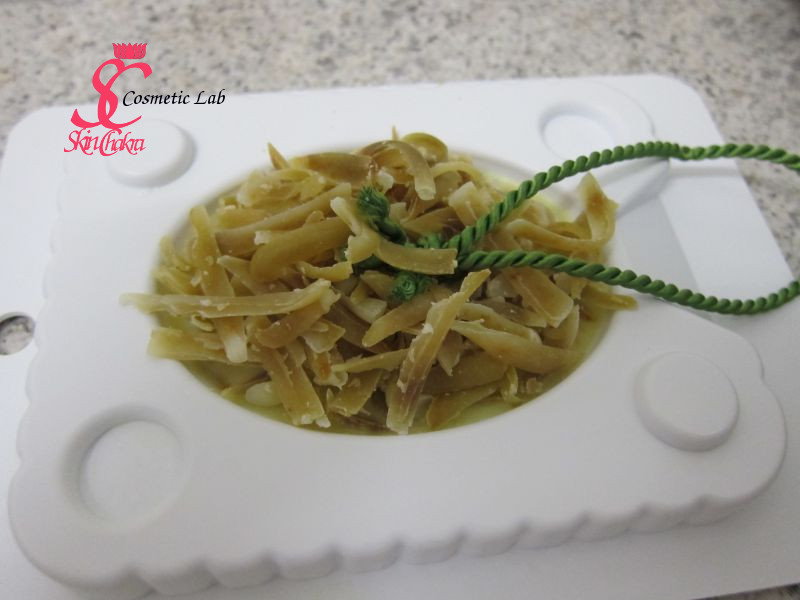
Seven: First pour a very thin layer of butter into both sides of the mold and wait for it to harden. You may have to keep your beaker with butter in the water bath to avoid hardening the whole butter.
Then fill only one half of the mold with soap chips, place the rope between the chips and
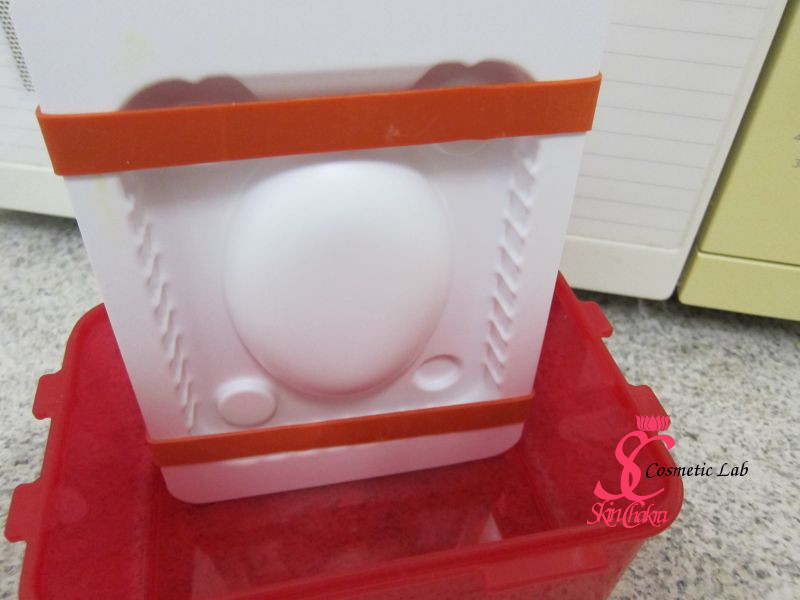
Put both sides of the mold together and close it with the elastic bands which are delivered with the mold. Place the mold in a bowl or container (in case the mold is not sealed correctly and some butter leaks and it is easier to place the mold in the fridge that way)
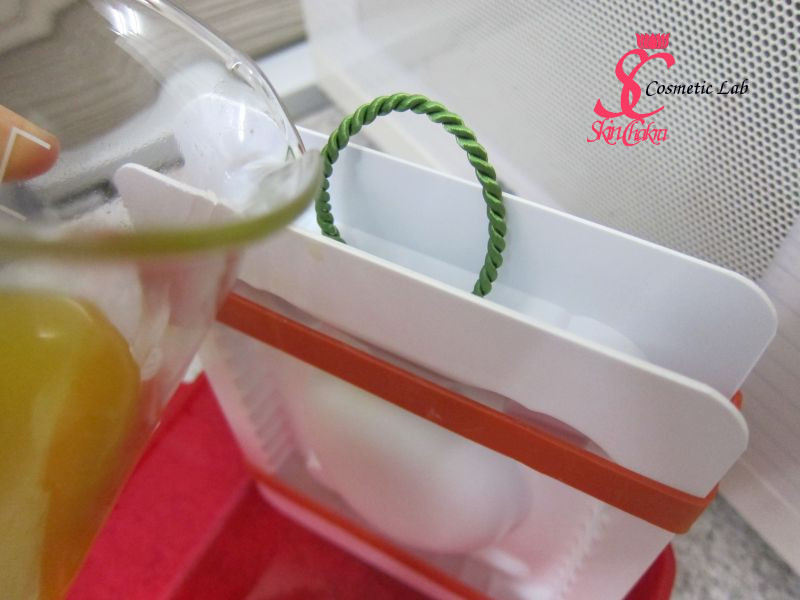
Eight: Pour the butter gently from the opening at the top of the mold into the mold. Try to keep the rope in place. You may secure it with an adhesive band which you can remove after the butter is hard.
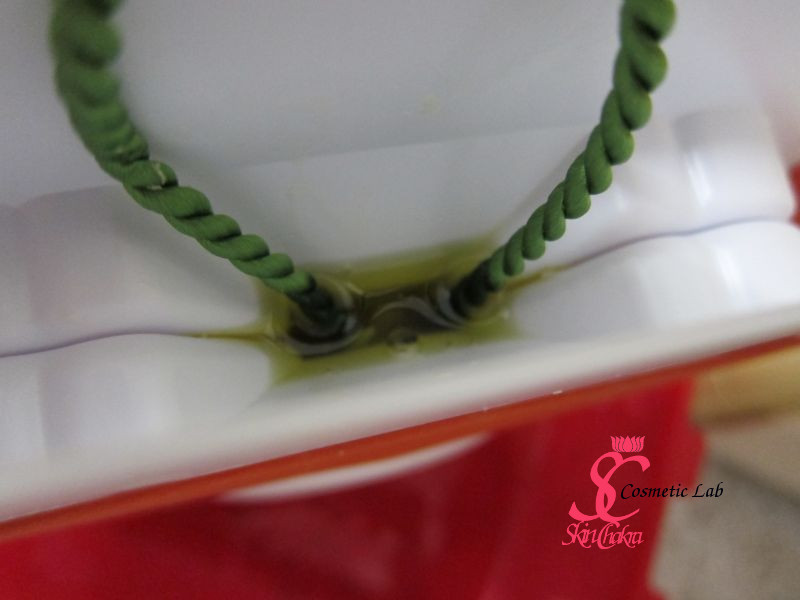
Nine: Fill the mold so that some butter runs over the opening.
Bring the mold into the fridge. You need about 2-4 hrs for the butter to completely solidify.
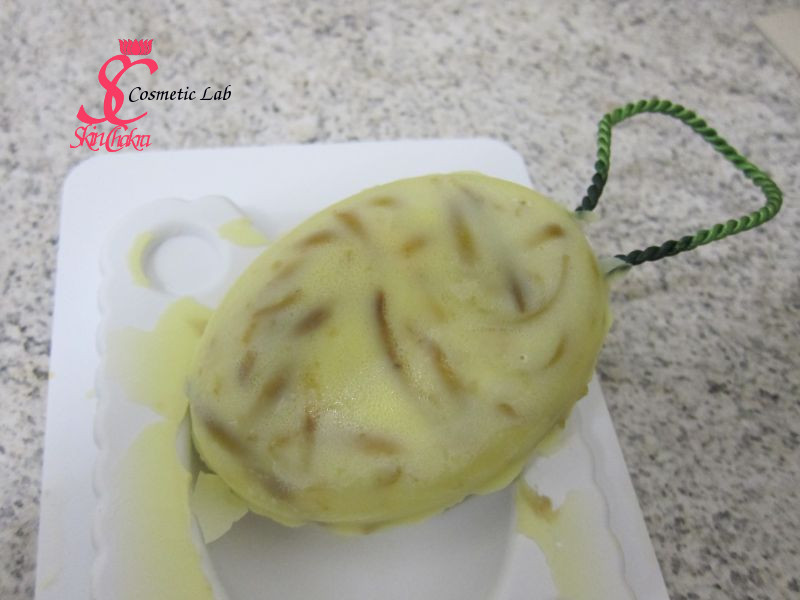
Ten: Simply press the butter out of silicone or milkyway molds. With 3D molds it would need a little bit patient and fine tuning.
Remove the elastic band, first remove gently one part of the mold and then draw gently on the rope to remove the butter from the second half of the mold. The butter should look like this.
Now take a spatula or a fine knife and get rid of those thin butter pieces that protrude out of the butter (specially at the joint line of the two halves).
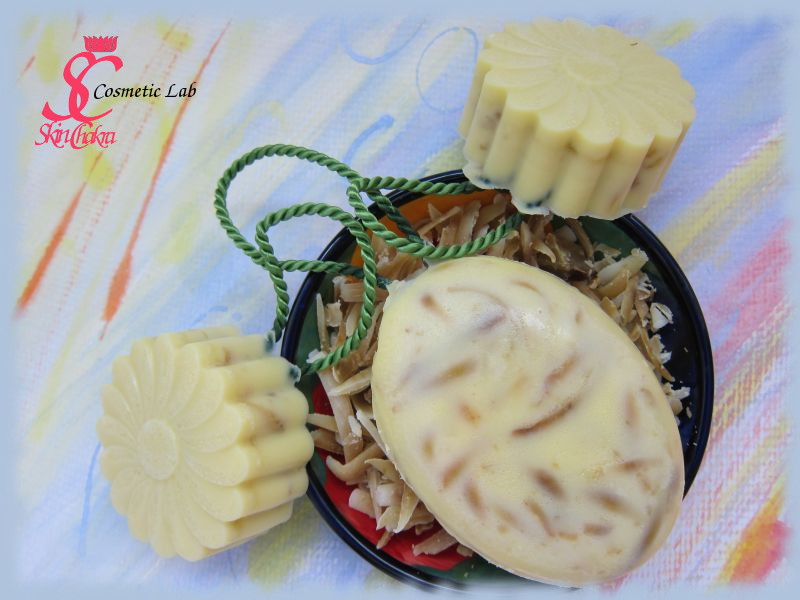
And you're done. Keep in mind by wrapping and storing that this is a more a butter than a soap, you can not simply wrap it in paper or put it in a gift bag. The butter should be wrapped in a wax paper or cellophane and should be stored under 25 degrees.
Hope you've enjoyed reading this tutorial and enjoy more by preparing the shower butter yourself.
You can buy all the ingredients for this project in SkinChakra® Online Shop.
BeHappy and have fun.
Swettis Beauty Blog am : Easymulsion- Macadamia oil cream gel