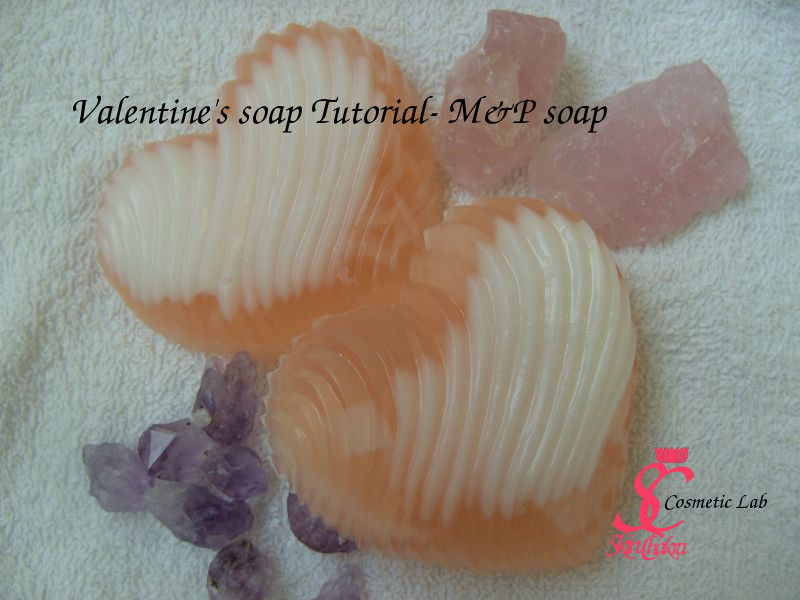
Hi everybody.
I have another simple and fast heart soap project for Valentine's or mother's day.
This technique is called tilted mold. It means you keep the mold at an angled position as you pour the first thin layer of soap. The angle depends on your preference and the geometry of the mold. It should be out of balance, but yet the whole soap you pour should remain in the mold.
I recommend hard, non-flexible molds for this technique. Aloha molds and Milkyway work the best but I have even prepared some with a flexible silicone mold. For this specific project I've applied the Milkyway swirled heart mold which has 3 cavities each of about 50 gr.
I write this tutorial in percentage so that you can adopt the recipe to your desired molds.
Before we start I want to recommend you to read our older posts: hygienic manufacturing practice in cosmetic lab and introduction to Basic equipments and utensils for a cosmetic lab.
Generally you need:
some grated or rolled soap (in white or colored), about 20-30% of the soap base- click here for a tutorial on how to make grated and rolled soap.
Titanium dioxide to prepare the white soap (I've applied Titanium dioxide dispersed in Glycerin)
Probably glycerin if you work with powder colorants
a few drops of a colorant (here I've applied D&C red #30 which was dispersed in Glycerin)
glass beakers to melt the soap
a bottle of spray alcohol (to get rid of the air bubbles)
a microwave to melt the soap
a heart soap mold or any other mold of your choice
Food saver wrap or any other shrink wrap
Here we go:
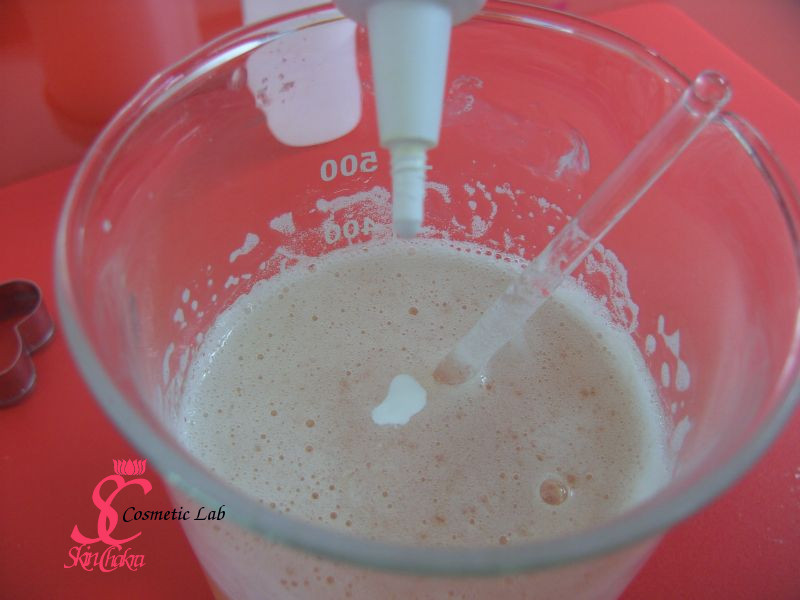
One: in a small beaker melt about 10-15% of your soap base. Let's say you have 100 gr soap. Then melt 10-15 gr of the soap in a beaker in 30 second bursts (stirring gently between bursts). Add a few drops of titanium dioxide dispersed in Glycerin to prepare a white opaque soap from the transparent base.
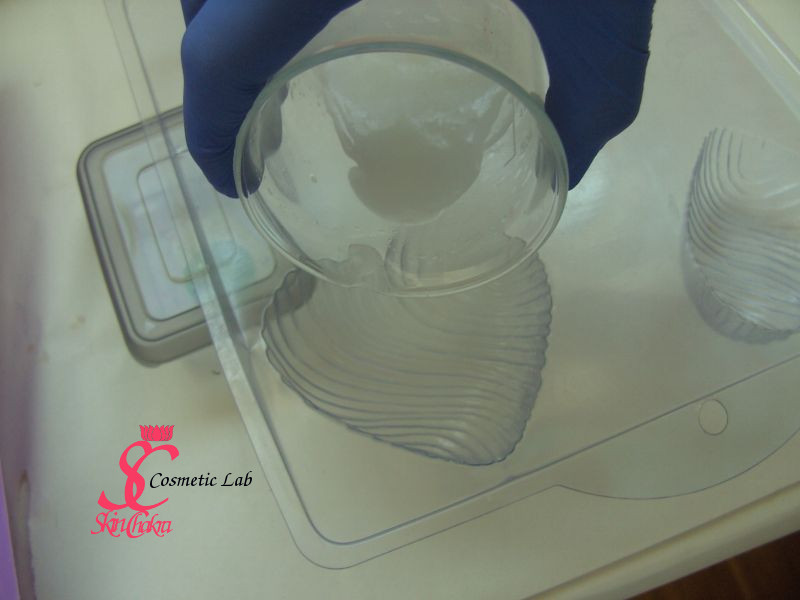
Two: adjust your mold in an angled position over your counter. Here we've put a plastic storage box beneath one side of the mold. The mold should be angles yet stable enough in position and should not slide. Gently pour the soap over the lower side of the cavity. The soap amount should be enough to cover a very thin sheet over a fraction of the cavity but should not cover the whole cavity.
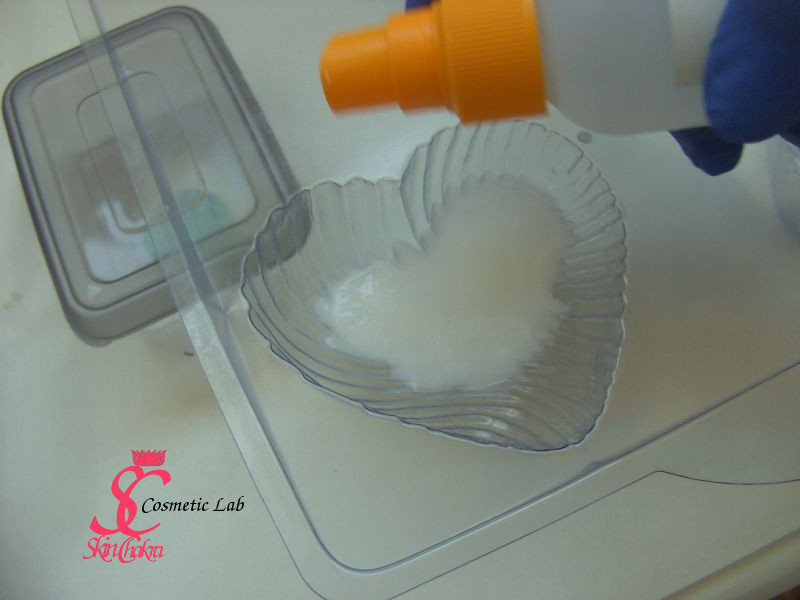
Three: Immediately spritz the soap surface with spray alcohol to get rid of the bubbles. Wait a few seconds up to a few minutes for the soap to harden. It shouldn't be quite hard as you proceed with the next step.
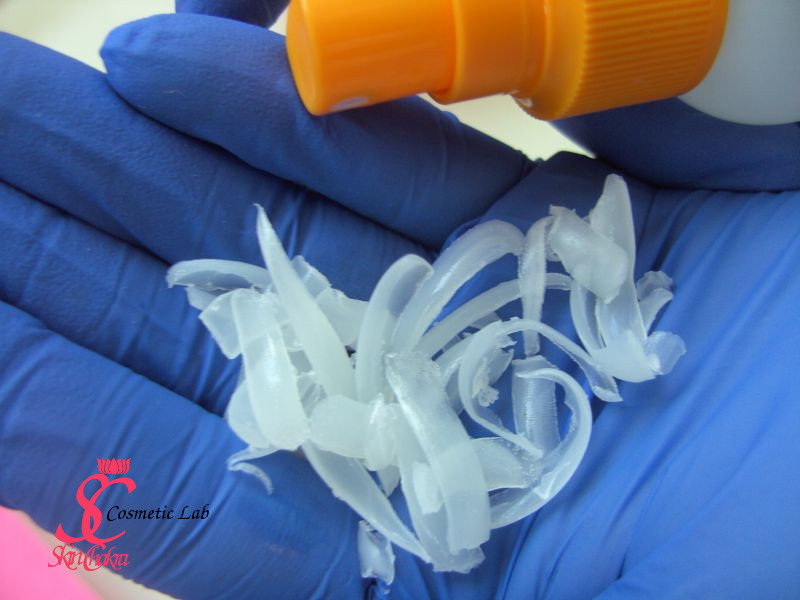
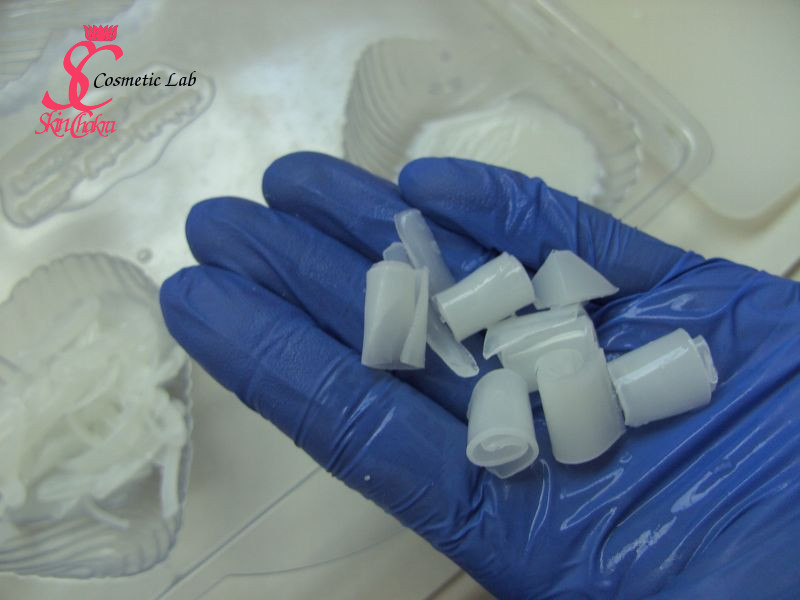
Four: Now take a hand full of grated soap and soap rolls we've prepared in a previous project, spritz them with spray alcohol and place them in the mold. Bring the mold into a balanced and flat position. The quantity of the grated soap depends on your preferences. I generally apply about 20-25% of the cavity.
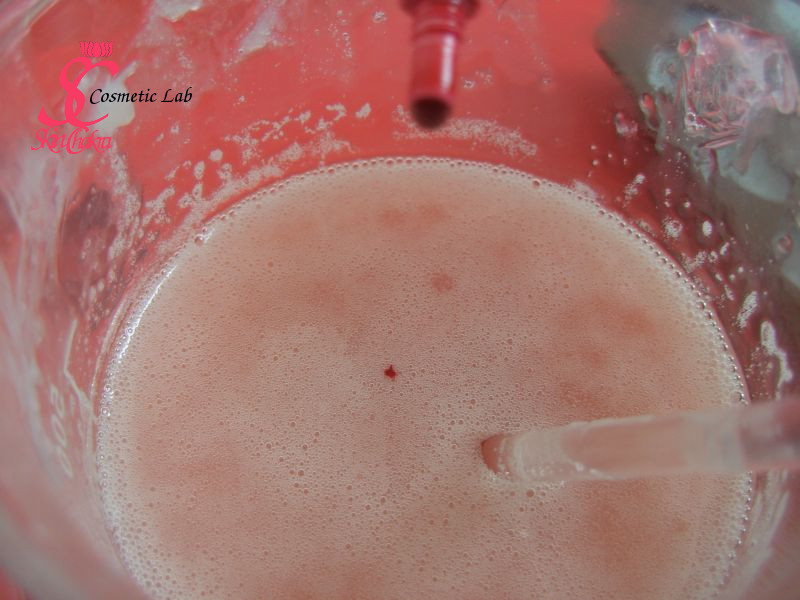
Five: Now melt the rest of the soap as usual in 30 sec. bursts in the microwave. Add your color (here the red color), vitamin E, panthenol and fragrance and stir gently.
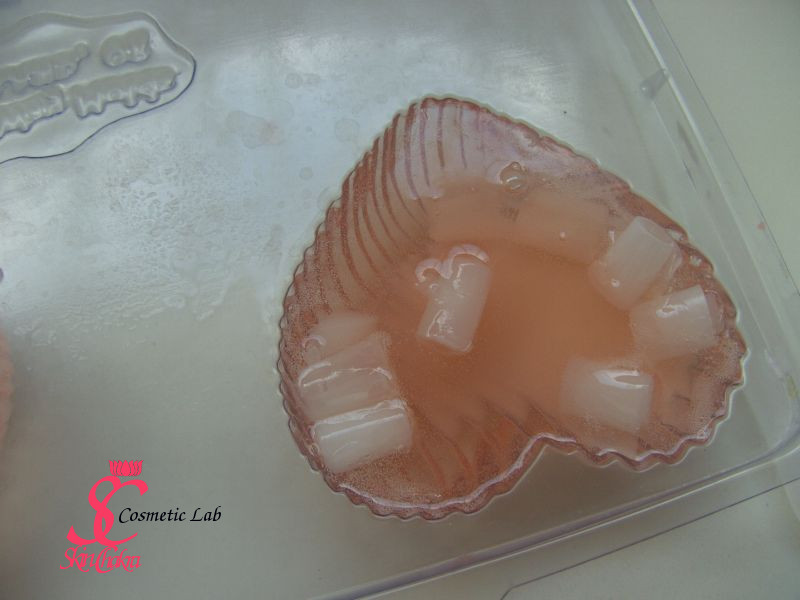
Six: Spritz once more the grated soap in the mold with alcohol. Gently pour the melted soap into the mold and immediately spritz over the surface with spray alcohol. Let the soap harden and cool at room temperature.
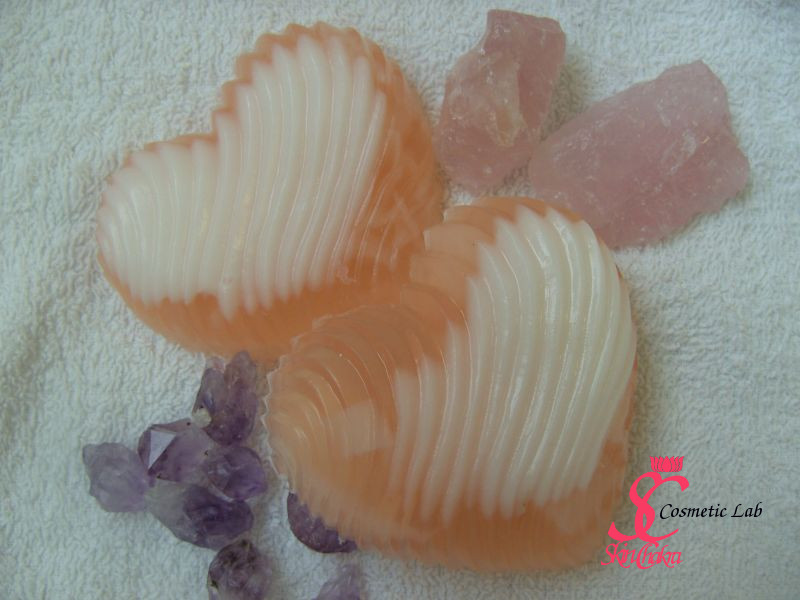
Seven: Take the soap out of mold and immediately wrap it to protect it from moisture. Click here for a short instruction about wrapping the soap.
Purchase all ingredients and supplies you need from SkinChakra® online shop.
BeHappy and have fun

