Sonntag, 7. August 2016
"Tangerin Jelly" facial mask
Facial masks are a huge sensation is cosmetic industry at the moment. Once being confined to beauty salons and SPAs, they are now available for home use and who is not obsessed with them?
Even lazy consumers, neglecting their daily beauty rituals try to boost their skin with weekly application of masks. This is exactly where you can provide your lazy/busy customers with outstanding, beautiful, attractive and easy to apply natural masks.
No objections against clay masks which are indeed a blessing to each skin type but to be quite honest, I'm personally to lazy to use them often. As you know, clay is very challenging to be preserved and because of this we always recommend preparing and seling clay masks in a combi-package: a dry powder part containing the clay and the liquid part containing the activating liquids (hydrosols, panthenol, vitamins etc.). Right before the application (each time for a little portion to be immediately applied), a part of the liquid is added to a small part of the powder to activate the clay. In this way, the risk of contamination is almost non-existent (providing the liquid part is sufficiently preserved).
This simple preparation is sometimes too much for lazy consumers like me and this is why I prefer to use ready-to-use masks in between.
If you agree with me and if you want to add some pretty and effective products to your product pallet, try the oleogel mask which is so easy to prepare and even easier to apply (and quite easy to rinse off).
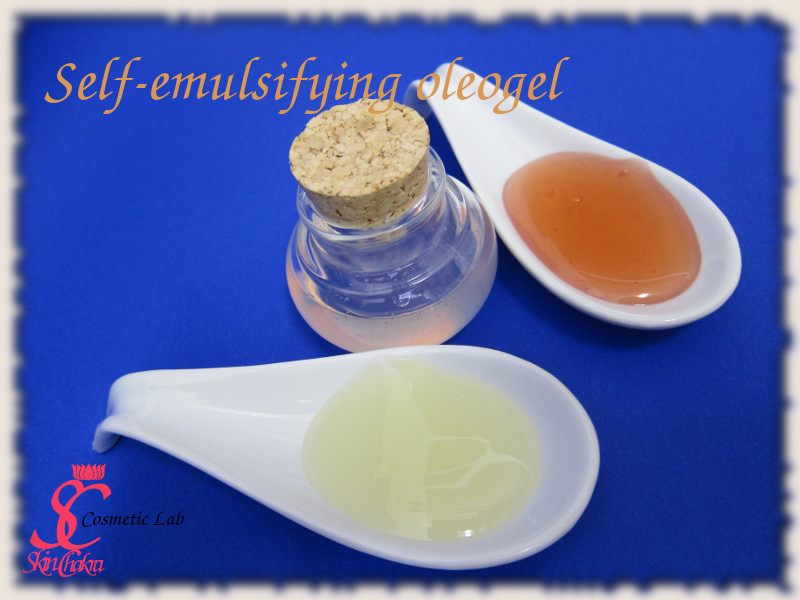
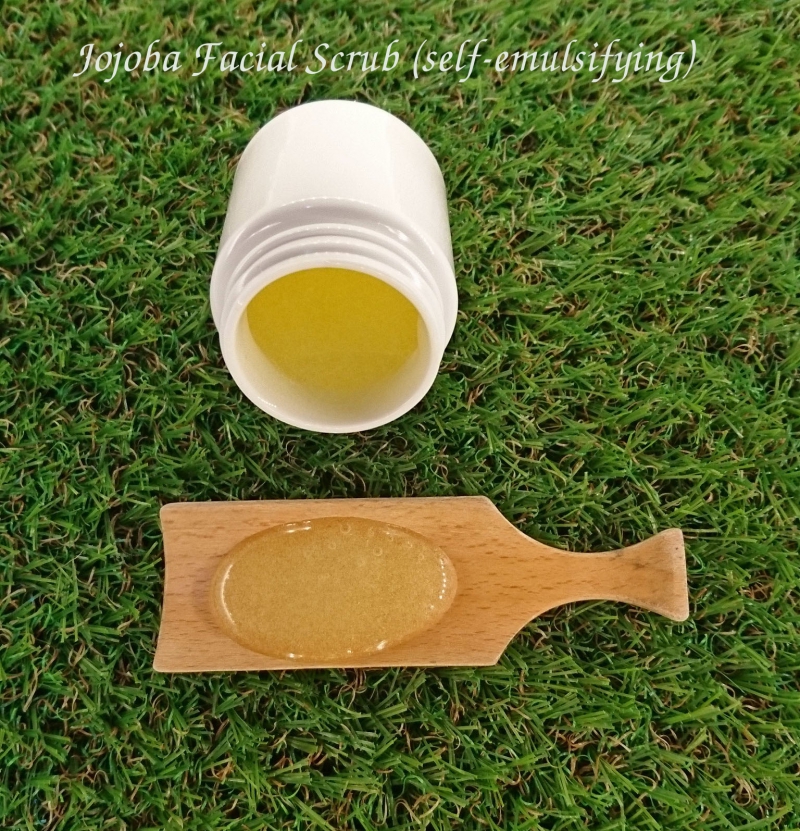
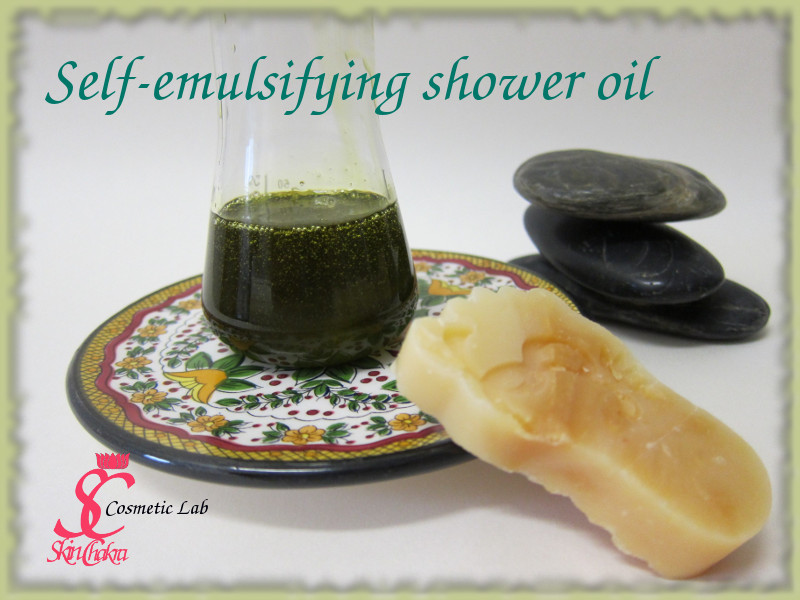
Before we proceed further I want to efresh your memory with our previous posts about oleogels. If you've directly landed here without having read those previous posts and tutorials I suggest you have a look at them before proceeding here.
How to make self-emulsifying oleogels (Part I)
What you need to know about self-emulsifying oleogels (part II)
How to make a self-emulsifying scrub
3 cleansing oils with one recipe
How to make a refreshing shower oil
You can pack all of your fabulous lipophilic extracts into this mask. Since the mask is going to be rinsed-off, don't hesitate to add those oils that might feel a little bit greasy or heavy in a leave-on sereum or oil blend.
You can adjust the viscosity of the mask by varying the glycerin concentration. The higher the glycerin content, the lower the viscosity. In our case the viscosity is suitable for an application with a spatula.
Since there is no water in the product, there is no need for any preservative. However and specially if you're going to offer this mask in a wide mouth jar, emphasize it on the label that no water should accidentally enter the jar or go a step further and add a preservative to the product.
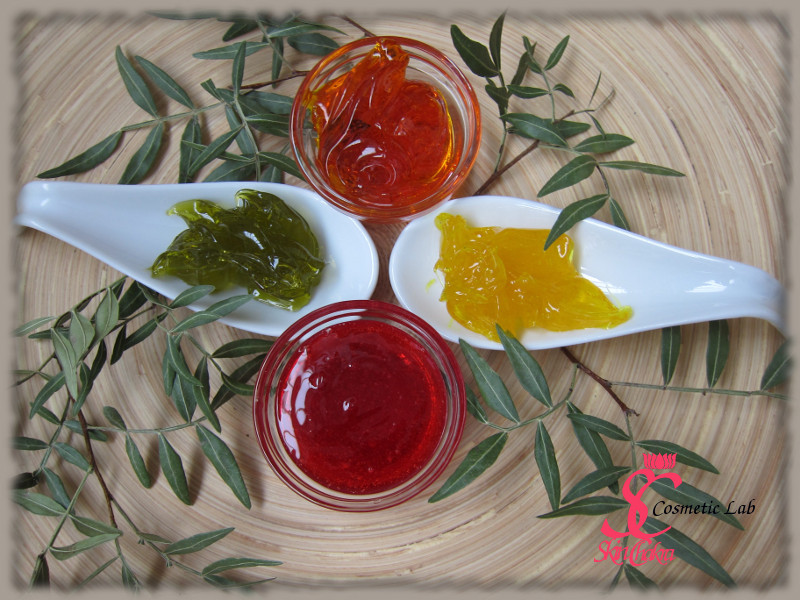
Now back to our facial mask. I've packed carotenoid containing oils and extracts in this mask an the beautiful orange colour is due to sea buckthorn oil, carrot root oil and buriti oil. Feel free to swap any oil or extract with those available to you if you don't have all of these ingredients in your stock.
Here is the recipe:
Phase A:
6.0% Dermofeel G5O
22.0% Glycerine 99,5%
Phase B:
29.5% buriti oil
10.0% Carrot root extract in organic jojoba oil
5.0% Organic perilla seed oil
5.0% Lavender extract in organic castor oil
4.9% Chamomile extract in organic castor oil
3.0% Brazil nut oil
3.0% Squalane
3.0% Calendula extract in organic jojoba oil
2.0% Sea buckthorn oil
1.0% Tocopherol
0.1% Rosemary CO2 extract
0.4% Organic tangerin essential oil
0.1% Organic ginger essential oil
Procedure:
1- Blend glycerine and Dermofeel G5O @RT. This is easily done by a spatula or glass rod.
2- Blend all ingredients in phase B @RT. very slowly (and this is the most important part of the whole procedure) add phase B to phase A in small aliquots. Blend after each addition to completely incorporate the oil. Do not let any oil pool to be formed. If the oil is not correctly incorporated you have to discard the whole batch because you'll end up with a 2 phasic something that is neither an oil nor a gel. Try to avoid any agitation. You don't want any bubbles to get trapped in your gel.
3- After all of the oil phase is added and incorporated stop blending. The gel might look a little bit turbid but it is because of some air bubbles.
4- Fill the gel in a pretty container and voila, this is your oleogel mask full of amazing nutritive ingredients.
Isn't that colour adorable?
You can not calll this mask a thermal mask but you'll certainly feel a light heating because of the ginger oil as you apply the mask over the skin. Apply the mask with a spatula over freshly cleaned and dry skin. Let it rest for 15 minutes. Rinse it with luke warm water and enjoy the amazing skin feel. Apply a toner or a hydrosol after you've rinsed off the mask.
Remain tuned in and keep an eye on this blog because we're going to share some more amazing masks with you during the coming days.
These masks are a celebration for the eyes and for the skin.
It's your turn now to create some amazing masks. Feel free to send us your photos and comment either per mail or to our Facebook page. If you post any photos on Instagram, don't forget to tag @SkinChakra.


