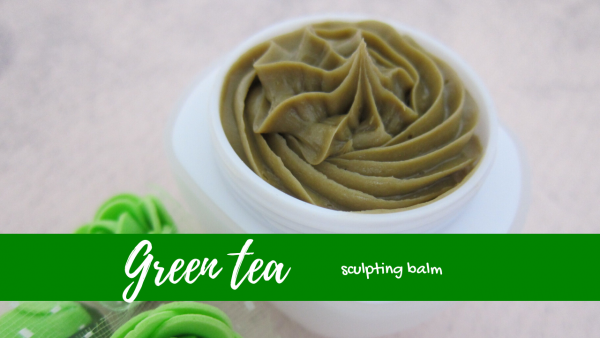
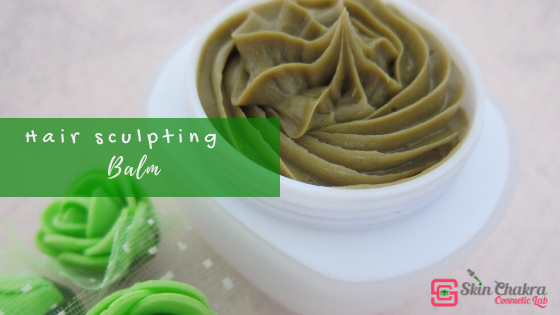
Hair sculpting balm is one of my favourite products at the moment and I have shared a few formulations with you during the last years:
It is an amazing styling product for short hair. It doesn't have the hold of a gel but is comparable to a mousse with much more nourishing and care efficacy. You need just a little bit of the balm (the size of a grean pea) to style your hair and add a healthy shine and gloss to the hair.
The key point is the balance between waxes, butters and the oils. You want this product to be hard enough for an easy application but you want it to melt and be easily dispersed over your hair as you apply it. Apart from that, it should add a healthy luxurious shine to the hair but shall not appear greasy and impart a look as if you haven't washed your hair for weeks.
The formulation and procedure are quite straight forward. A challenge is to evenly disperse the powders in the melted phase without any clumping and we did this, as you'll see in the video with a small sieve.
You can even apply this balm for gentlemen's beard and moustache but I would slightly tweak the formulation for men to make it slightly dryer (another tutorial coming).
Formulation:
| Phase A |
|
| Coconut oil |
20,0% |
| Myrica fruit wax |
15,0% |
| Berry wax |
7,0% |
| Cupuacu butter |
5,0% |
| Shea butter |
5,0% |
| Green tea wax |
2,0% |
| Phase B |
|
| Olive squalane |
10,0% |
| Lexfeel natural |
13,1% |
| PCA glyceryl oleate |
1,0% |
| Fenugreek CO2 extract |
0,5% |
| Tocopherol |
0,3% |
| Rosemary CO2 extract |
0,1% |
| Petitgrain oil |
0,5% |
| Green mandarine oil |
0,5% |
| Phase C |
|
| Modified rice starch |
10,0% |
| White Brazilian clay |
5,0% |
| Oat silk |
3,0% |
| Green tea powder |
2,0% |
Procedure:
1- Melt phase A in a water bath at around 60 oC
2- When all of the waxes and butters are melted, remove the beaker from the bath and stir gently till it reaches a temperature around 35-40 degrees
3- Blend phase B
4- Blend phase C in another container (you can add each powder individually as well. We blended them all together) . Use a sieve to slowly and gradually add the powder phase. Blend completely after each addition. In this way you can add the powder uniformly and without any clumps to the melted phase.
5- When all of the powder is added start cooling and stirring.
6- As the balm reaches a trace you can:
a) fill the balm in suitable containers
b) for a lighter colour and more fluffy texture you can whip the balm. If you decide to whip:
whip the balm for a few seconds and then put it again in the fridge. Repeat this steps of whipping and cooling until you get a considtency that you like (usually betwen 2-4 cycles).
Now feel the balm in suitable containers
Watch the video here

BeHappy and have fun


