Freitag, 10. Februar 2017
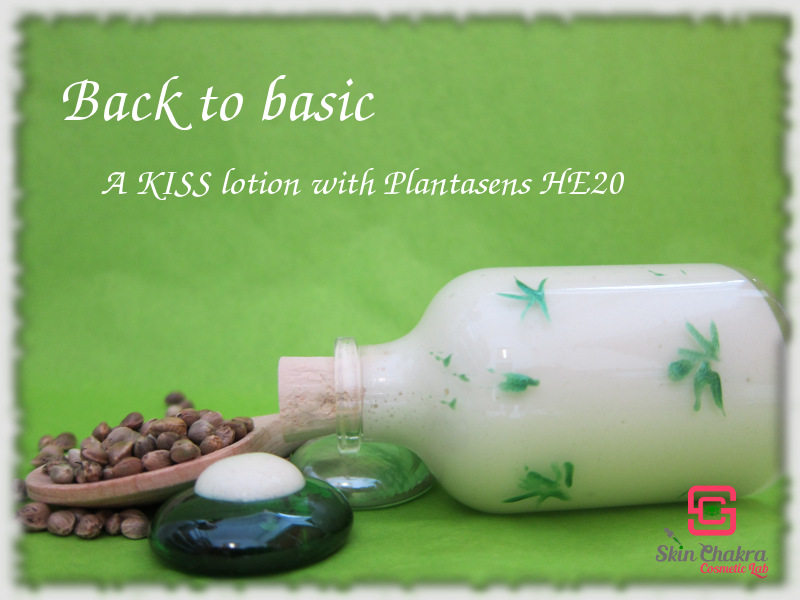
Back to basics: How to make a KISS emulsion with Plantasens HE20
During the last couple of weeks we have had many new students to organic skin care formulation who purchased Plantasens HE20 from us and after I've seen some of these students struggling with their emulsions, I thought I'll go back to basics and start a series of emulsions the way we work in our lab with a new emulsifier .
We always encourage students (and even experienced formulators) to start with KISS principle (Keep It Silly Simple) when working with a new ingredient. It is very tempting to make a complex and unique emulsion blending as many exotic oils, butters hydrosols and plant extracts as possible into a sample formulation but the results could only be frustration and waste of your precious material when the emulsion doesn't work.
When your very first trial with a new emulsifier fails you can easily find the culprit and modify the formulation if you're working according to KISS principle but when you have a complex formulation, you don't even know where to start tweaking.
I personally started working with Plantasens HE20 about two years ago and I fell in love with it for its simplicity and for the fact that you can work with this emulsifier in a hot-cold process meaning you don't need to heat up all of your ingredients (which quite by chance, mostly are heat sensitive ingredients when you're making organic and natural formulations).
This is a very forgiving emulsifier when you know the heck of it and you can not know the heck of it unless you start with very simple formulations.
We have many tutorials with this emulsifier on this blog and a detailed student's report and how-to which I refer all of our new customers to read first before they start working with Plantasens HE20. Here are some of these posts:
How to work with Plantasens HE20: a cosmetic formulation student's diary
How to work with Plantasens HE20: a cosmetic formulation student's diary (Part II)
One emulsifier and 1001 textures
Tropical summer facial moisturizer: Guest post
In this post, I'm going to share with you a very basic formulation with Plantasens HE20. This is a kind of basic formulation we start with when we work with a new gum, a new emulsifier or some other functional ingredients. When this formulation fulfils our expectations and passes the stability tests we then start buliding up the formulation and making it more complex, one step at a time.
If you have never worked with Plantasens HE20 before, have little experience with it or have enough experience but want to go back to basics just for enriching your deep knowledge, follow me through this formulation and make this KISS emulsion. In the next stage we're going to add some additive and swap some ingredients to gradually build a complex formulation.
This formulation although quite simple and basec, is an amazingly effective emulsion because of both the emulsifier and the organic hemp seed oil which is a modest plant oil with excellent anti-inflammatory and barrier repair properties.
Basics:
You can add Plantasens HE20 to the oil phase, to the water phase or work in a one pot process (adding both oil and water phase in one single pot). We came to the result that it works the best when we add it to the water phase, heat up a part of the water phase with the emulsifier and then add the cold oil phase to make a pre-emulsion and then the rest of the water phase (cold) to make the emulsion.
This hot-cold-cold process has the advantage of only heating a part of the water phase. You can add all your sensitive oils, hydrosols and plant extracts at room temperature which is a huge advantage when working with plant material. If you want to work with butters or waxes, then obviously you need to heat both oil and water phases and you can add the emulsifier to either phase.
Let's start with the formulation and procedure and you can see for yourself how easy and forgiving the emulsifier is.
Formulation:
| Phase A | |
| Freshly boiled distilled water | 40.0% |
| Plantasens HE20 | 6.0% |
| Coco-glucoside, glyceryl oleate | 2.0% |
| Phase B | |
| Organic hemp seed oil | 25.0% |
| Tocopherol | 0.5% |
| Phase C | |
| Freshly boiled and cold distilled water | to 100.0% |
| Panthenol | 1.0% |
| Dermofeel PA-3 | 0.1% |
| Phase D | |
| Solagum AX | 0.5% |
| Organic glycerine (99.0%) | 4.0% |
| Phase E | |
| Euxyl K903 | 0.9% |
| Organic lime EO | 0.3% |
| Organic palmarosa EO | 0.2% |
| NaOH (25% solution) | a few drops |
Procedure:
1- In a beaker weight phase A and heat it in a water bath @ 70-75 oC.
2- Meanwhile weight all ingredients of phase B and C in two separate beakers.
3- As all of plantasens is melted and swelled in the water phase stop heating and blend phase A. It is best done by your Blendia or an overhead mixer.
The water phase has the appearance of a shiny emulsion at this stage.
4- Slowly add the oil phase in small aliquots while stirring the water phase. The oil phase has been kept at room temperature and was not heated.
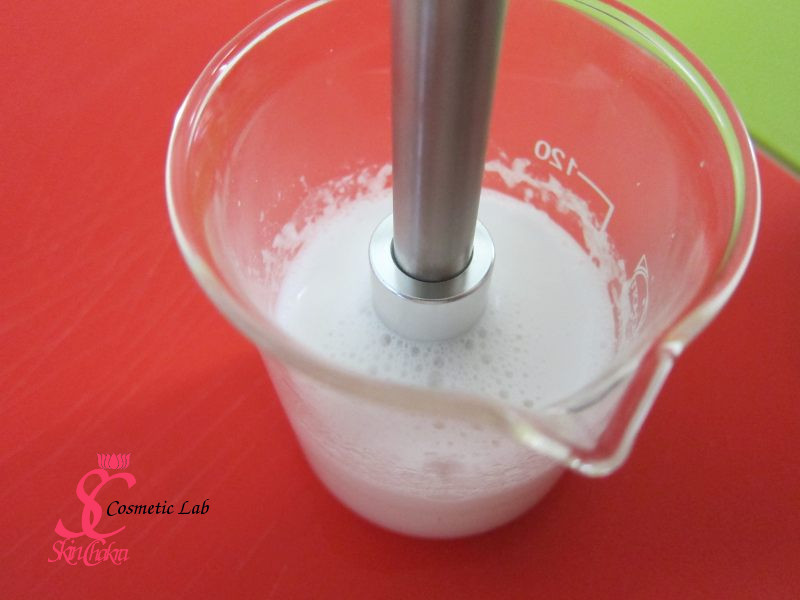
5- After the oil phase is added to the water phase, add the rest of the water phase (phase C) to the pre-emulsion and blend. Now you can go ahead with your blendia or a homogenizer and blend the emulsion for 1-4 minutes depending on the batch size and the instruments you are using.
6- Blend the gum and glycerine in a small beaker and add it to the emulsion. Give it a few bursts with your blendia to disperse the gum uniformly in the emulsion.
7- Stir the emulsion as it cools down. After the emulsion has thickened and reached a temp. of about 35 oC add the essential oils.
8- The preservative we are using decreases the pH and according to experience, we know that we have to increase the pH before adding the preservative. We increase the pH by adding a few drops of a 25% NaOH solution to about 6,5, add the preservative and remeasure and re-adjust the pH between 5-5,5. If you are using other preservatives consult the product information for the optimum performance pH of the preservative system and adjust the pH according to that.
9- Take your stability and micro kit samples and fill the rest in a suitable bottle.
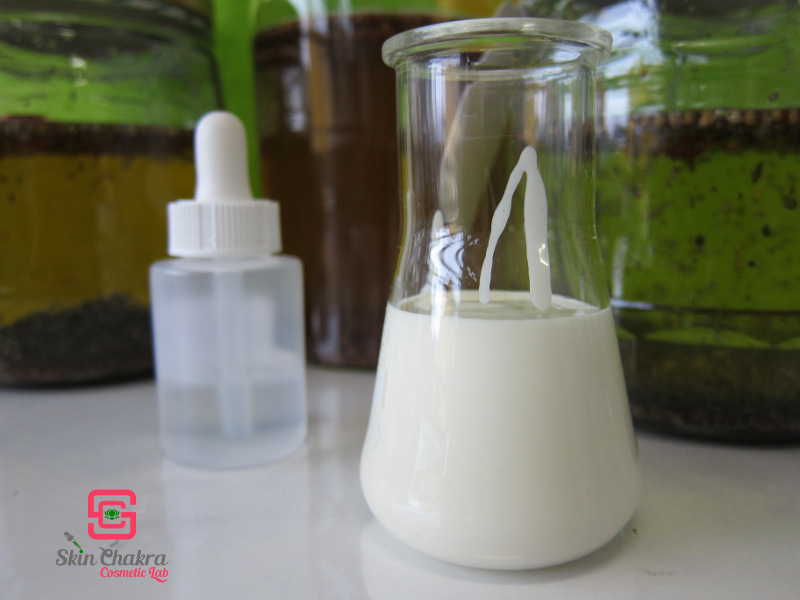
Enjoy the light skin feel of this emulsion till we proceed to the next tutorial where we're going to make the formulation a little bit more complex. You are welcome to replace the hemp seed oil with any other liquid oil of your choice but keep it simple to just one single oil.
If you're inspired by this tutorial feel free to send us your photos and comment either per mail or to our Facebook page. If you post any photos on Instagram, don't forget to tag @SkinChakra.
BeHappy and have fun


