Sonntag, 13. August 2017
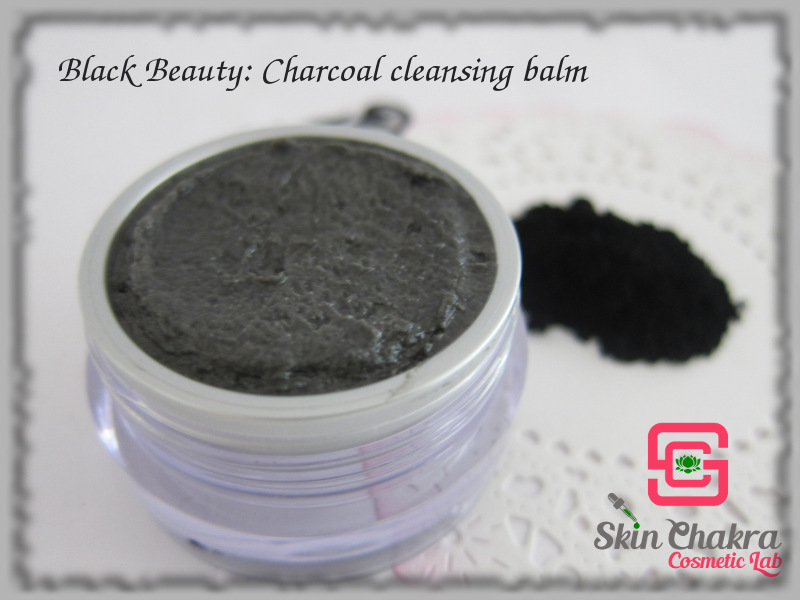
Black Beauty: Charcoal Cleansing Balm

Activated charcoal is quite IN (specially in the food scene where you can find black latte, cappuccino and ice cream as the weirdest creations of the decade).
In skincare its popularity is because of its amazing adsorbing properties and that it can deep cleanse the skin from sebum, make-up and other skincare residues and from the environmental dirt.
But charcoal can be challenging in some formulations. Just like clay minerals, charcoal has the amazing ability to adsorb. It means it can adsorb dirt and sebum as well as the preservative in a formulation. By adsorbing the preservative in a water containing product, the product is open to contaminants that are not invited to the party.
The best way to avoid contamination and unwanted guests is to apply charcoal in waterless formulations:
Last year we shared two cleansing formulations with charcoal:
How to make an activated charcoal cleansing balm
How to make a deep cleansing oleogel
We have however, applied very low concentrations of charcoal in a water containing cleansing product:
"Never pimples again" deep cleansing milk
The concentration of the chracoal in this formulation is enough for cleansing but not high enough to deactivate the preservative. If you use charcoal in water containing formulations, you need to challenge test the product in the final marketing package/size and under realistic application conditions.
The preservative system might be effective to protect your formulation in a 30 ml pump bottle or airless container but not enough to protect the content of a 100 ml bottle or a wide mouth jar.
For this tutorial, we've made another cleansing balm with activated charcoal and some surfactants.
This formulation contains about 8-10% water and that is not enough to cause contamination in a balm as long as no additional water is added to the product. Because of the consistency, the product should be filled in a jar and could not be used from a bottle. Make sure you fill this product in small jars that are consumed in a couple of weeks and not a huge economy container that takes half a year to finish. Adding some water by the consumer to the jar by the consumer is inevitable (despite all your warnings and application instructions) so make sure you challenge test this product before you send it to your customers (or even for your own use). We have added a broad spectrum preservative to this formulation and our small jar could survive the application condition (and even additional adding of water to the container) for about 6 weeks.
It is essential that you challenge test your formulation in the final packaging and half-way through the jar
Now that you are familiar with possible risks of contamination, let's go to the formulation and procedure.
Formulation:
Phase A:
Myrica fruit wax 10,0%
Rice bran wax 6,0%
Cupuacu butter 5,0%
Babassu oil 25%
Cocoa butter 9,0%
Sunflower lecithin 0,5%
Phase B
Isoamyl laurate 4,0%
Natural tocopherol 0,5%
alpha-bisabolol 0,2%
Organic rosemary CO2 extract 0,1%
Antimicrobial plant extract 0,1%
Phase C
Modified rice starch 7,0%
Organic apricot kernel oil 6,3%
Organic Castor oil 6,0%
Activated charcoal 0,5%
Phase D
Yucca extract 5,0%
Coco glucoside 10,0%
Phase E
Euxyl K903 0,8%
Organic cardamon CO2 extract 0,5%
Procedure:
1- Blend each phase separately in a beaker
2- Put Phase A in a water bath at 75-80 oC and stir till it melts completely.
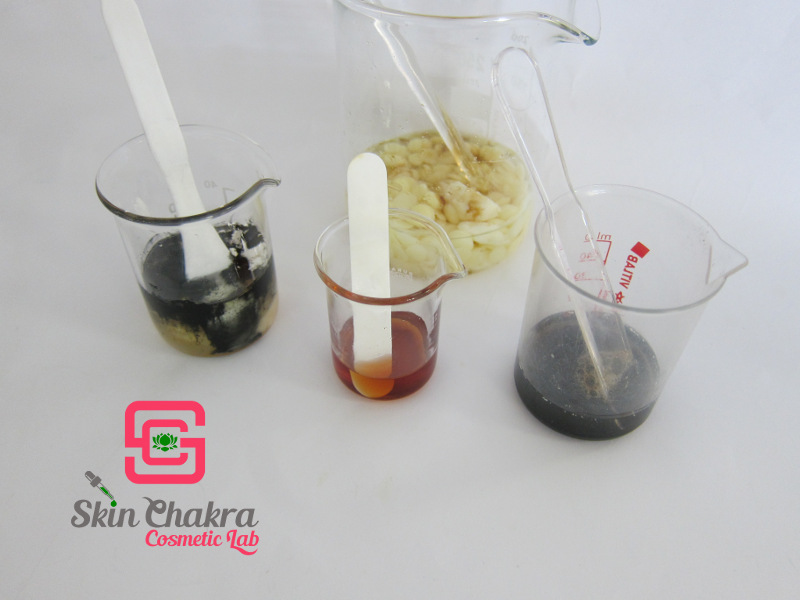
3- As phase A is completely melted stop heating and add phase B. Start cooling but continue stirring.
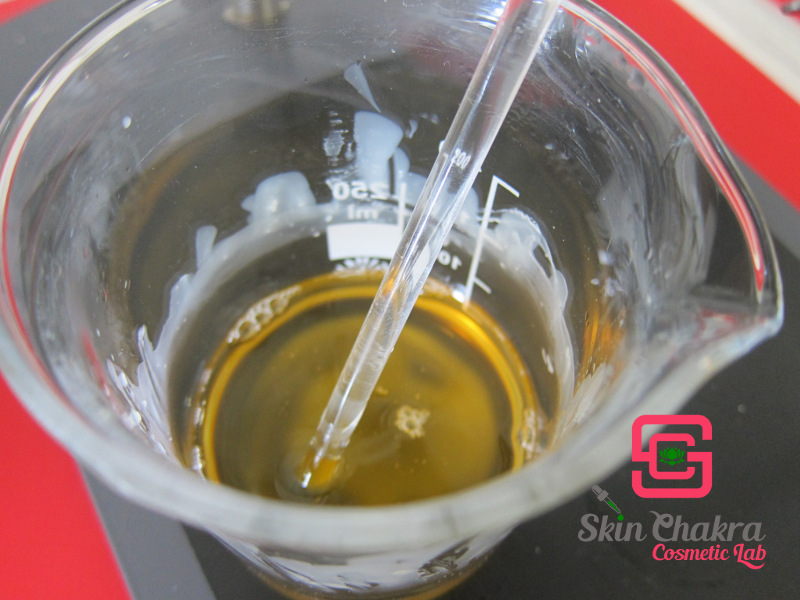
4- Continue cooling and stirring until the blend reaches a trace
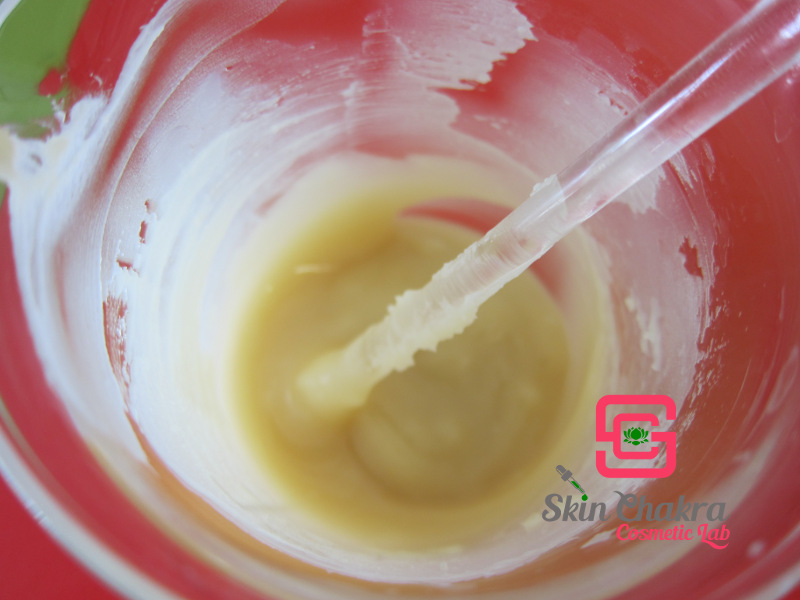
5- Now add phase E and stir.
6- Add phase C. Disperse starch and activated chatcoal completely before you add phase C to the rest. Make sure there are no clumps. The balm becomes runny after you add phase C. put it for a few minutes in the fridge but don't let it completely harden.
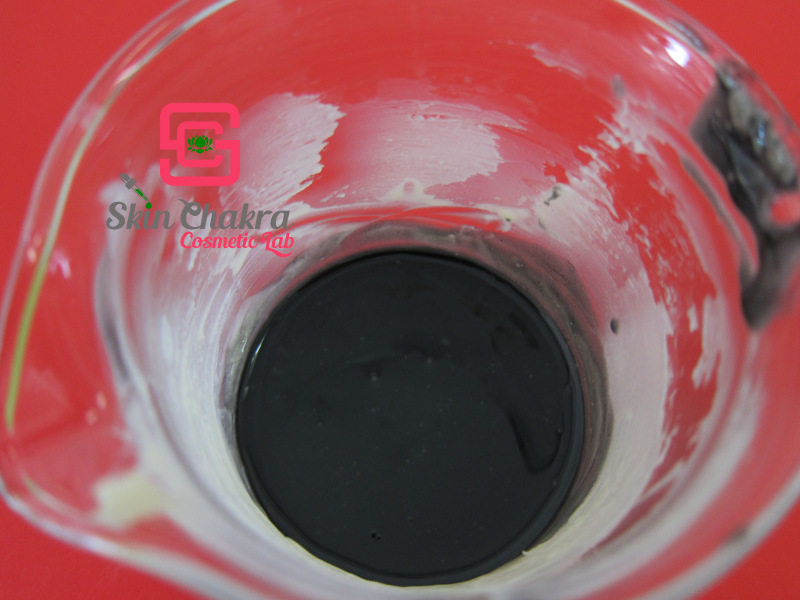
7- As it reaches a trace again, add the surfactant blend (phase D). From here you can either:
Pour the balm in a suitable jar and put it overnight in the fridge
or
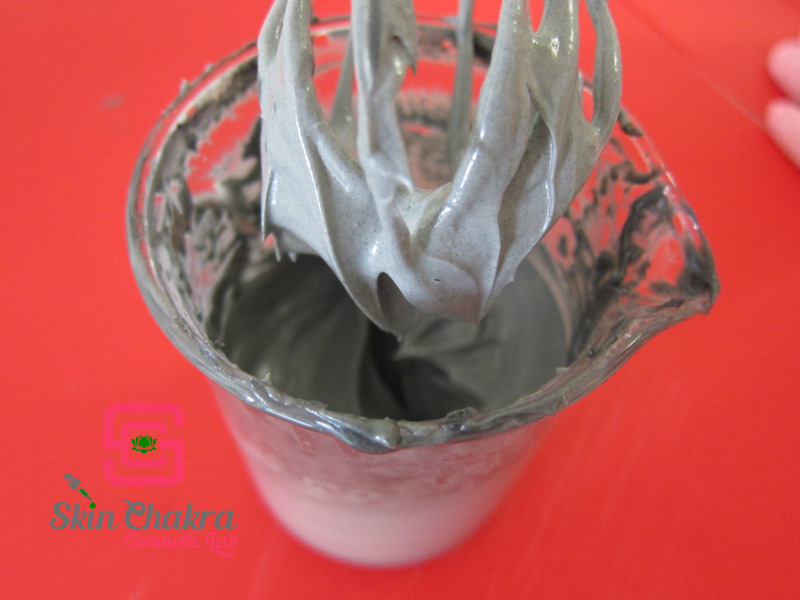
8- Start whipping the balm. Whipping the balm makes the dark blak colour lighter. It becomes rather grey. You may need to repeat this step several times with putting the balm in the fridge at the intervals. Whip the balm till you reach the desired consistency.
9- Now fill the balm in a suitable jar and put it overnight in the fridge.
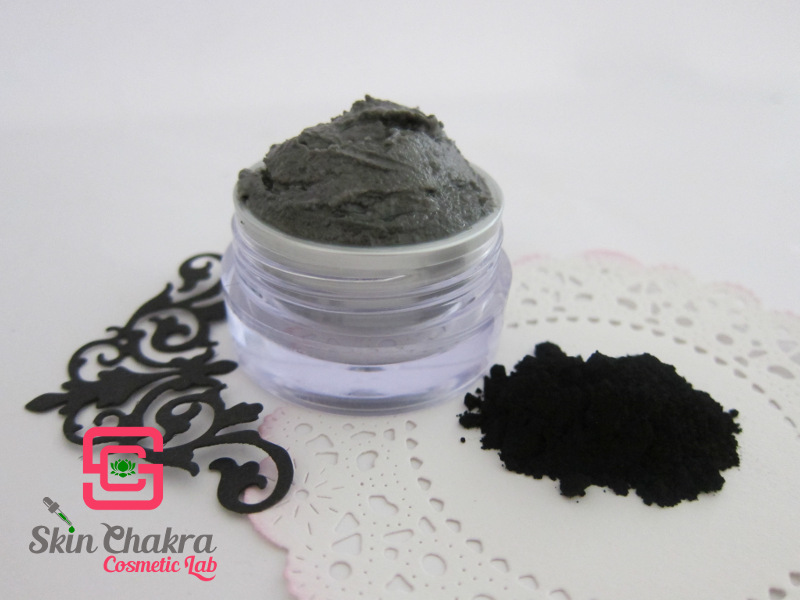
10- I usually prefer whipped balms to the non-whipped ones. Whipping imparts a fluffiness and a luxurious appearance. With this balm, to be honest, I'm not quite satisfied with the whipped version
compared to the non-whipped version
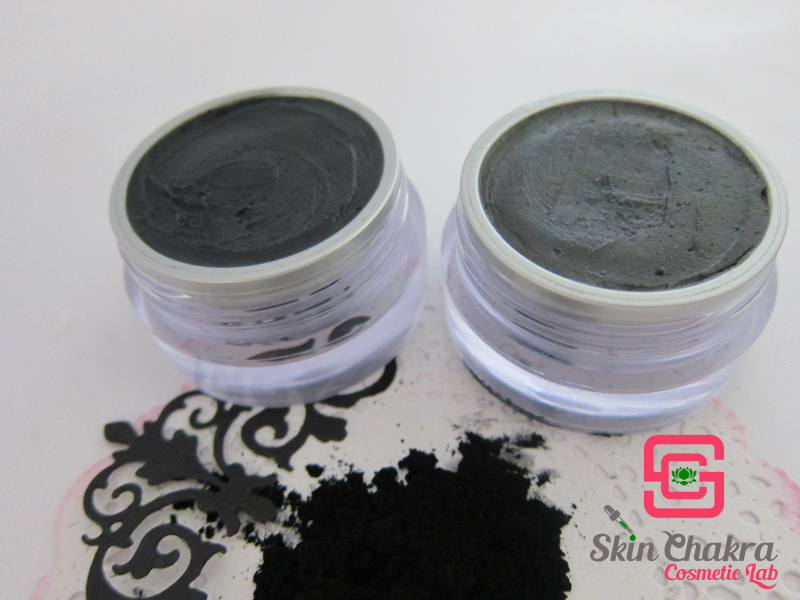
The right balm is whipped in the above photo whereas the left balm is the exact formulation but unwhipped. The whipped balm has a greyish colour but the texture of the left balm is smoother. I think it is because of the surfactants in the formulation that foam during whipping. It is your decision whether to whip the balm or let is be as it is.
In both cases the performance is excellent. Deep cleansing without stripping the natural skin lipids and without that unpleasant greasiness that some cleansing balms and oils have.
Disclaimer:
This product is a balm and its consistency varies with ambient temperature. You may need to tweak the formulation according to the season and the temperature of the region you're going to use/market this balm. You can increase the wax and butter content to make it harder or reduce the wax and butter content to make is softer.
If you're inspired by this tutorial feel free to send us your photos and comment either per mail or to our Facebook page. If you post any photos on Instagram, don't forget to tag @SkinChakra.

