Donnerstag, 22. März 2018
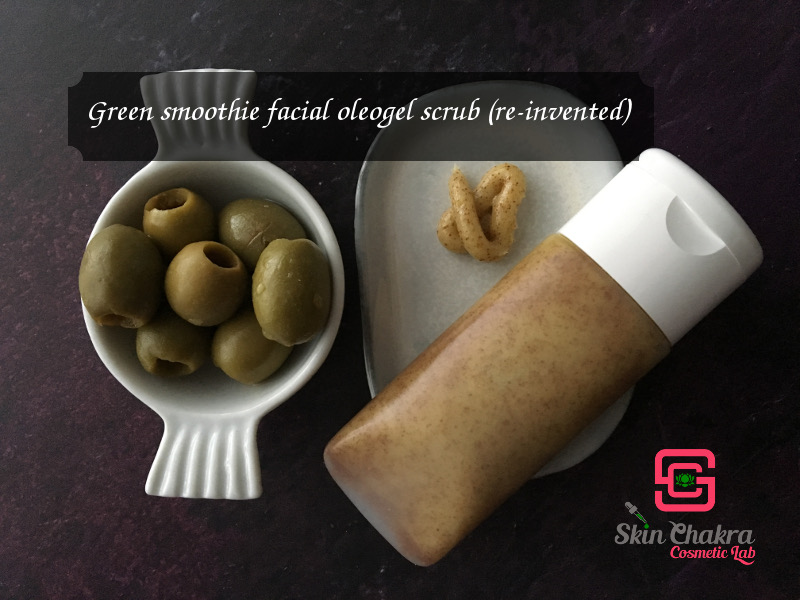
Green smoothie facial oleogel scrub (Guest Post)
Today's blog post is written by Jilly....
Oleogels … I will never forget the day I discovered these products, because they turned my cosmetics-making upside down. Before I came across to Dermofeel G5O I had never even heard of an oil to milk system or an oleogel.
I can’t believe it’s almost 2 years by now, but I remember this blogpost
How to improve the skin feel of your scrubs
like it was yesterday. I am convinced that every formulator has an ingredient that kick-started everything off for her or him; for me this is Dermofeel G50. Before the G50 I was having fun tinkering in my kitchen ‘lab’ and I was enjoying thoroughly the products I made. But after discovering oils turning to milk when coming in contact with water, I became a very VERY passionate formulator. It was an “aha-erlebnis” that triggered something in me and hit me big time. Since then I cannot imagine a life without formulating, or talking about formulating, or writing about formulating anymore .
As you might be all aware, the manufacturer has decided to unfortunately stop producing this amazing ingredient. Too early of a retirement if you’d ask me. But, and I mean this from the bottom of my heart, I am grateful the G50 came across my path and I will always look back very fondly at the time we got to spent together and how it has affected me.
After this tribute it is time to move forward! Being flexible is one of the core traits as a formulator too, which I am trying to grasp as much as I can 
You can imagine I was literally jumping with joy and excitement when I saw SkinChakra’s posts passing on social media that the team was experimenting with an alternative. And then came the first tutorial! Hooray! In case you missed it, here it is:
Self-emulsifying oleogels (reformulated)
Before I dove into my stash for my first experiments with this, I took a deep breath first and remembered myself that I could not and would not fall into the trap to compare this endlessly with the G50. Apples and pears are both fruits, but are totally different too. I gathered this would also be the case with the oleogels. So let’s start over with a clean slate and see what happens along the road.
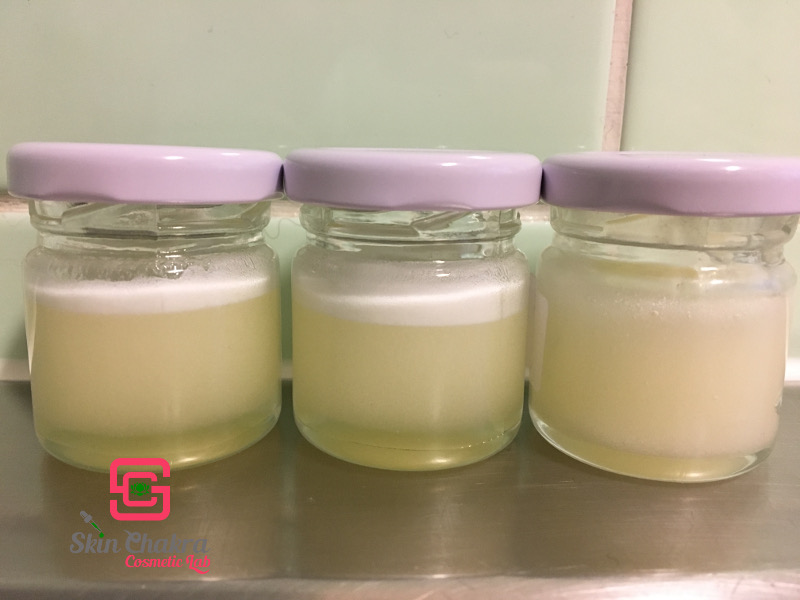
Let me share a photo of my first trials (a very KISS formula with only 1 oil)
You can most definitely see the layer of bubbles sitting on the top of the left and middle jar. Also, it just doesn’t look as homogenous as it should. I need to step up my game on the blending technique! The jar on the right is already a bit better.
And here is an example where I am getting closer to the right technique:
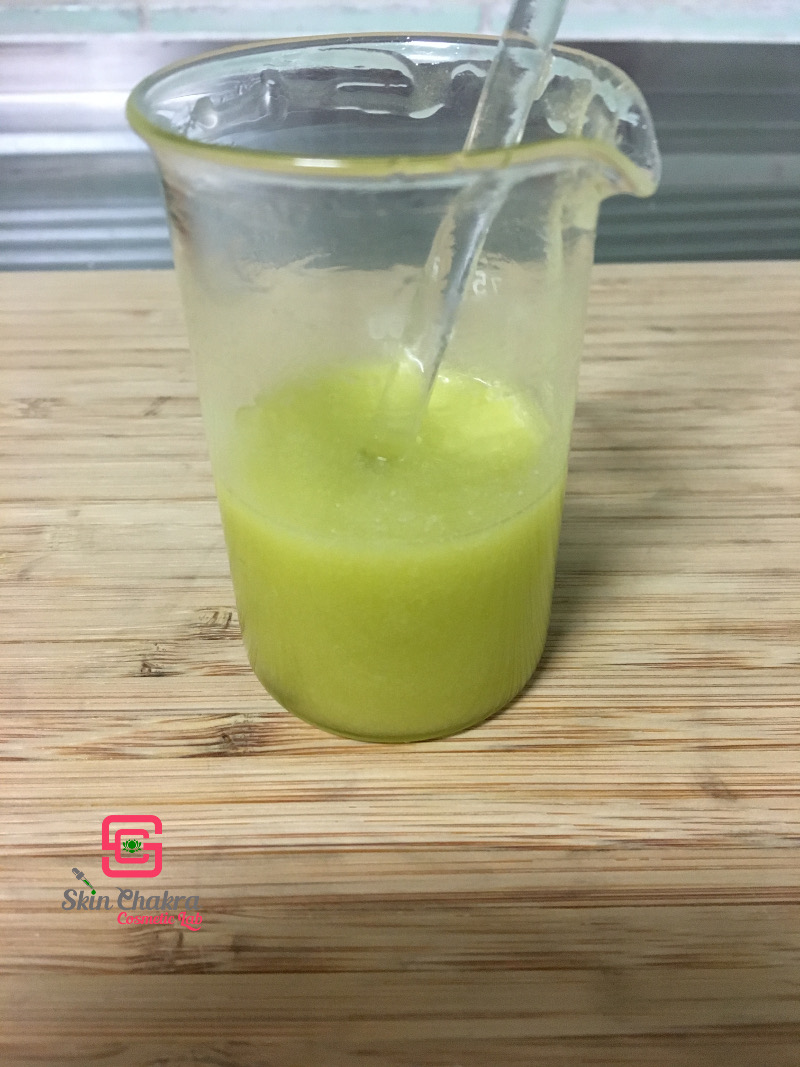 I am starting to feel more confident with this new system! So let’s make a green smoothie facial gel scrub that turns milky when you wash it off.
Here’s our formula:
| Phase A | |
| palm-free glycerine (99,8%) | 45,0% |
| Sucrose stearate | 2,0% |
| Phase B | |
| Moringa oil | 23,0% |
| Macadamia nut oil | 13,0% |
| Natural tocopherols (Vitamin E) | 0,5% |
| Phase C | |
| Hemp seed oil | 10,0% |
| Amaranth CO2 extract | 1,0% |
| Rosemary CO2 extract | 0,1% |
| Alpha-bisabolol | 0,2% |
| Patchouli essential oil | 0,2% |
| Phase D | |
| Olive stone powder | 5,0% |
And our procedure:
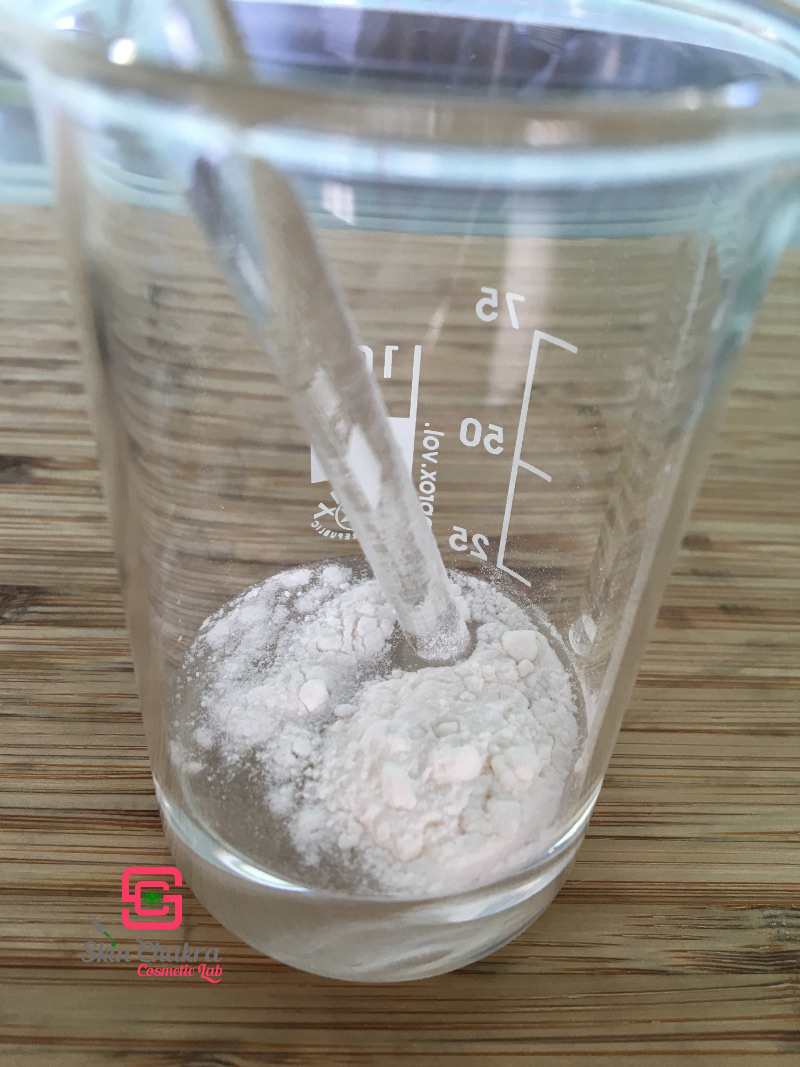
1- Blend phase A, the glycerine and sucrose stearate, into a beaker
-
You will unmistakably notice some clumps when you stir this blend. This can be helped with simply “crushing” the powder a bit with your spatula.
-
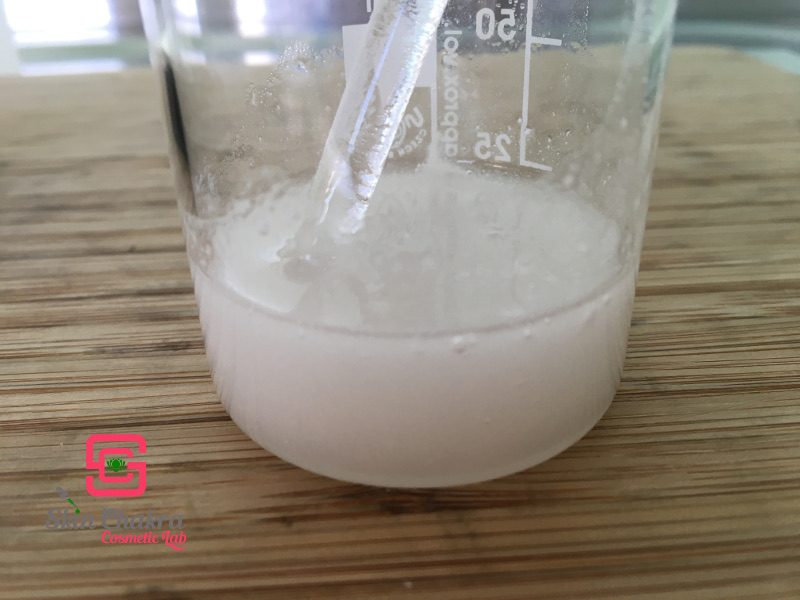
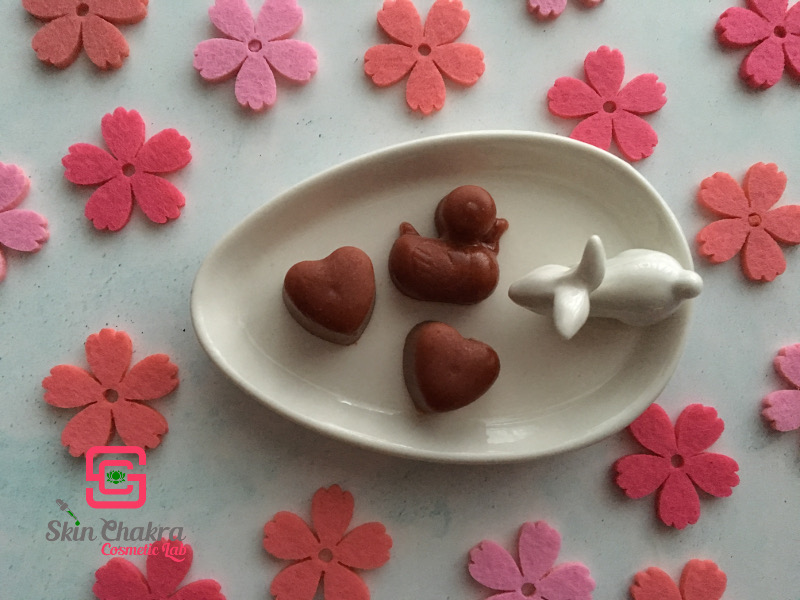
Set this aside for 1-2 hours at normal room temperature. Sucrose stearate won’t dissolve into the glycerine but it will swell nicely. You can try to neglect this step, but in my trials the finished result was gloopy, not homogenous at all and with even more bubbles than shown in the photo above. Summarized, I would not recommend to make the oleogel immediately, but to really have the patience to grant sucrose stearate its 1-2 hours resting and swelling time. You could always make lovely body melts for example like these cuties while you wait

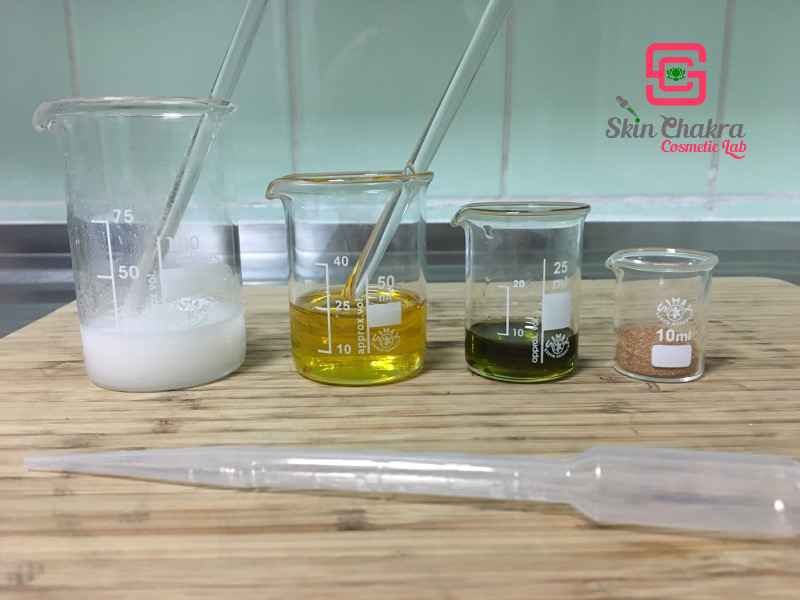
2- When the waiting bit is almost over, you can start preparing your phases B, C and D in different beakers. Set C and D aside.
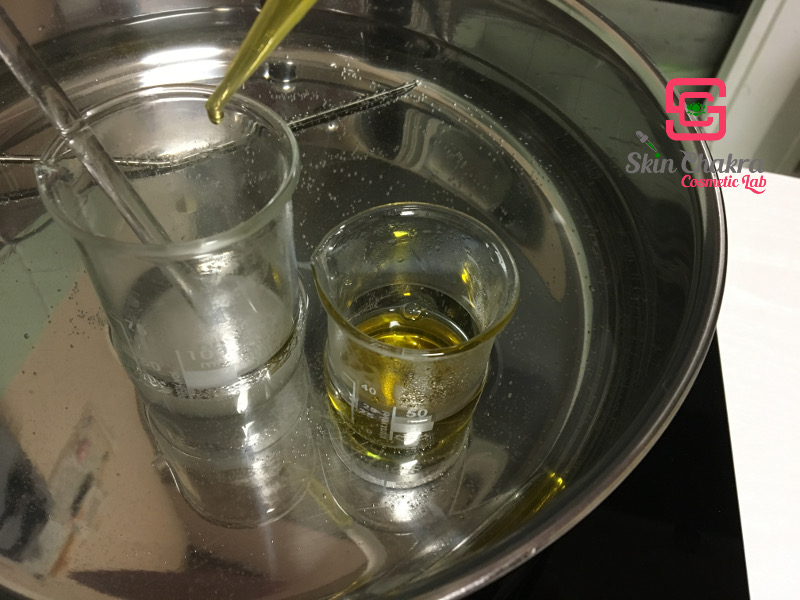
3/ You can now put your phases A and B in the hot water bath at around 75°C.
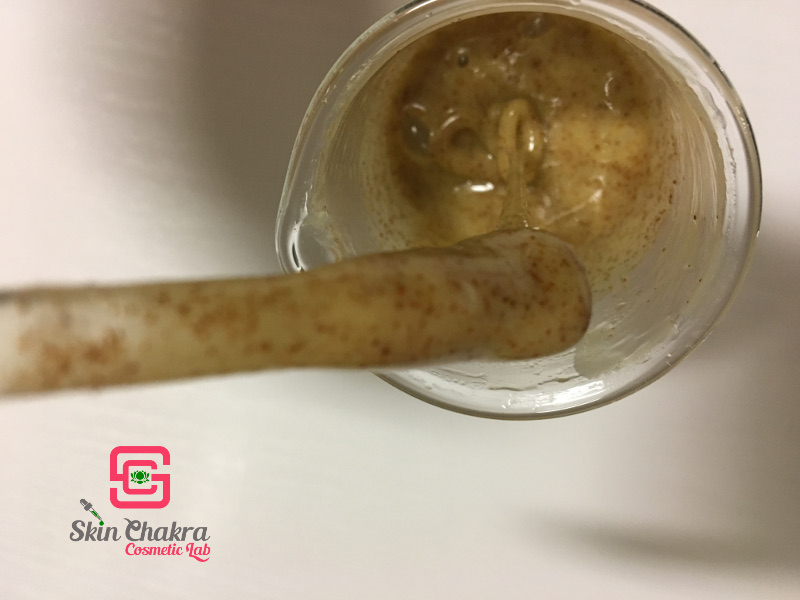
4/ When both phases are around 70°C you can start blending. I have noticed that a disposable pipette is masterfully effective for this. It’s essential that you keep both your beakers in the water bath. Don’t turn the heat off, keep your bath at 75°C and the beakers content at around 70°C. Now slowly and in small aliquots (with your pipette) add the oil phase to the glycerine phase. Stirring nice and easy but steady to avoid adding bubbles. Stir until it is blended completely (now don’t make the oil pool up in the glycerine phase because that’s a recipe for disaster!), and then add your next aliquot. Do this until everything is blended.
5/ Now you can turn off the heat and remove your beaker from the bath. Stir gently during cool down to avoid foam and bubbles. (It’s an option to smash your beaker a couple of times during stiring against your board –watchit, not too hard, haha!- this way bigger bubbles appear on the surface and you can gently squeeze them against your beaker with your spatula to remove them.)
6/ When the temperature is below 40°C you can add phase C with the heat sensitive ingredients.
7/ After this is blended completely you can add the exfoliants, and blend them in well.
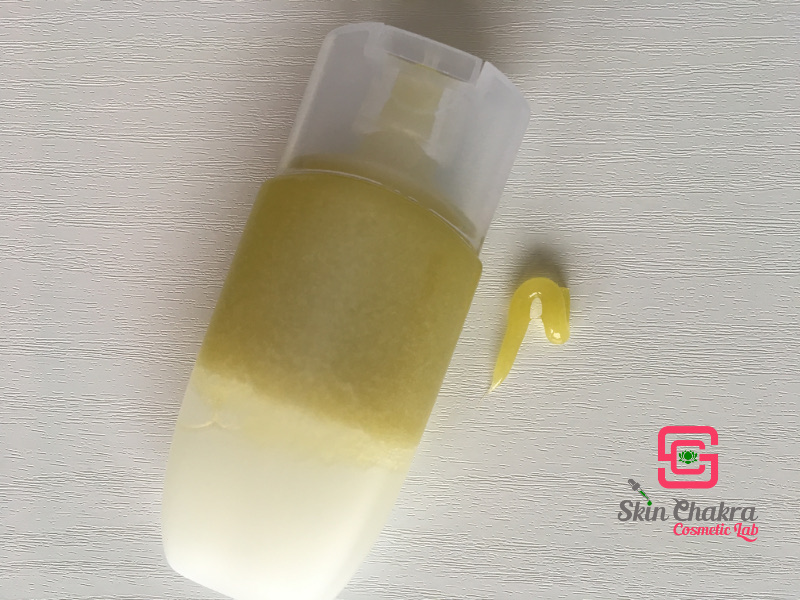
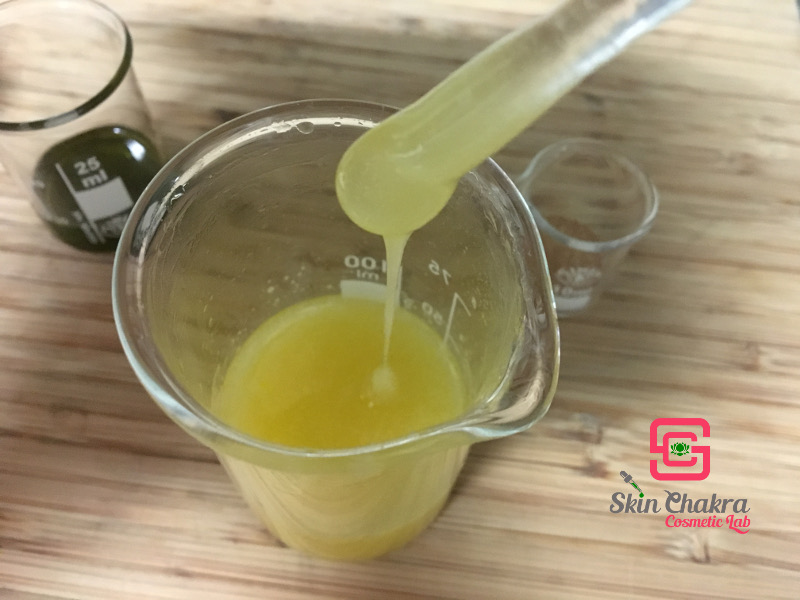
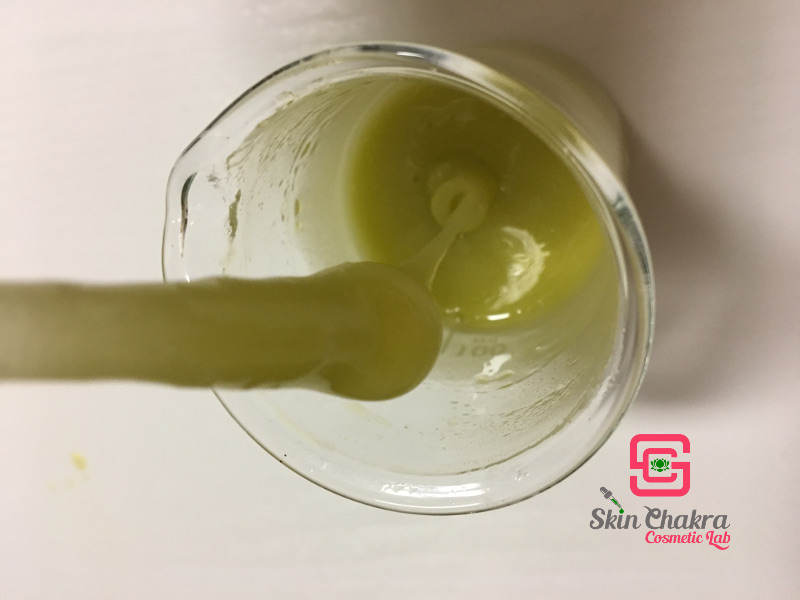
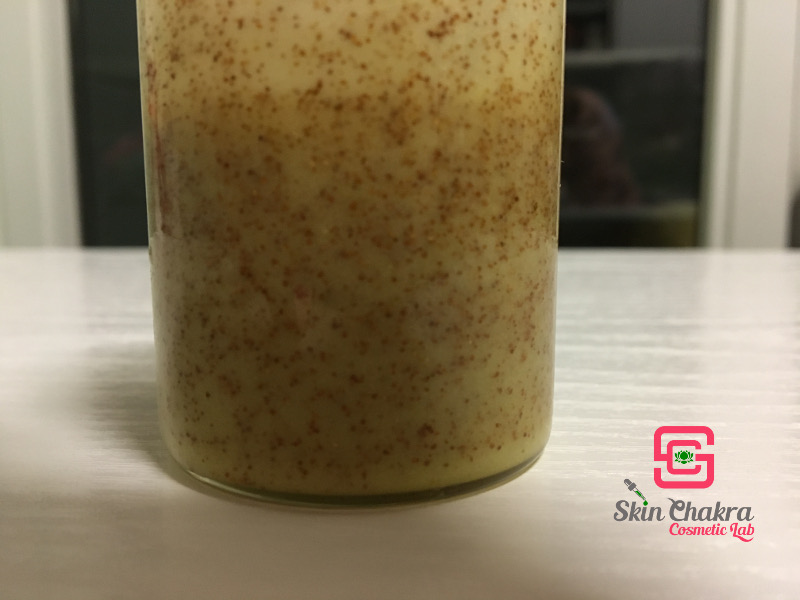
8/ While your finished product is cooling down, you will notice that the viscosity will change to a real gel. Depending on your container (I am using a handy tottle tube) it is easier to pour it in your tube when it is still a bit warmer than room temperature (and leave it open so there won’t be humidity trapped inside for a couple of hours). By now our gel @28°C looks like this ,
and the viscosity seems lower than it actually is on this photo. There is enough yield stress in this product to keep the particles evenly suspended. Here’s a reminder how that works again:
https://skinchakra.eu/blog/archives/467-How-to-improve-the-stability-of-your-gel-scrubs.html
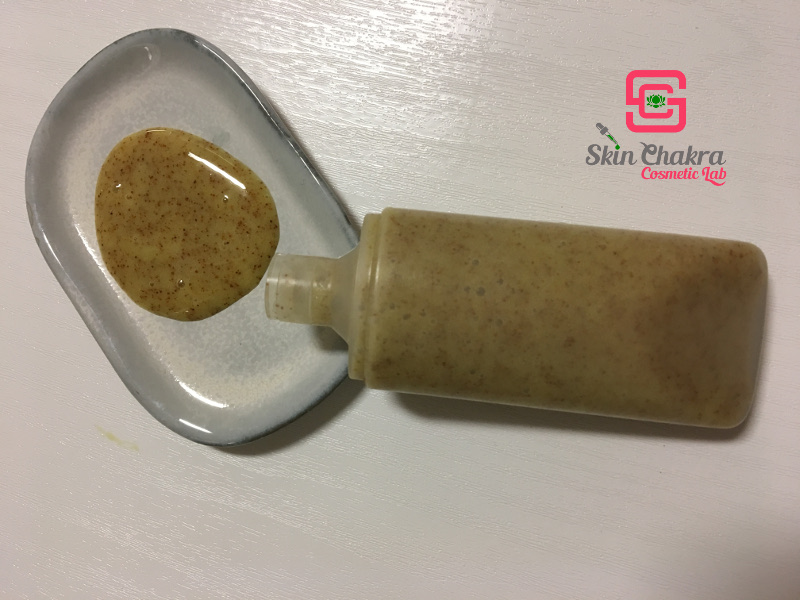
After 24hrs the viscosity has changed to a gel, and can be easily squeezed out of its handy dandy tottle tube.
I really hope you enjoyed this tutorial and that it has inspired you to create beautiful and stunning oleogels with this new system! I can’t wait to see your creations passing by . Oh, and I am also curious to know what YOUR “aha-erlebnis ingredient” is that changed your life as a formulator!
Be magical,
Jilly
PS and if you wondered about the cute melts, they look like this!
Disclaimer: SkinChakra is responsible for the content of this blog post. Please send your comments and questions directly to SkinChakra and don't try to contact Jilly in private or via any other online forum/platform. Jilly or one of our team will happily come back to you.
