Donnerstag, 3. Oktober 2019
How to work with Sapogel Q in an artisanal lab
Today's blog post is a guest post submitted by Vania Luz, one of our customers and readers. Vania is a chemist from Portugal who is working and living in Germany at the moment. Believe it or not, she worked her career as a chemist at the opposite end of the spectrum: pest control. After 9 years of working in pest control, she dropped the towel because her job was not in accordance with her ethos and her clean & sustainable lifestyle.
Vania is a skincare formulation student at the moment and prepares natural and sustainable products for herself and her family and friends. As a chemist and inspired by our blog posts. You can read her previous blog post here.
In this blog post, she shows you how to make with Sapogel Q in an artisanal lab and without any fanciful stirrer. She has created a beautiful brazil nut scrub which turns from gel to milk by applying water.
Hi everybody!
In this post I will share with you my very first experience with Sapogel Q. I can tell you right away that I am completely in love with this amazing oil gellant!
I am quite new to cosmetic formulation and I consume a lot of the Skinchakra´s blog posts because they not only teach me but they also inspire me! When I read the posts featuring Dermofeel G50, I felt a rising will to experiment that product but as you know, it is long gone.
This happened just before the introduction of Sapogel Q by Skinchakra!! Oh joy!! I started feeling like Gollum, thinking to myself “My Preciousssss!!”!
As soon as I received Sapogel Q at home, I did make my homework before putting my hands on it. I went back to Skinchakra’s blog post about this product, I read the MSDS and then I just went to do something else. I like to make a break because it gives my mind the time to absorb the information and start being creative.
I wanted to make a body scrub. But I didn´t want to make a normal one with butters and oils because I know I wouldn´t like the greasy skin feel. Therefore, Sapogel seemed like my perfect solution. And it is!
Now, about the body scrub: since, this was my first time, I kept it simple. I used only one oil which was the camelina oil.
So, here is the formula for a 50g batch:
| Phase A | |
| Sapogel Q | 15,0% |
| Glycerine | 5,0% |
| Phase B | |
| camelina oil | 63,0% |
| Tocopherol | 1,0% |
| Pine oil | 1,0% |
| Phase C | |
| Brazil nut exfoliant | 15,0% |
Procedure:
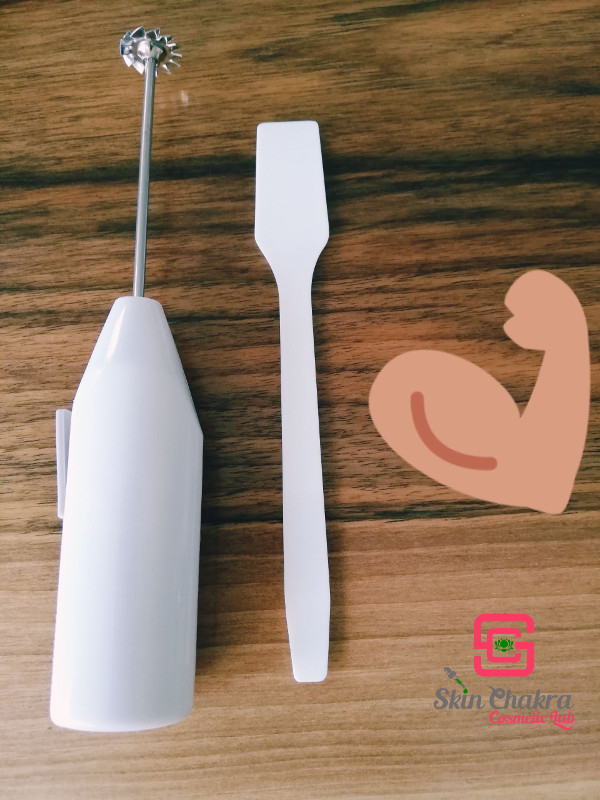
In order to make this oil-to-milk scrub, I really needed heavy machinery!! Have a look at what I used ![]()
Having this equipment ready, here are the steps I have followed:
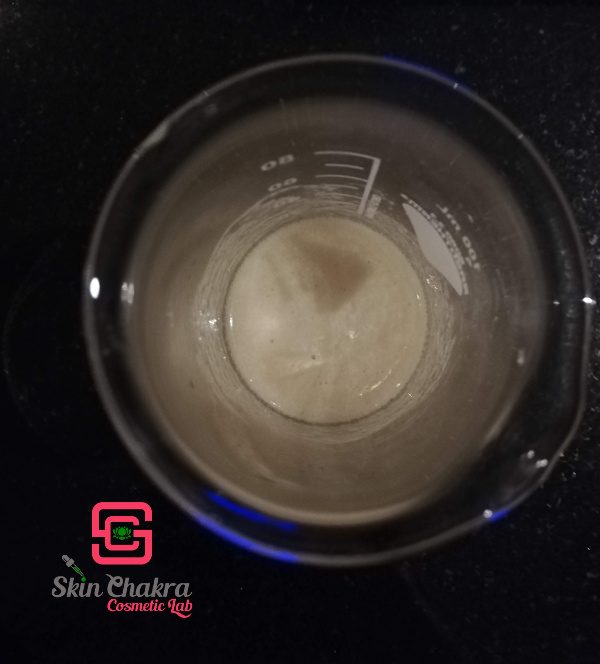
1- In a glass beaker, I mixed Sapogel and glycerine with the plastic spatula. I did spend like 1,5 minutes mixing, just to be sure. This is the result
2- In another beaker, I mixed phase B ingredients. I forgot to take a picture of it but I really don´t think it matters that much because it’s just the oil phase ingredients mixing.
3- In a third beaker I weighted Phase C ingredient which is the brazil nut exfoliant, meaning my scrub particles.
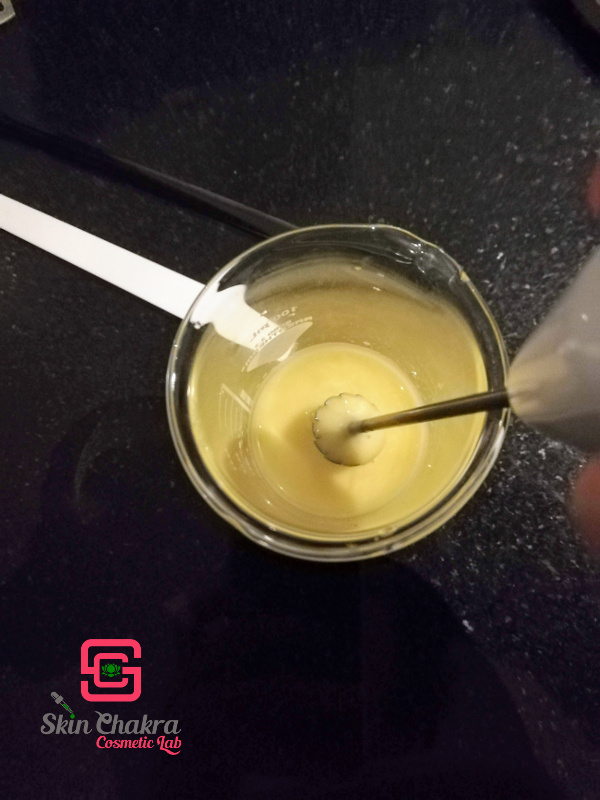
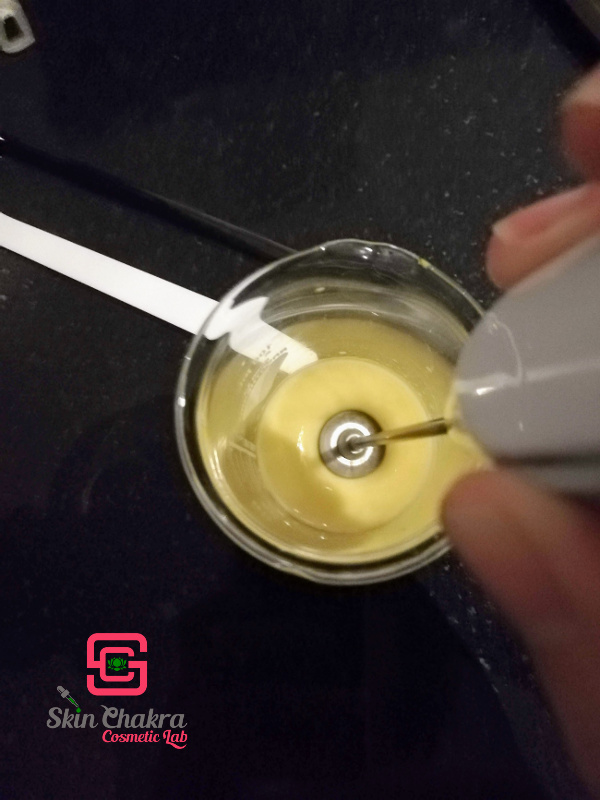
4- Now comes the most important step of all and, for this one, I needed to be persistent and systematic. I added small aliquots of about 1g each, of phase B to phase A and stirred for roughly 1 minute with the mini electric mixer in between additions.
How do I know it was around 1g each and around 1 minute each stirring? Well, because it took me around 30 minutes mixing and I was adding really small aliquots.
This procedure is really needed if you don´t want to end up with a messy something that you have to throw away.
I don´t think you can see it but from the first picture to the second, the viscosity of the mixture increases substantially.
The viscosity increases enormously along with the increase of the oil amount inside the mixture.
Because of this, by the time I was adding the final aliquots, the viscosity was just too much for my mini mixer, so I went back to the spatula and I also had to use some muscle power…
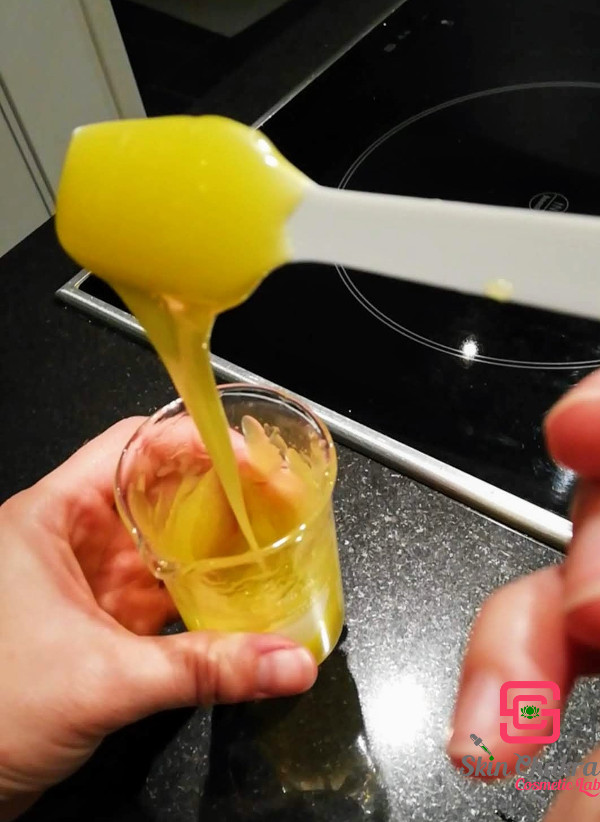
It was also interesting to see the mixture coming from a beige colour to a very bright vibrant yellow: Check out the final looks of the oil gel.
How gorgeous is this? I was amazed!!
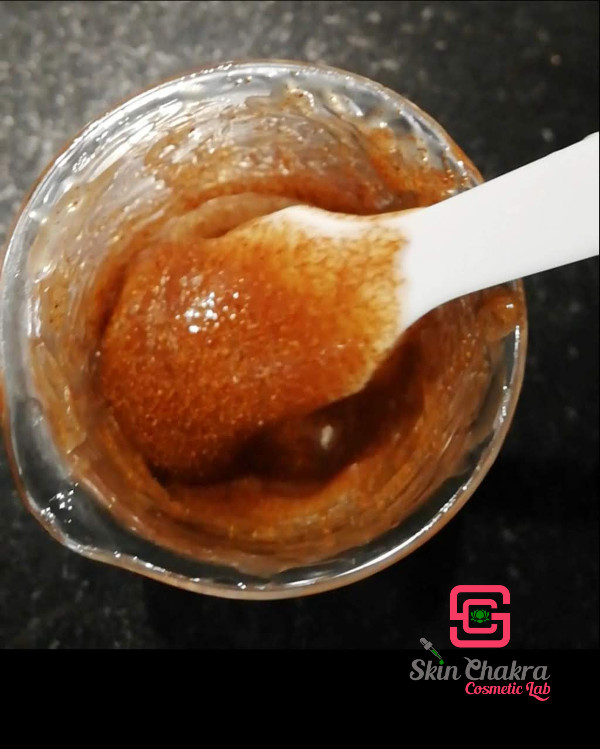
 Now, after adding the scrub particles, the “look” of my formula is completely different, yet still gorgeous, in my opinion!
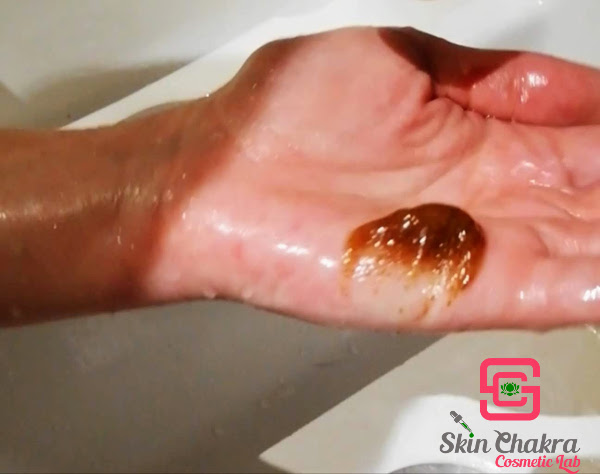
I was so amazed that I tested my final product right away:
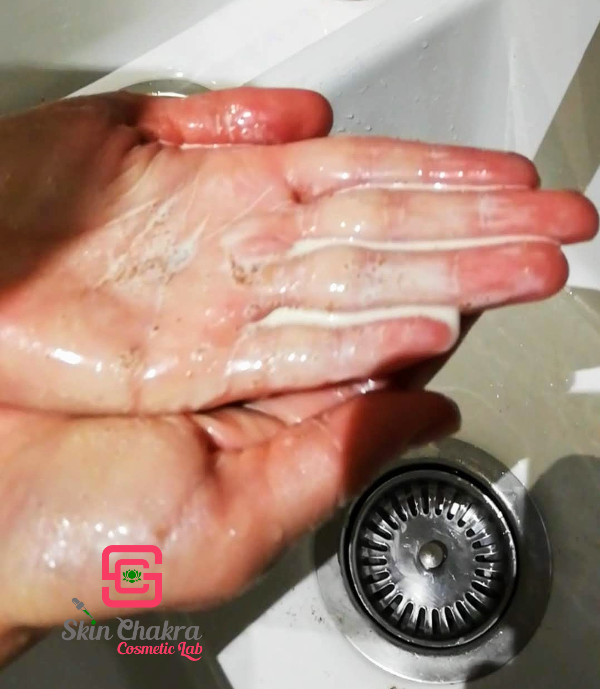
Although it doesn´t look so fancy in my hands, I can assure you that my skin was feeling as smooth as baby skin! Not greasy at all, just perfectly smooth!
Don’t take my word for granted, just go ahead and try it yourself!
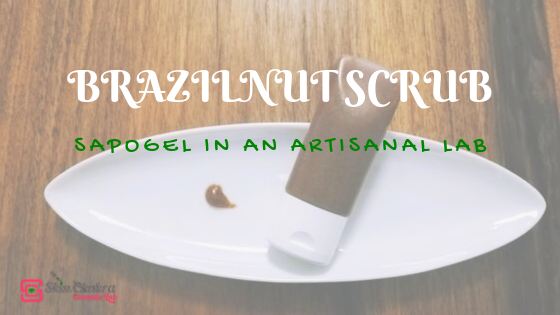
I decided to pack my new divine body scrub in a tube and this part was a really patience quest! It took me more time to fill the tube then to make the scrub. So, if anyone knows a better way of doing it, please let me know!
This experience shows that we can easily make small batches in an artisanal lab. About bigger batches, well, I think I will try with some kitchen equipment that doesn’t break the structure of the oil gel.
After this I just went to take a shower and scrub myself with my precious! Divine skin feel.
Thank you for reading this post and I hope I could pass to you my enthusiasm with Sapogel Q!
Happy formulating!
Vania
