 You remember my earlier post about Chili oil and the promise for new tutorials?
Mittwoch, 31. Oktober 2012
We Like it Hot- Chili oil Tutorials
I find infused oils fascinating. You've the plant oil and the herbs both in one products. In addition, you have a natural color which you could apply in soap, lotions, massage bars, bath truffles etc.
Here we prepare the chili oil to apply it later for a foot-warming butter and a muscle relief and soothing massage oil.
Before we proceed, please have a look at our earlier posts on Basic equipment and utensil for a cosmetic lab and hygienic manufacturing practice in cosmetic lab.
You may prepare an infused oil in a warm process or a semi-warm process. It's up to you which one you choose. By warm process, you have a faster procedure but less active matter is extracted, by semi-warm process you have a slow procedure but higher amount of extracted active matter. If you're leaving in a facility/region with little sunshine however a warm process would be favored. Please have a look at our earlier post about infused calendula oil in Jojoba via warm process.
You may apply any plant oil as a carrier oil, the oil itself should impart as little as possible to the smell and color of the infusion. Regarding this fact, Avocado oil or Tamanu oil are for example not the best choices.
Jojoba oil is of course the very best choice for infusions, refarding the stability, the neutral smell and its wonderful skin caring function, however, it is not the most economic choice.
Soja oil is another wonderful plant oil with excellent skin conditioning effect but with a much lower price than Jojoba oil.
Olive oil and sunflower oil are other common oils for infusion. It is up to you which oil you may choose for your infusion.
Instructions:
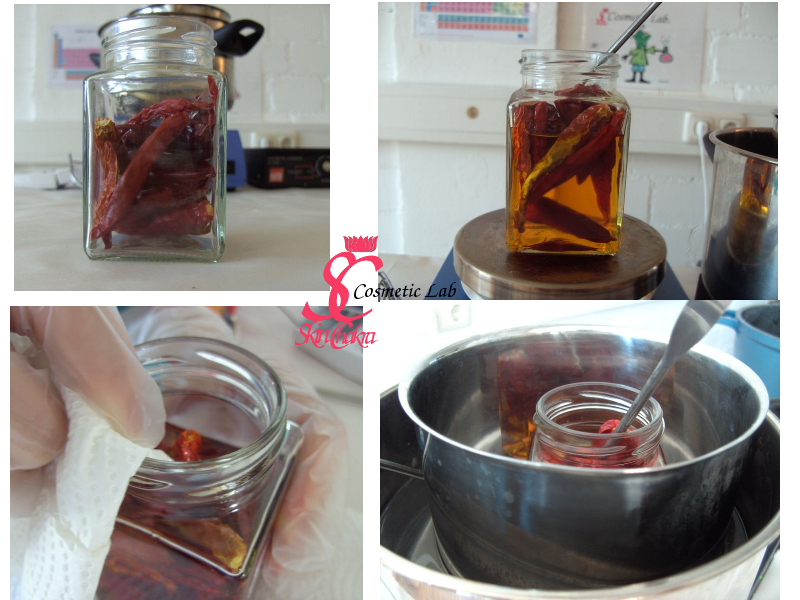
One: Fill dried Chilies in a clean and dry glass. For a better extraction, it is better to crash the chilies before filling the glass. I prefer whole chilies for their beauty.
Two: Fill the glass with your selected carrier oil (I've applied Soja oil here). Tap with a glass rod or a spatula and stir slowly to get rid of possible air bubble.
Three: Put the glass in a double boiler (you put the glass in a pot which is put in a bigger pot with hot, near to boiling water, your glass has no contact with the water itself) for 30 minutes to one hour. Stir occasionally.
Four: Wipe the inner side of the glass with a clean paper tissue from water droplets which may cause a contamination.
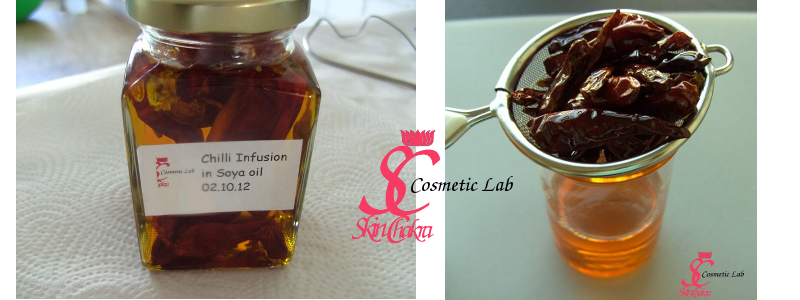
Five: Close the lid and store the glass in a warm and sunny place for 3-4 weeks. Label the glass mentioning the carrier oil, the herbs and flowers (by Chili you can not make any mistake but it's hard to differentiate chopped herbs) and the date. Stir occasionally and wipe water droplets if any appear. Keep record about the weather during the infusion period (temperature and sun) for your recipe book.
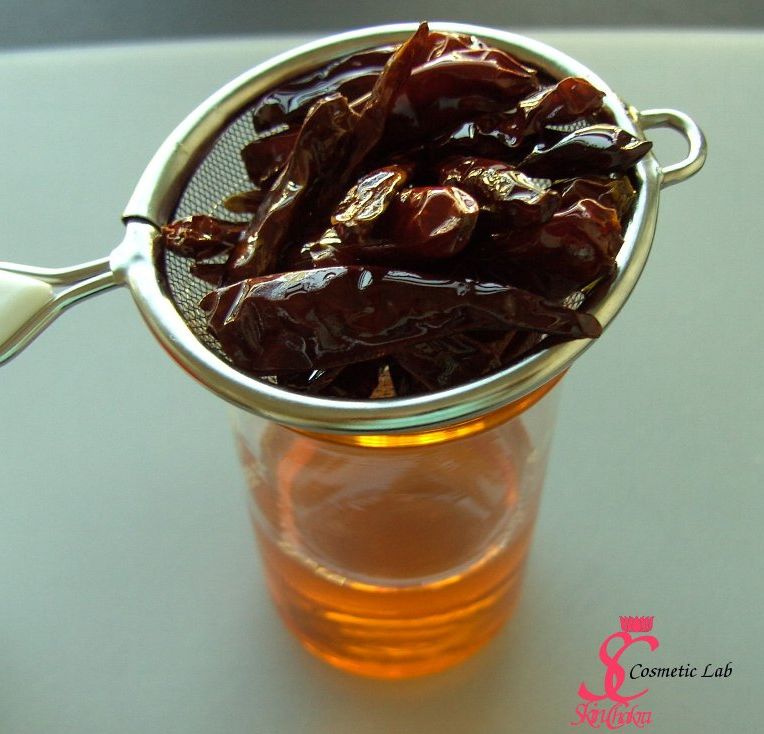
Six: After 3-4 weeks filter Chilies via a coffee filter, a cheese cloth or a sieve. You may add up to 1% Vitamin E (alpha-Tocopherol) to prohibit rancidity. Fill the oil in an air-tight and dark bottle and label it.
The shelf-life depends on the shelf-life of the oil and may vary between 6 months to 2 years.
Happy Mixing


Swettis Beauty Blog am : We Like It Hot- Chili Butter
Swettis Beauty Blog am : We Like it Hot- Chili Body Melt