Freitag, 6. Januar 2017
What you need to know about magnetic stirrers before you purchase one
Magnetic stirrers are one of those handy dandy instruments that we use everyday in our lab. You can certainly survice without them (as most of you already have) but having (at least) one of them makes your life in the cosmetic lab much easier.
Since we've been using them and showing them on our videos and photos, artisan formulators and students of cosmetic formulation often come back to us for some advice about choosing a suitable instrument. These inquiries came to a climax before Christmas because almost every student and every artisan manufacturer I know put some lab instruments on the wish list for Santa.
If you start searching for magnetic stirrers, the diversity of models and prices are so vast that you'll be overwhelmed in the first 10 minutes. Prices vary between 80 € and a few thousand € and if you have never worked with a magnetic stirrer you simply don't know where to start.
This is why I promised to write an introductory blog post to help you by your search and purchase.
Can and can't do
Homogenization
Before you become euphoric and promise to have a one-for-all-purpose tool in your lab let us make clear what a magnetic stirrer can do or can not do.
A magnetic stirrer is, well a stirrer so you can't expect it to be a homogenizer. It works excellent for blending low to medium viscosity liquids and gels but it does not replace a homogenizer.
Gum dispersion
Although you can disperse low concentrations of a gum with a magnetic stirrer, it is not the best choice for gum dispersion and we never use ours for this purpose.
They are excellent for blending surfactants, blending oil and water phases and for all procedures when you need a long and uniform blending without much agitation.
Examples:
Making an oil blend
Making a surfactant blend
Blending the oil and water phases of an emulsion
Slowly adding one ohase to the other (such as making a W/O emulsion with Symbiomuls WO)
Slowly adding the surfactant phase to the water phase under gentle stirring to avoid foam
Blending the EO-solubilizer phase and the water phase separately (when making a tonic or body splash) and then blending the two phases
What you need to know:
Maagnetic stirrers with hot plate and without any heating element
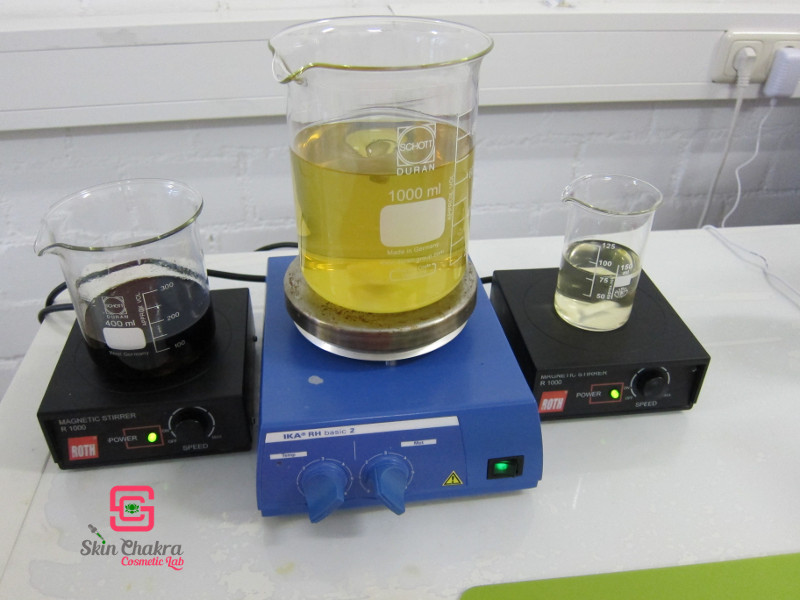
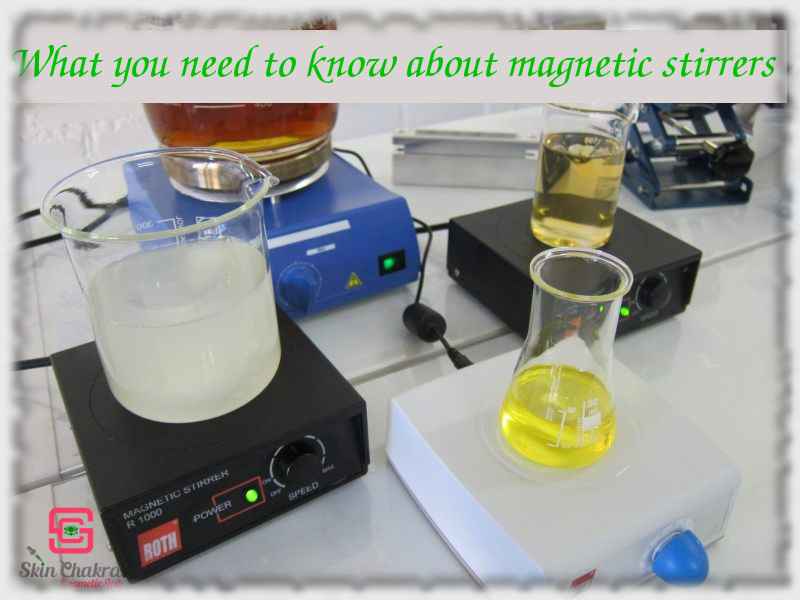
First thing you need to consider before purchasing your magnetic stirrer is the heating plate. There are simple magnetic stirrers without any hot plate (the two black ones in the above photo) and magnetic stirrers with a hot plate and thermostat (the blue one in the middle)
Kitchen hot plates and even induction hot plates are quite affordable now. The price of a magnetic stirrer with a hot plate is much higher than the price of a hot plate + a magnetic stirrer.
It is really worth considering how often you'll need a magnetic stirrer+ hot plate before you induslge yourself with an instrument. This is something only you can decide, knowing your requirements, your daily procedure and the necessities in your lab. If you seldom both heat and stir, then you shall probably consider having a simple magnetic stirrer and a separate hot plate. If you have very little space and use both procedures simultaneously, then you shall think about investing more in a combination instrument.
(There are even new models on the market with integrated scales: scales + magnetic stirre + hot plate) but I assure you it is really not necessary in a cosmetic lab.
The thermostats are very reliable. Some models have the ability of an external thermostat/thermometer being attached.
There are hot plates with a metal plate or a ceramic plate available and they usually heat up to 350 oC (some models up to 500 oC ) which is much higher than any temperature you'll need in a cosmetic lab. The simples models don't have any display and you'll need a thermometer to check the temperature. Models with a digital temperature display are available as well.
When purchasing a magnetic stirrer with a hot plate, you obviously need to consider:
- the heat out put (power/Watt of the hot plate)
- Heating range (you shall rather have a look at the minimum heating temperature because the max. temperature is much higehr than what you'll need)
- Min. and max. adjustable temperature
Capacity
The capacity of the stirrer is always mentioned for water. It is mentioned for the max. capacity: 4 lit for instance. The nominal capacity is much higher than the real capacity because obviously you seldom use plain water for stirring. The mini models have a capacity of 3 lit and they are quite competent for at least 1 litre surfactant solutions and some 250 ml of an emulsion.
Max. speed
The speed is expressed as rpm (rotations per minute). The min. speed is about 1000 rpm. powerful models have a speed of up to 2500 rpm. Everything between 1000-1500 rpm should be all right for your lab.
Max. permissible temperature and humidity
If you work in a humid lab and your lab is located in tropical regions, or you intend to blend hot material, have a look at the max. allowed working temperature and humidity of the instrument before you purchase yours.
Mounting surface dimensions
The surface diemnsion obviously defines the size of the beakers you can use with each magnetic stirrer. Your beaker could have have a max. diameter as the plate.
In some technical data, even the max. allowed dimensions of the stirring rod are mentioned.
The magnet
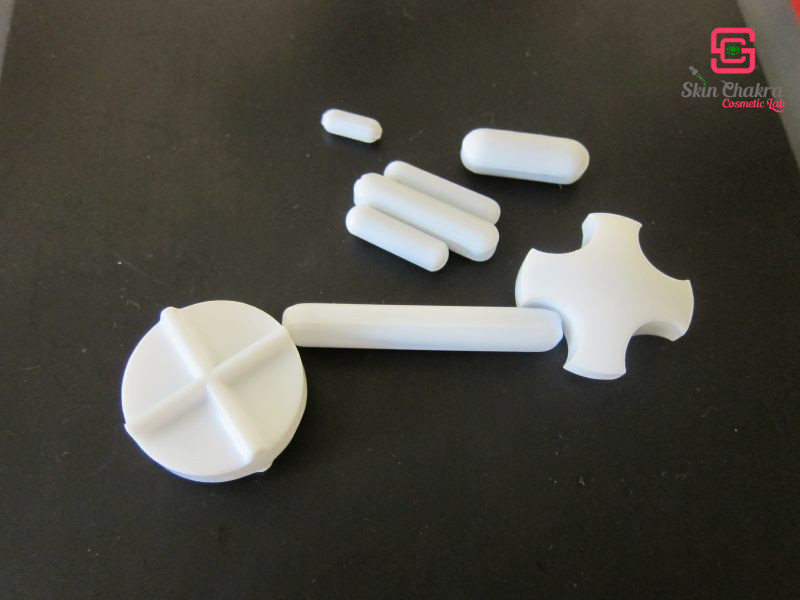
Obviously, a magnetic stirrer needs a magnet to operate. Magnets are available in all possible sizes and forms, from simple rods to starts, ellipsoids, discs etc. I would recommend that you start with a simple rod at the beginning. You can do nothing wrong with a rod.
The size of the stirring rod should be suitable for your beaker. Usually 0,5-1,0 cm smaller than the diameter of the beaker. If you're working with different beaker sizes (which you certainly do), you'll need different magnetic rods.
Extras
There are some fanciful models with multiple magnetic stirrers on one single plate, some models which you can remote control or pre-program, some with a hub for a USB stick. These are rather useful (and sometimes necessary) in research laboratories and where chemical reactions are carried on. Any of these extra features costs more and unless you have a huge budget and have no more important expenses, these are not necessary in a cosmetic lab.
I think I have covered all important feautures you need to know before purchasing a magnetic stirrer.
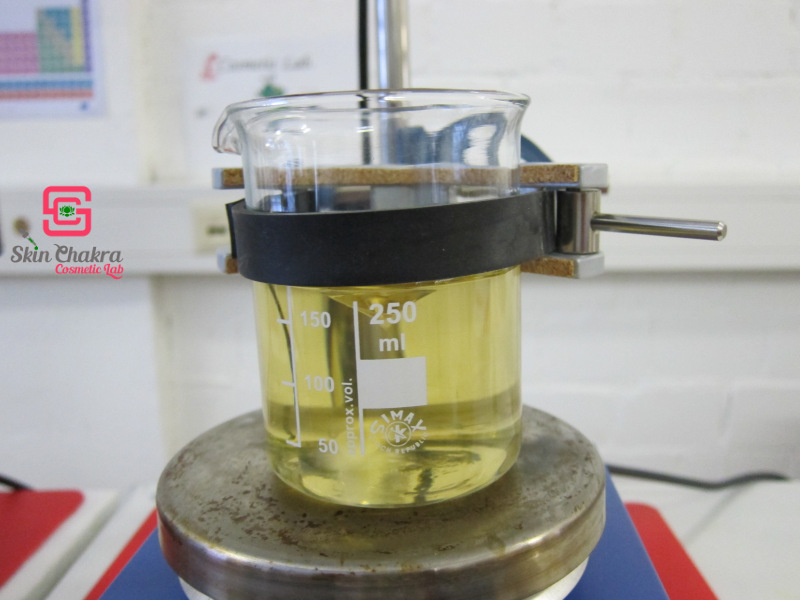
You may want to purchase a safety clamp to securely fasten your beakers and avoid them flying around the lab in case your beaker slides over the plate or the magnetic stirrer turns wild. (this can happen more than you may imagine)
One of the most time consuming procedures in the cosmetic lab are making oleogels with Dermofeel G5O.
This requires the slow addition of the oil phase to the emulsifier-glycerin phase while stirring the glycerin phase.
If you have already prepared any one of our previous recipes:
How to make a Rhassoul facial cleanser
How to make a deep cleansing oleogel
Pomegranate self-emulsifying oleogel mask
You know what I'm talking about.
Using a magnetic stirrer for this procedure, does not make thing much faster, but at least spares you a lot of muscle energy and workout.
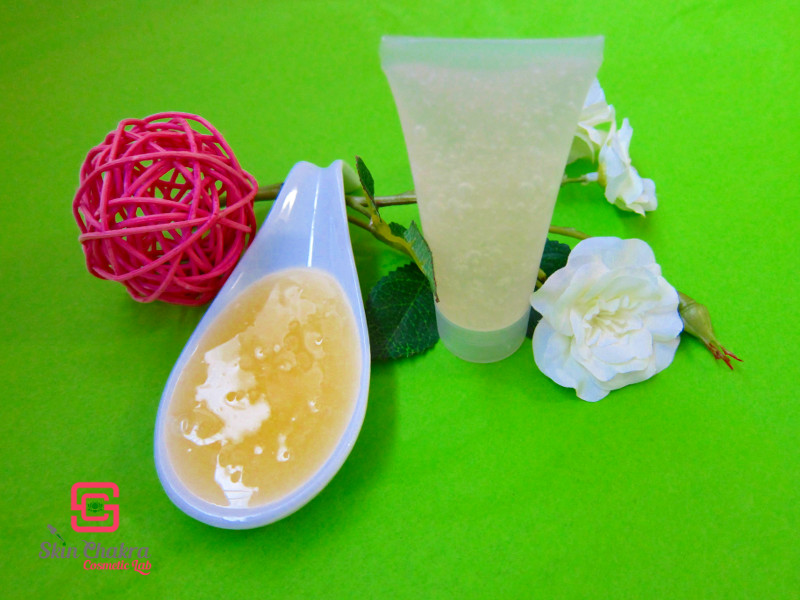
I'm sharing a shower oleogel (it is a shower oil with a viscosity like a shower gel and much easier to apply) which we recently made (50 ml) with a small magnetic stirrer. (We usually use an overhead mixer for this purpose)
Formulation
| Phase A | |
| Dermofeel G5O | 6.0% |
| Organic glycerin , 99% | 30.0% |
| Phase B | |
| Organic camelina oil | 52.4% |
| Lexfeel natural | 10.0% |
| alpha-tocopherol | 0.5% |
| Rosemary CO2 extract | 0.1% |
| Petitgrain EO | 0.5% |
| Blood orange EO | 0.5% |
Procedure:
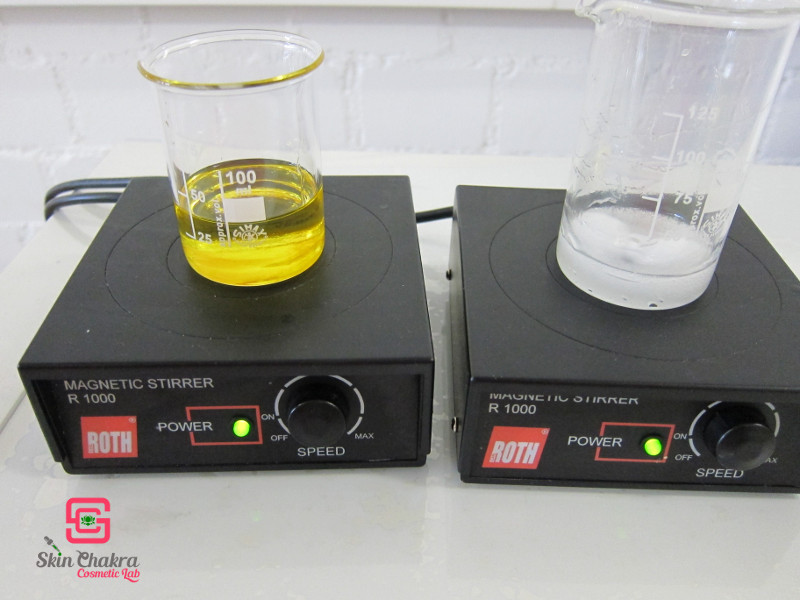
1- Blend phase A and B separately in two beakers. We've used the magnetic stirrer for this purpose. It is possible that the viscosity of phase A is too high for your magnetic stirrer (specially in winter). In this case, use a spatula to fully blend the glycerine and the emulsifier.
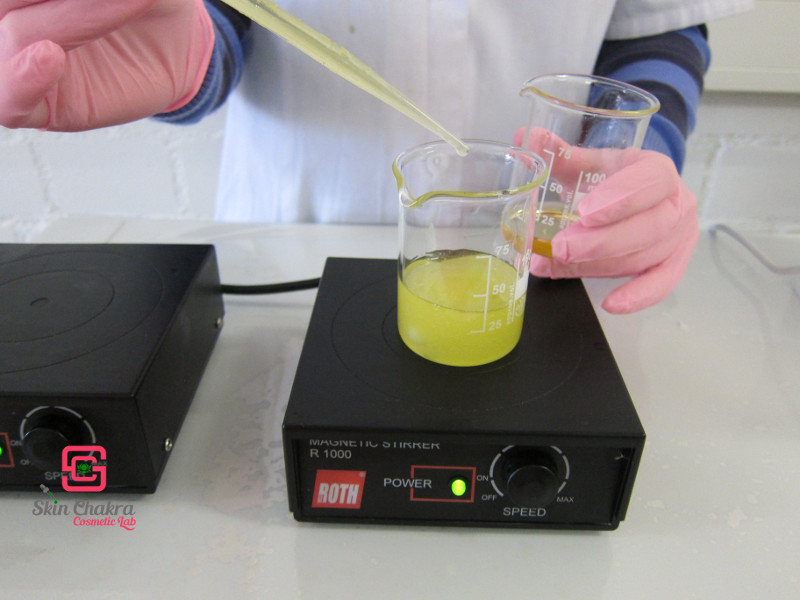
2- Slowly add the oil phase to the glycerine phase while stirring the glycerine phase. At the beginning you may need to blend with a spatula to fully incorporate the oil into the glycerine phase. As you proceed with addition the viscosity reduces and the blending becomes easier. Wait for a complete blending before each addition.
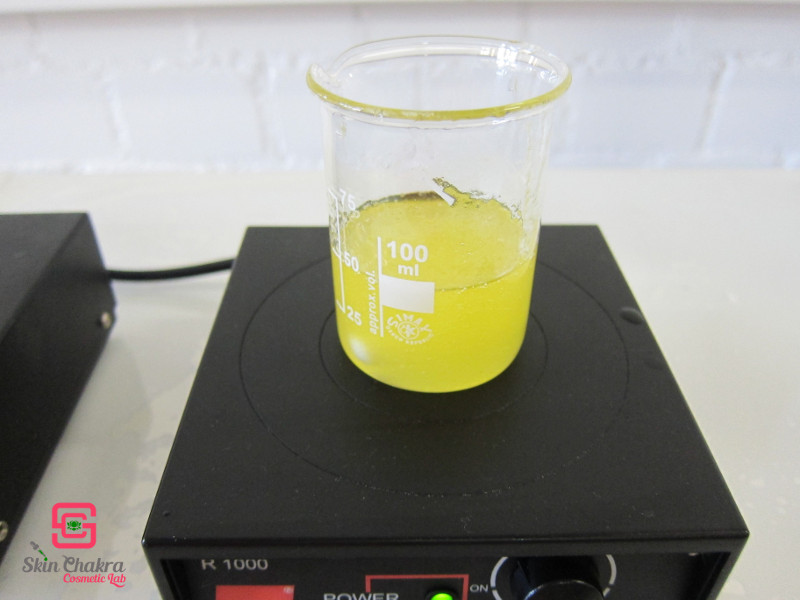
3- As all of the oil phase is added to the glycerine phase, continue gentle blending for a few minutes. Fill in a suitable bottle or a tube.
It's your turn now to create a shower oleogel. Feel free to send us your photos and comments either per mail or to our Facebook page. If you post any photos on Instagram, don't forget to tag @SkinChakra.
BeHappy and have fun
