Donnerstag, 31. Mai 2018
How to make a whipped shaving soap (Guest post)
Among all "natural" hair and skincare products on the market, shaving products are the most neglected ones. You can find a huge variety of "natural" aftershaves but not many shaving products on the market.
In this blog post, Jilly is sharing a gorgeous shaving cream soap she has recently made.
Both men and women alike have been plucking, tweezing, waxing, shaving, ripping, … undesirable hairs since the dawn of time. When we go back in history, there are even cave paintings found of the Stone Age where the men use seashells as tweezers to pluck out unwanted hairs, so it goes way way back. Also the Egyptians liked the sleek look and removed all their body hair from head to toe (back then it also had a practical use because being hairless discouraged the spread of disease and vermin).
Fast-forwarding to more recent times, it seems we are still obsessed with silky-smooth armpits and legs. I quite vividly remember somewhere back in the nineties when Julia Roberts, in a gorgeous red dress, proudly walked the red carpet showing off her underarm hair… This was quite astonishing (and even shocking) for many people of my generation, and to be fair we found it actually kinda weird to let it grow and leave it like that. To shave or not to shave, that’s the question! ![]()
All kidding aside, for whatever reasons, silky-smooth hairless skin has become quite “the norm” for many of us, both men and women, and has become a part of our (daily) routine. Knowing that, it’s quite unfortunate that there are so very few organic/natural shaving products on the market. So let’s try and find ways to make shaving -one of the most tedious jobs in the bathroom- a bit more fun ànd natural!
Last year we already shared some ideas:
A shaving foam and a self-emulsifying shaving cream
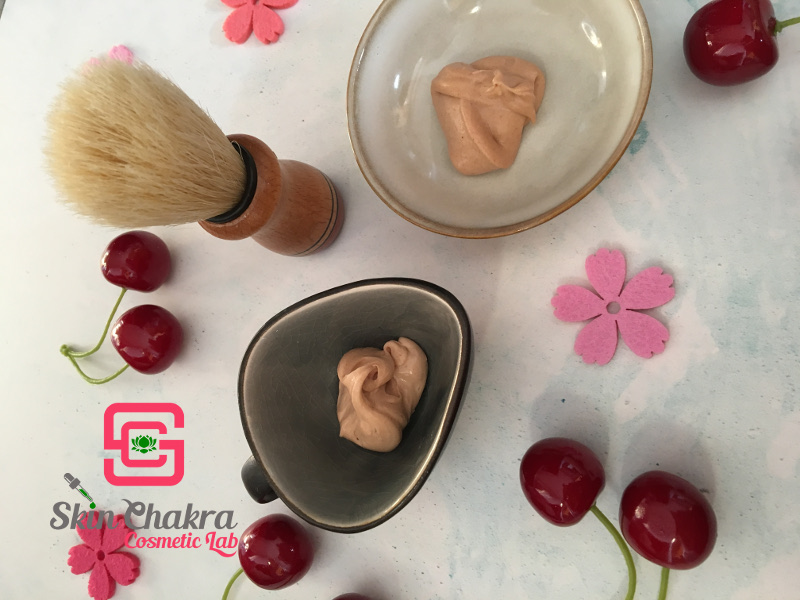
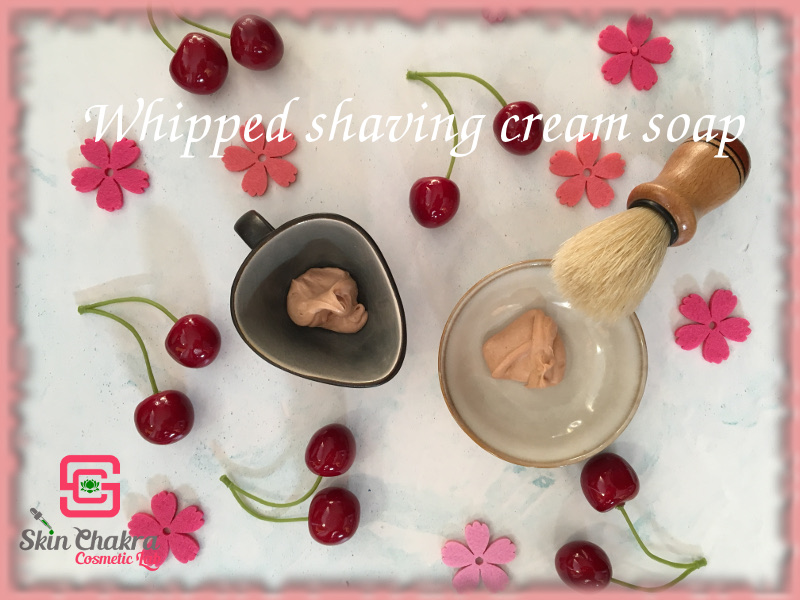
Today I have created a shaving soapy-cream, suitable for a wide mouth open jar and one of those wonderful shaving brushes; they always remind me of these fascinating barbershops! Shaving with a razor or blades is still one of the preferred methods: it’s easy, cheap and not painful (unless you cut yourself accidentally of course ![]() ).
).
The texture is really nice and helps the razor blades easily glide over your skin. I love the additional pink colour of the cranberry: it gives the shaving soap a very cute and girly appearance. Feel free to adjust this formula to your personal wishes! By the way, did you know that men are most likely to feel attracted to a skin care product when it is branded as “unisex”?! Something to keep at the back of your mind when you are formulating for men.
A note about the preservation and the container:
Since the water content of this shaving soap is so low you usually won’t need to add a preservative. BUT there is a big fat BUT: it is high likely you (or your customer) will be scooping it out with wet fingers and/or dipping the brush into the jar, adding accidental water to the product. Therefor adding a preservative is a necessity. The one I use at this concentration is only a suggestion. As always, you’ll need to test your preservative and its required minimum % depending on your ingredients and the packaging.
Tip to keep in mind: there is a smaller risk of contamination using smaller jars (for example 30ml) than using a huge jar of let’s say 500ml (simply because it will take a longer while to finish the bigger jar in comparison to the smaller jar).
Here is the formulation and procedure. Have fun
Formulation:
| Phase A | |
| Distilled water | to 100% |
| Glycerine (natural) | 10,0% |
| Sodium cocoyl isethionate | 20,0% |
| Phase B | |
| Myrica fruit wax | 10,0% |
| Cocoa butter | 5,0% |
| Phase C | |
| Babassu oil | 5,0% |
| Calendula CO2 extract | 0,1% |
| German chamomile CO2 extract | 0,1% |
| Phase D | |
| Sodium lactate | 2,0% |
| Lactic acid | 1,0% |
| Sucrose cocoate | 2,0% |
| Proteol APL EF | 8,0% |
| Coco glucoside/glyceryl oleate | 2,0% |
| Aloe extract powder | 0,2% |
| Phase E | |
| Strawberry seed oil | 5,0% |
| Cranberry powder | 2,0% |
| Allantoin | 0,5% |
| alpha-bisabolol | 0,2% |
| Natural tocopherols | 0,5% |
| Rosemary CO2 extract | 0,1% |
| antimicrobial plant extract | 0,1% |
| Spectrastat G2-N | 0,7% |
| Sweet orange essential oil | 0,4% |
| Frankincense essential oil | 0,2% |
Procedure:
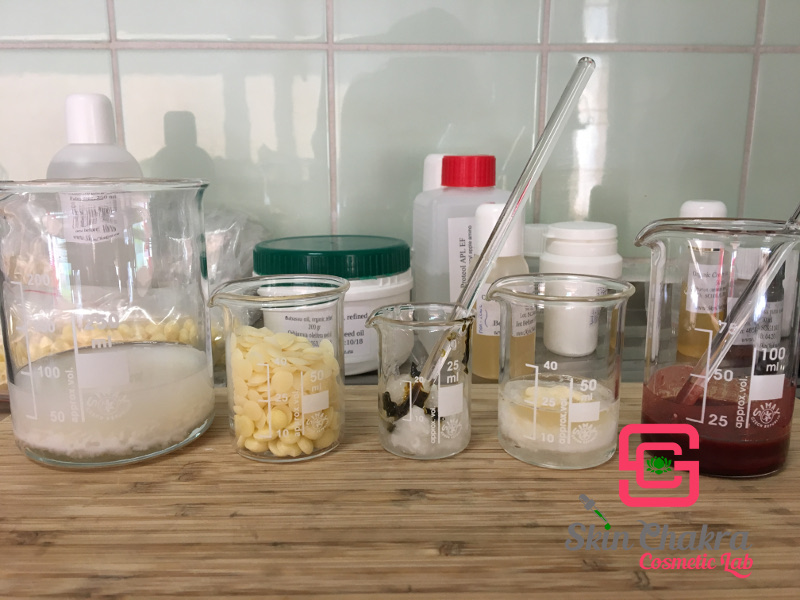
1- Measure all your phases in separate beakers
-
note: I add the EO’s right at the end so they won’t evaporate in thin air
-
blend phase E thoroughly so you won’t have any powder clumps
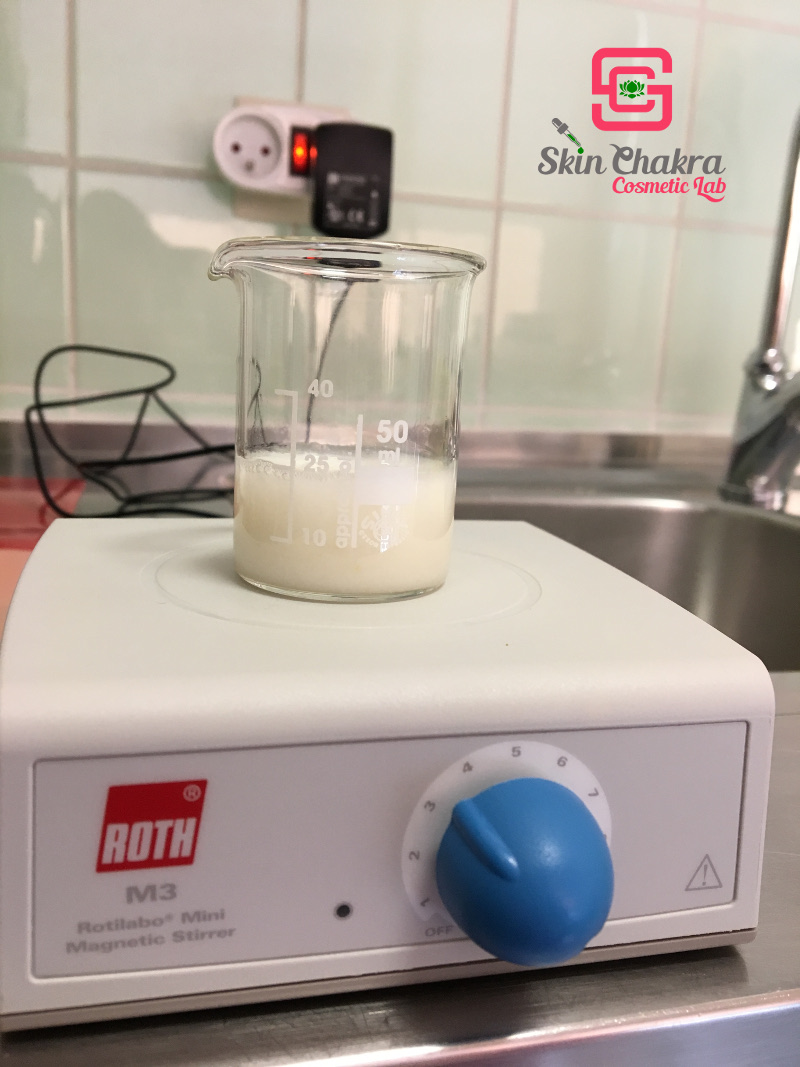
2- A magnetic stirrer is very handy for blending your surfactant phase ! Let it stir at a low speed while you work on the rest of the procedure.
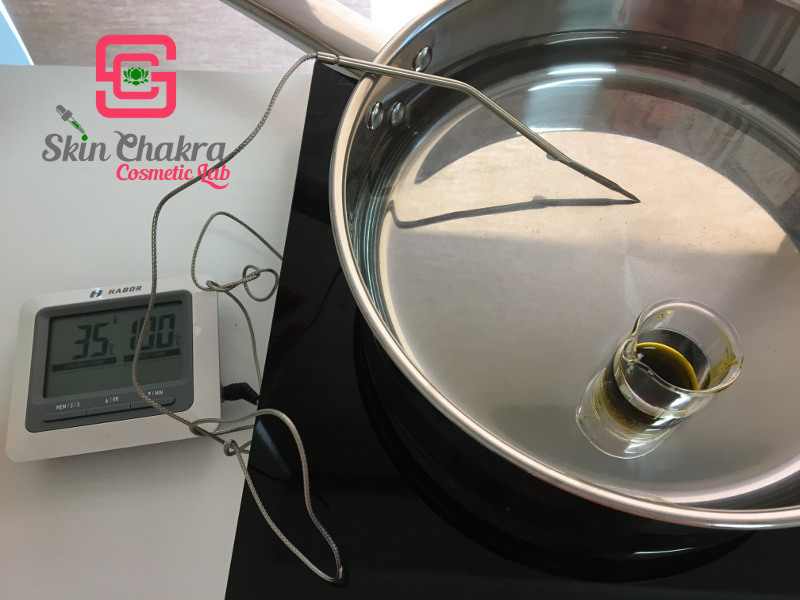
3- In a lukewarm water bath of around 38°C melt phase C: the babassu oil with the calendula and chamomile CO2’s. For me this is the best way to fully blend these precious extracts. (unless your lab has an ambient temperature around 30 degrees, all these ingredients are solid to semi-solid)
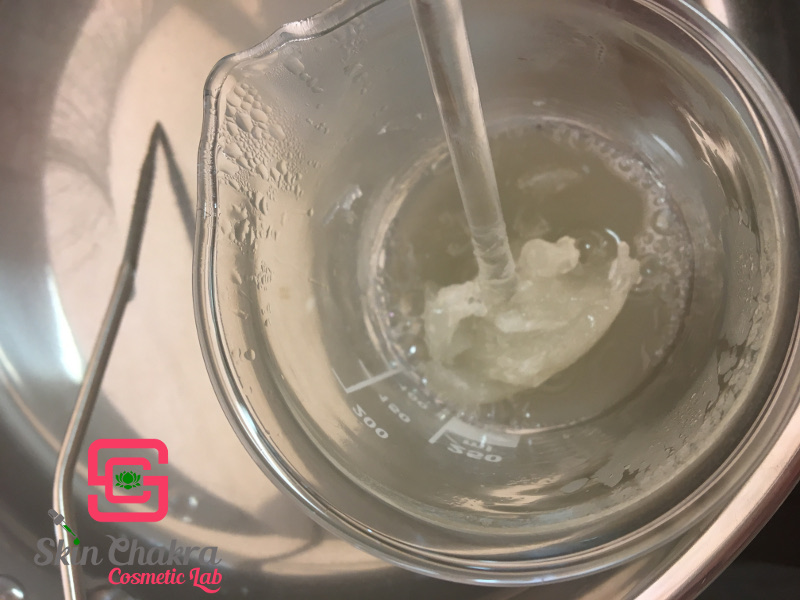
4- Now it’s time for phase A. Working with SCI in a kitchen lab is a bit of a hassle. You will need high temperatures of at least 90°C ànd it takes a loooooooooong time (you can almost grow a beard while waiting for this, which is okay, because we’ll have a fab shaving cream at the end, haha!). Okay, kidding aside because you need to be extra cautious with this step. As we know from previous blogposts: SCI won’t melt and won’t dissolve in the water phase; but it will swell to a homogenous white paste. In case you missed these posts, here are the links for some more tips:
How to make a self-emulsifying cleansing balm
to give you an idea: for a batch of 150g it takes up to an hour for phase A to get ready!
5- Heat phase B (the butter/wax phase) in another bath at around 65°C.
6- When both your phases A and B are ready, you can start blending:
-
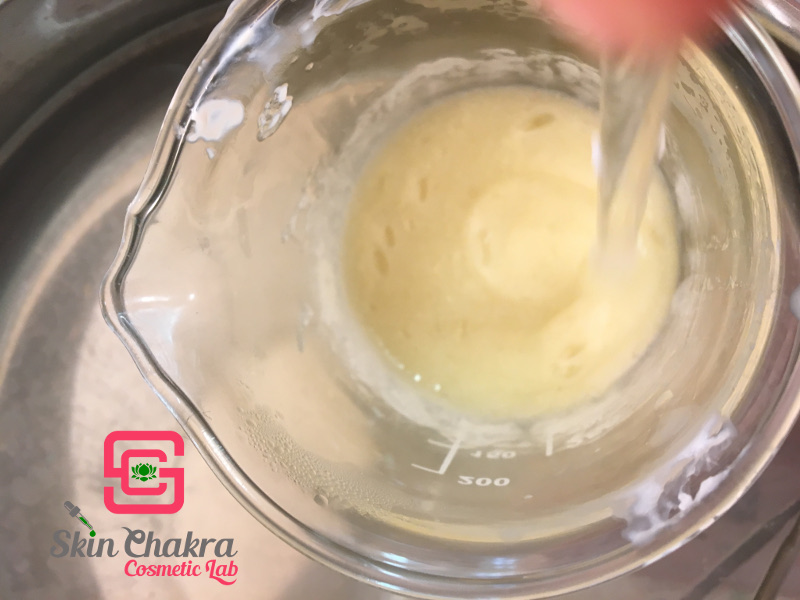
Stop heating but keep phase A in the water bath, and slowly add phase B to phase A. Do this gently because you want to avoid creating a foaming bad inside your beaker.
-
Once blended, you can remove your beaker from the water bath.
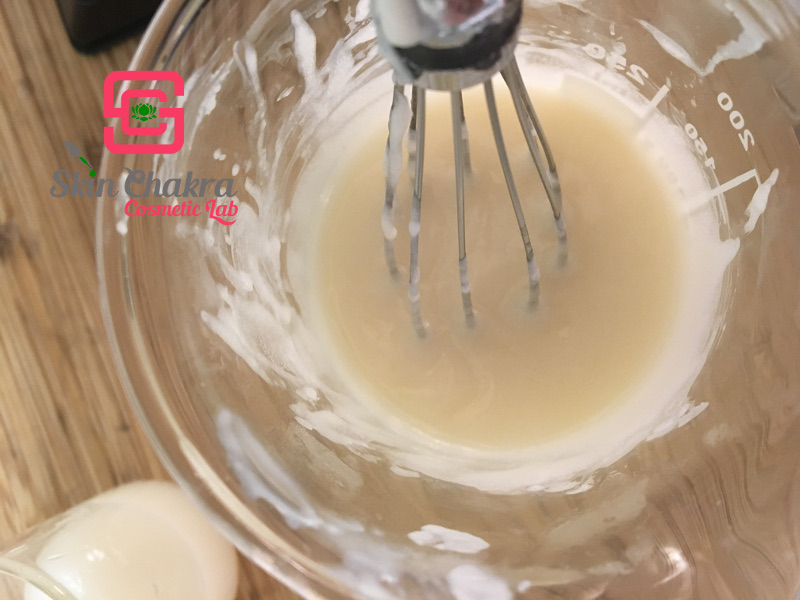
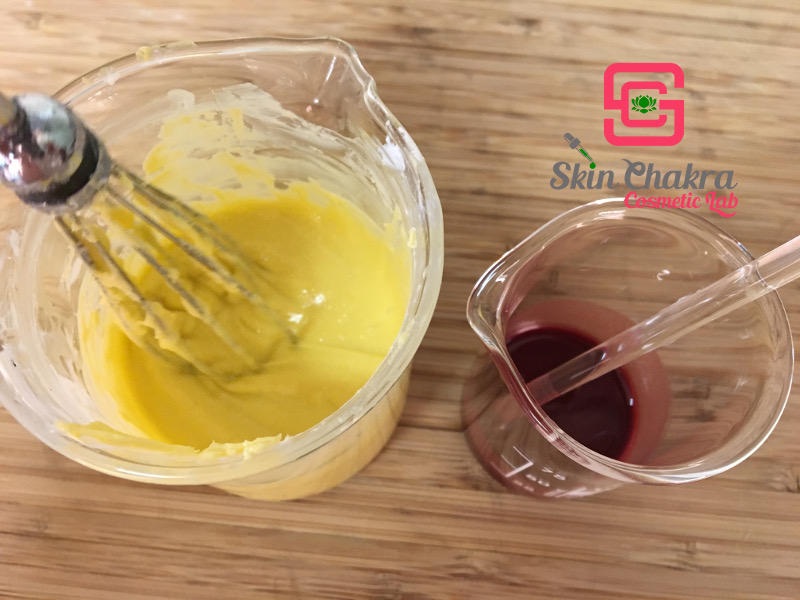
7- Keep stirring the blend until it cools down a bit. It helps when you do this with a hand whisk at this stage => less foaming, nicer texture, better blending technique.
When it is cooler, you can add phase C, the molten babassu oil with the CO extracts. Blend nice and easy.
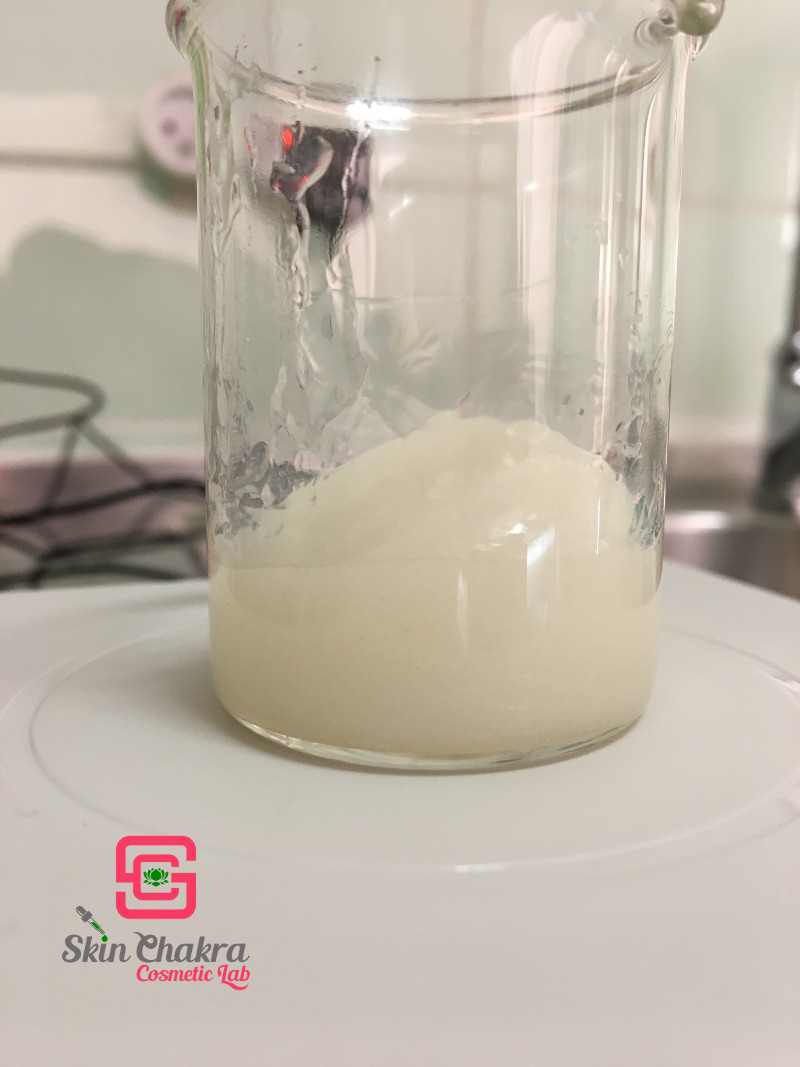
8- Now add the surfactant phase (D) (which by now looks like this. Don’t forget to remove the magnet from the beaker ![]() . Stir gently to avoid excessive foaming.
. Stir gently to avoid excessive foaming.
9- And finally you can add the last beaker, phase E. (BTW: you will definitely have noticed that the powders won’t be dissolved in the oil phase but you need to keep them suspended in this phase; before you add this beaker to the rest of your blend give the oil/powder beaker a good couple of stirs first).
10- Preapare a 10% of the finished soap in distilled water and measure the pH. In my case, the pH was 5,12.
11- And now it is up to you: you can use this shaving soap in a whipped version or in a non-whipped version:
-
non-whipped: stir until the blend has cooled down right before a light trace appears. Pour your cream into jars.
-
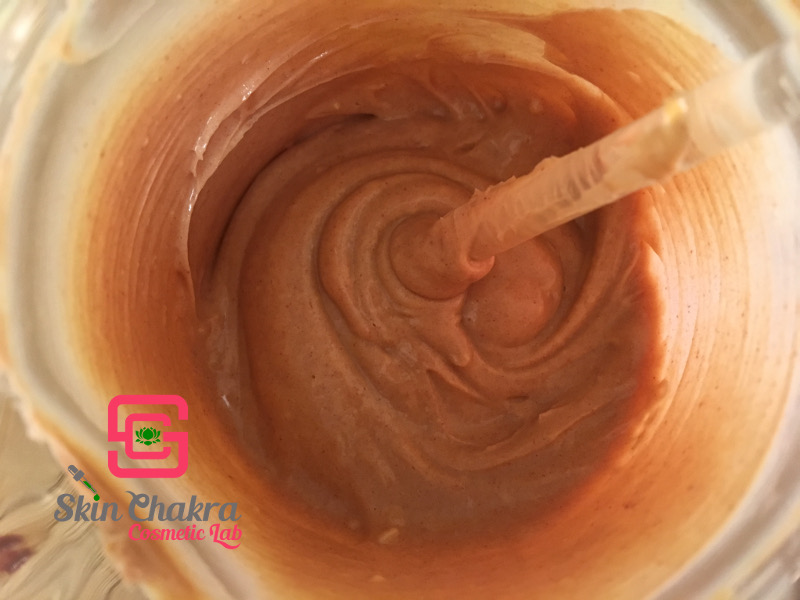
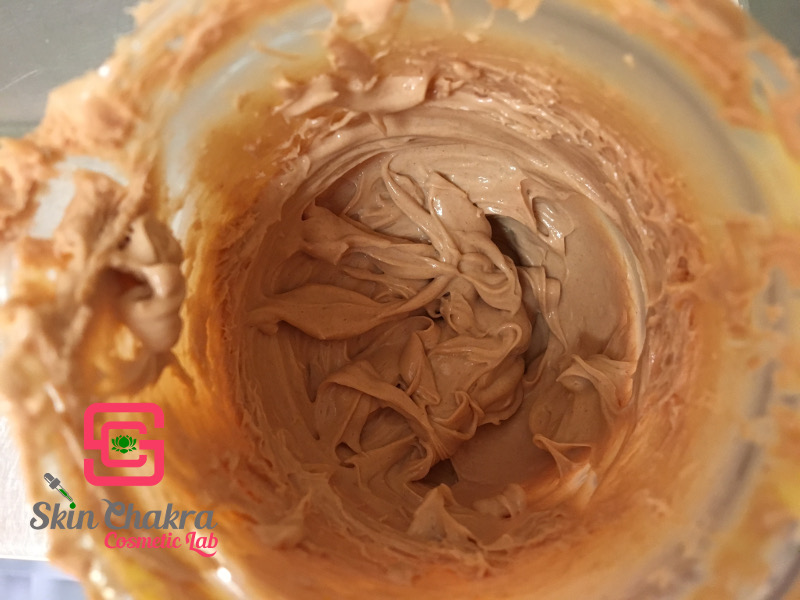
whipped: stir until the blend has reached a heavy trace and you can start whipping. You can speed up this process by putting the beaker in the fridge and go stir the blend in intervals. Most likely you’ll need to whip-cool down in fridge a couple of times before you reach the consistency you want.
-
the non-whipped version feels a little heavier and the pink colour is a bit more vibrant
-
the whipped version feels lighter and the colour is a bit more subtle and soft
either way, put your containers (without the lid on) overnight in the fridge and let them adjust to room temperature afterwards.
I hope you have enjoyed this tutorial!
Enjoy the sunshine with your silky smooth legs ![]() .
.
Be magical,
Jilly
Disclaimer: SkinChakra is responsible for the content of this blog post. Please send your comments and questions directly to SkinChakra and don't try to contact Jilly in private or via any other online forum/platform. Jilly or one of our team will happily come back to you.
