Donnerstag, 19. Juli 2018
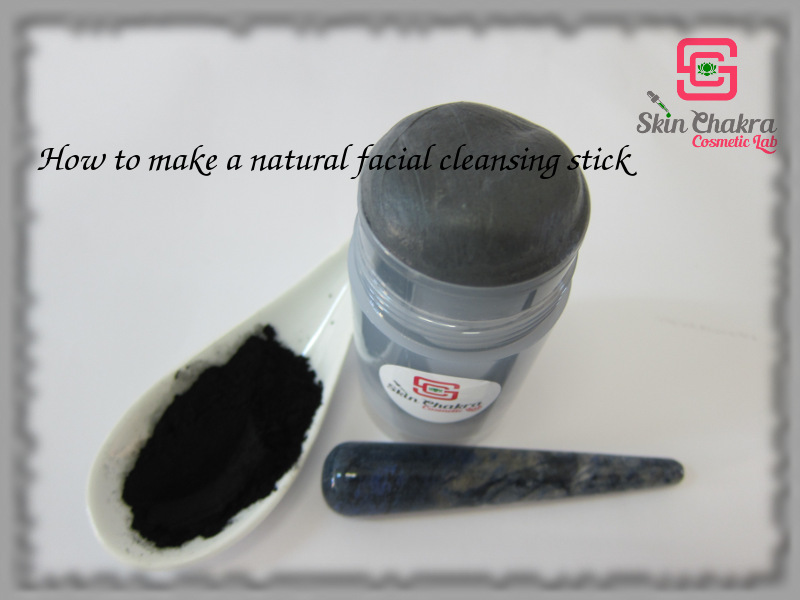
How to make a "natural" facial cleansing stick
Cleansing sticks are the latest craze from Asia and are taking the personal care market by storm.
There are many reasons to love them and just a few to not fall for them.
What are cleansing sticks?
They are a kind of hybrid between a liquid cleansing formulation and a soap or shampoo bar.
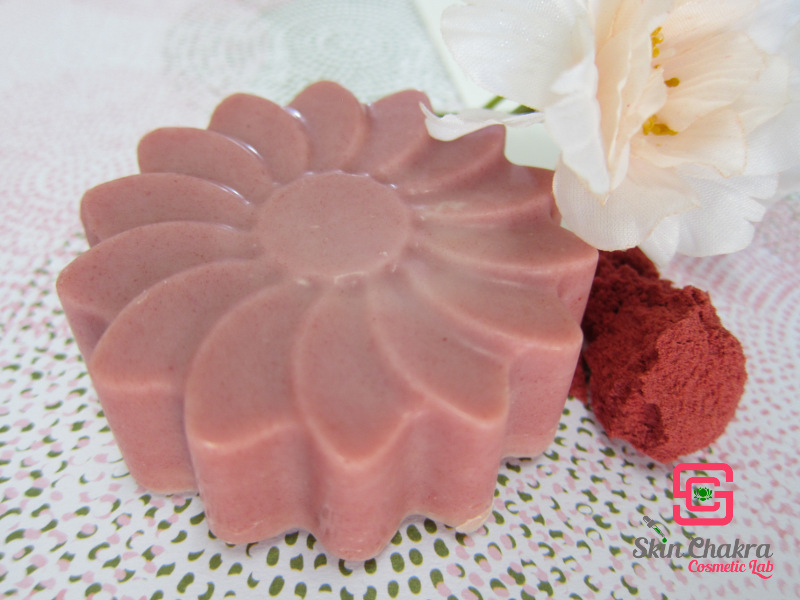
Shampoo and shower bars which are non soap based (no saponified fatty acids) are quite a hit these last couple of years mainly because:
- You save huge volumes of packaging material (mainly unnecessary plastic).
- You CAN prepare preservative-free formulations
Well, this is their advantage over liquid products such as conventional shampoos and shower gels or hand washing liquids.
Traditional soap makers may shout: this is exactly the case with the good old soap we make.
BUT
- the good old soap needs time to cure whereas you can use these non-soap based products almost immediately (well about 24 hours) after preparation
- the good old soap has an alkaline pH. This is the nature of the soap and there is nothing you can do to change it. Although a healthy young skin can easily tolerate and re-adjust an alkaline kick caused by soap, compromised skin, aged skin, baby and sensitive skin (specially facial skin) might suffer from the alkaline pH of the soap. The non-soap based formulations, give you the possibility to adjust the pH in a skin-friendly range.
So far so good
but let's take the shampoo or non-soap cleansing bar to another level (from the packaging point of view)
Have you ever been annoyed by the ugly optic of a wet soap dish?
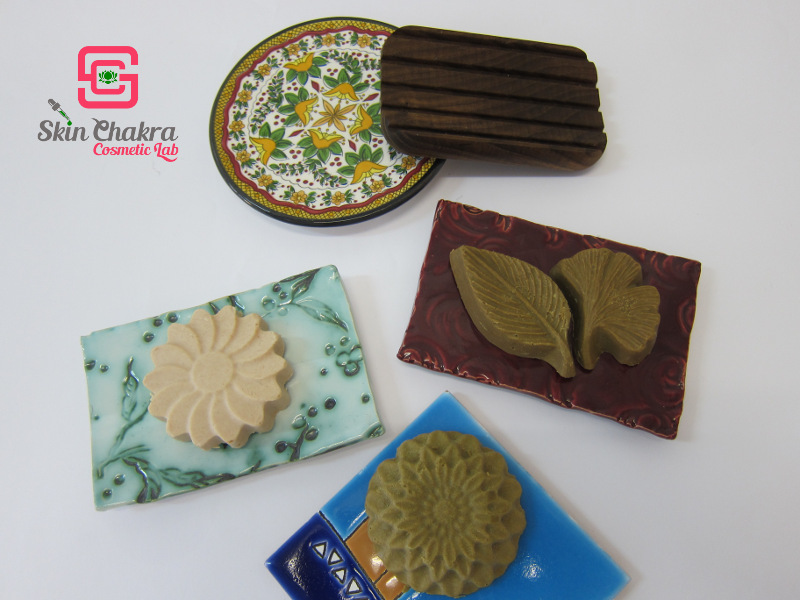
That's it. The wet soap dish is not only non-appealing, it can even endanger the safety of the product you're using several times a day. The good old soap, has an alkaline pH and is pretty reistance against a microbial contamination (contamination may happen however, specially in case of the "super food" craze. The more edible and nutrient ingredients you add to the formulation, the higher the susceptibility of the product towards contamination).
When it comes to these non-soap shampoo bars and shower bars however, they have a neutral pH which, as skin-friendly as it is, provides an optimum growth medium for unwanted guests (microbial contamination). A wet soap dish plus neutral pH + tricky ingredients such as clays WILL increase the susceptibility of these products against contamination (compared both to liquid formulations as well as the good old soap bar)
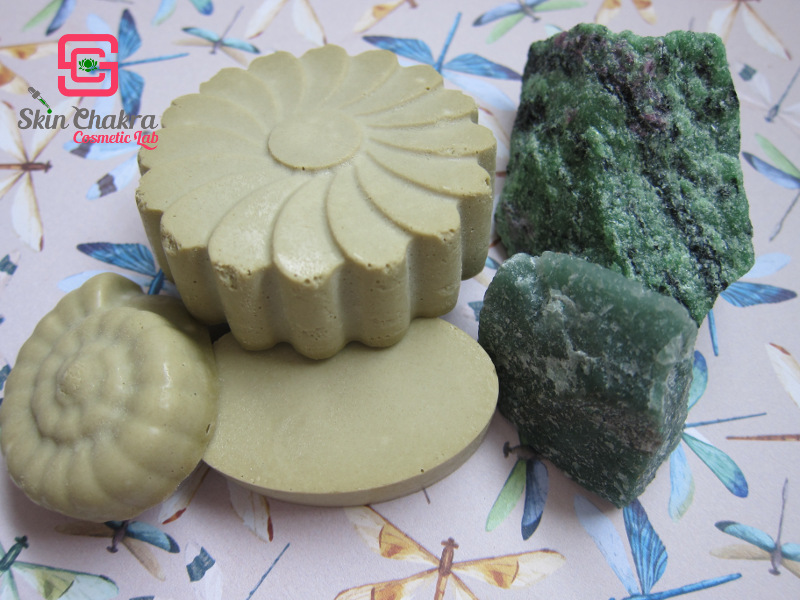
Another disadvantage of this form of product is when you're on the go. A soap dish might be quite practical for your bathroom and you may even promise to have an eye on that soap dish and do not let your soap bar swim in water but what happens when you're on the go, like in a hotel or in the gym?
That's when these adorable sticks become indispensable. Just throw them in your bag and you've your personal face & body cleansing stick. Hygienic, safe and practical.
One disadvantage remains
and that is the necessity of packaging material (compared to shampoo and shower bars or the ood old soap).
I'm afraid, there is no way around this and I have (at least at the moment) no other alternative for this disadvantage.
It remains up to you to balance the advantages and disadvantages and come to a conclusion regarding your personal preferences, your business policy, your ethos and the requirements of your customers.
Anyway, if you decide to try these cute creatures, stay with me to know about their features and what you may need to take care of when formulating them.
As I've mentioned earlier, this is an Asian trend which has now arrived in the US and the Europe. However, the products available on the market (at least all that I found during my brief survey) are loaded with silicones, petrochemical based glycols, PEG- derivatives and other ingredients that are a no-no in "natural" cosmetics.
In this post, I've made a facial cleansing stick with ingredients that are accepted in "natural" skincare.
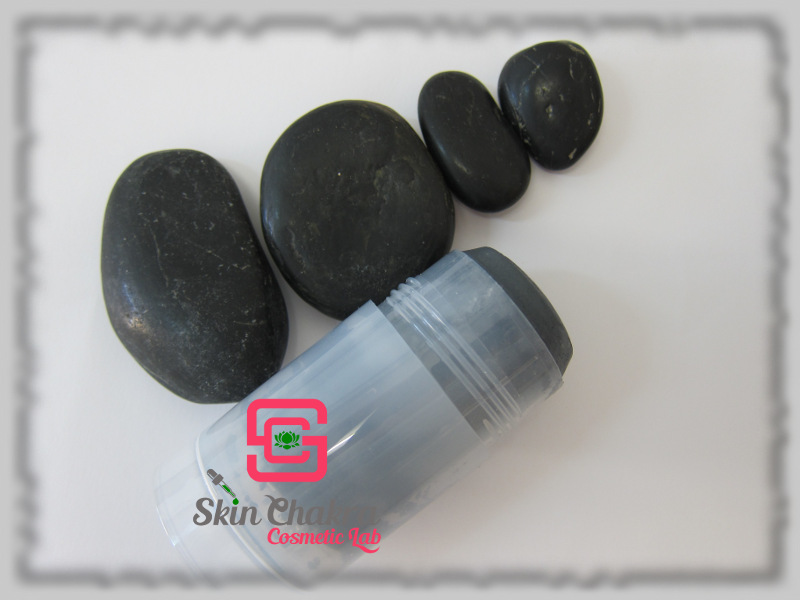
- This is a solid formulation with a very low water activity. This means, theoretically you do not need any preservative. However depending on the climate, application condition and the raw material you use, you may NEED to add a preservative to the system. I haven't used any preservative here but recommed that you challenge test your formulations under realistic and ultra-realistic application conditions to guarantee the safety of the product and the consumer.
- Although these sticks are originally marketed as "facial cleanser" and for dual cleansing (the high oil content removes makeup whereas the surfactants cleanse the skin (make-up remover and facial cleanser in just one product), you can even use the stick as a body cleanser. You may need to adjust the formulation or swap some ingredients when switching from face to body cleanser or you may make a one-in-all cleanser for the sake of less packaging and ease of application.
- You may need to tweak the formulation according to the ambient temperature of your market. The stick should have a certain hardness to remain stable and not melt in the container (or your gym bag) but shall melt upon coming into contact with your skin and shall not feel waxy.
- pH adjustment is an important step of any water based formulation (even though we have a stick here, the formulation contains water and is water based). If you decide to use any preservative, adjust the pH of the formulation in according to the preservative system used. If you don't use any preservative, you may have a liitle bit more flexibility for pH adjustment. Stay in the range between 4,5-5,5 and use ingredients that are stable in this range.
Before we proceed to the formulation and procedure, please have a look at our previous formulations with Sodium Cocoyl Isethionate (SCI). It is an amazing "naturally derived" surfactant but needs a lot of patience to work with.
How to make a shower bar (minimalist approach)
How to make a self-emulsifying cleansing balm
How to make a whipped shaving soap
How to make a shampoo bar
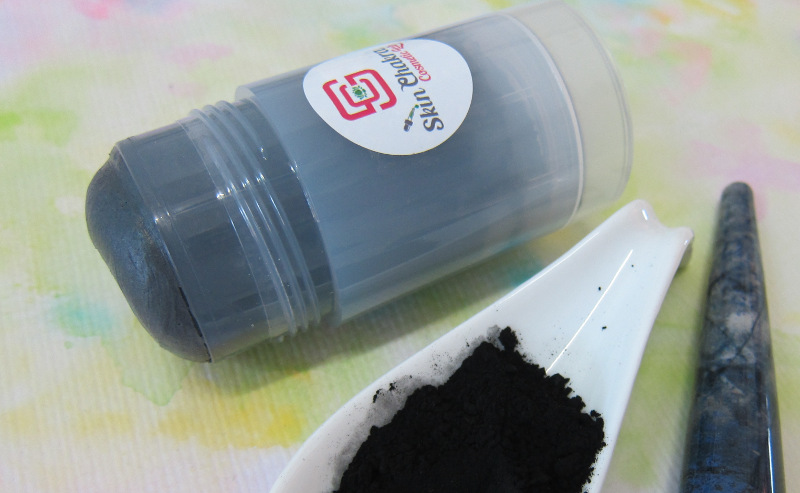
Ingredients:
| Phase A | |
| Distilled or deionized water | to 100,0% |
| Glycerin | 4,0% |
| Plant based pentylene glycol | 5,0% |
| Sodium cocoyl isethionate | 25,0% |
| Phase B | |
| Myrica fruit wax | 9,0% |
| Rice bran wax | 5,0% |
| Babassu oil | 5,0% |
| Phase C | |
| St John's wort infused oil | 3,0% |
| Peach kernel oil | 2,0% |
| Natural tocopherols | 0,5% |
| Rosemary CO2 extract | 0,1% |
| Curcuma longa CO2 extract | 0,1% |
| Antimicrobial plant extract | 0,1% |
| Activated charcoal | 1,0% |
| Phase D | |
| Coco glucoside | 6,0% |
| Sucrose cocoate | 2,0% |
| Lavender oil | 0,2% |
| Clove CO2 extract | 0,1% |
| Cedarwood oil | 0,2% |
| Bergamot oil | 0,5% |
| Phase D | |
| Lactic acid 80% | to adjust the ph |
Procedure:
1- Weight phase A in a heat proof beaker. Cover it and let it stand at room temperature for 1-2 hours. This will facilitate the next steps a lot.
2- Blend phase B in another heat proof beaker.
3- Blend phases C and D in separate beakers. You can use a magnetic stirrer for phase D. This is not necessary but can make your life a lot easier.
4- After 1-2 hours gently blend phase A, it should be a milky liquid
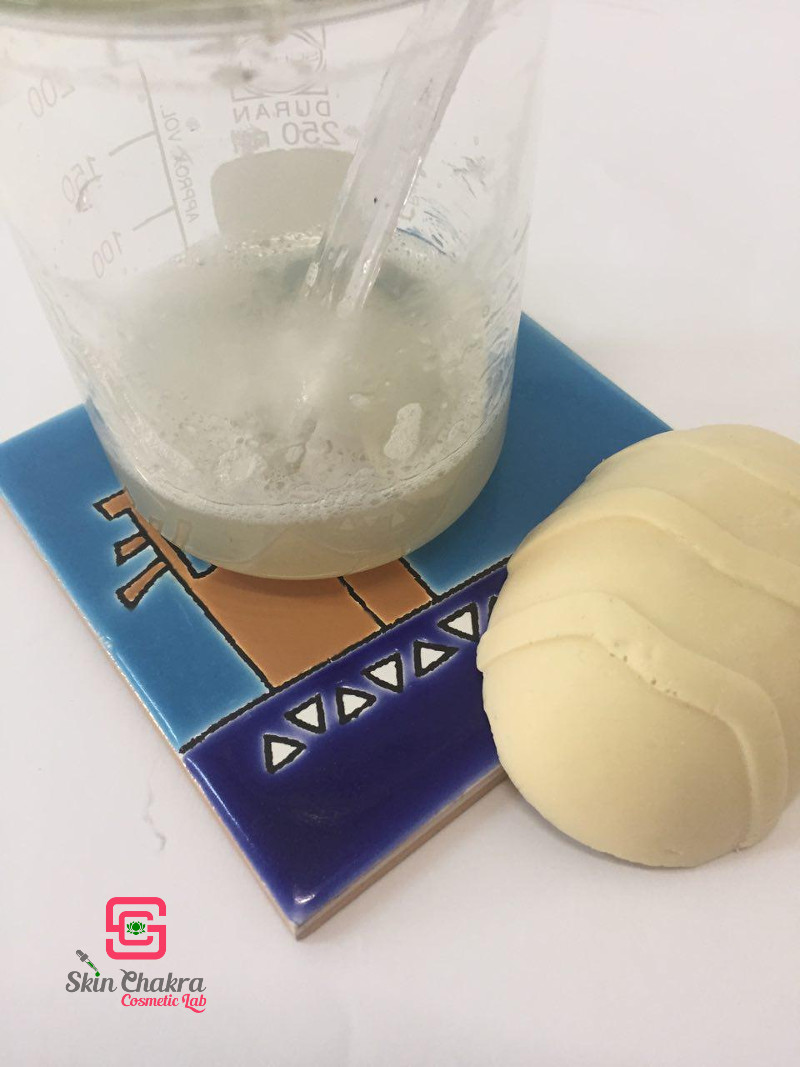
5- Heat phase A and B in a water bath at around 80-85 oC. Blend both phases separately till they are homogeneous. Your phase A should look like this
6- Still in the water bath (turn the water bath to around 50 degrees) slowly add phase B to A and blend gently to avoid excessive foaming.
7- Slowly add phase C to the blend. Activated charcoal does not dissolve in the oil phase, you only need to keep it dispersed. Remove the beaker from the bath.
8- Blend gently and now add phase D. Take a sample and dilute it to 10% for pH measurement. Per experience, we have added 0,4% lactic acid in phase D and the pH of our blend was 4,8 which is suitable for our purpose. You may need to use higher or lower concentrations of lactic acid depending on the raw material you are using.
This is quite an important and an annoying step. If you are too slow, your blend might start to solidify. Make a very small experimental batch (you don't even need to pour the blend into a stick) to figure out how much acid you'll need for pH adjustment.
9- When the pH is adjusted, continue blending until coming to a low trace. Pour the blend in the empty stick you have kept at hand.
10- Put the stick in the fridge for at least 12 hours (till overnight) before using it or starting your stability tests or final packaging.
Enjoy the process and the skin feel of this stick.
How to use a facial cleansing stick:
With this formulation, you can apply the stick directly over dry skin. This has the advantage that you do not add any additional water to the product during application. Gently apply the stick over dry (or damp) skin. Wet your fingers with tap water and massage and spread the product with your finger tips all over your face (and even neck if you want). The product changes to a soft and pleasant lather by coming into contact with water. Rinse with water and apply your toner.
BeHappy and have FUN

